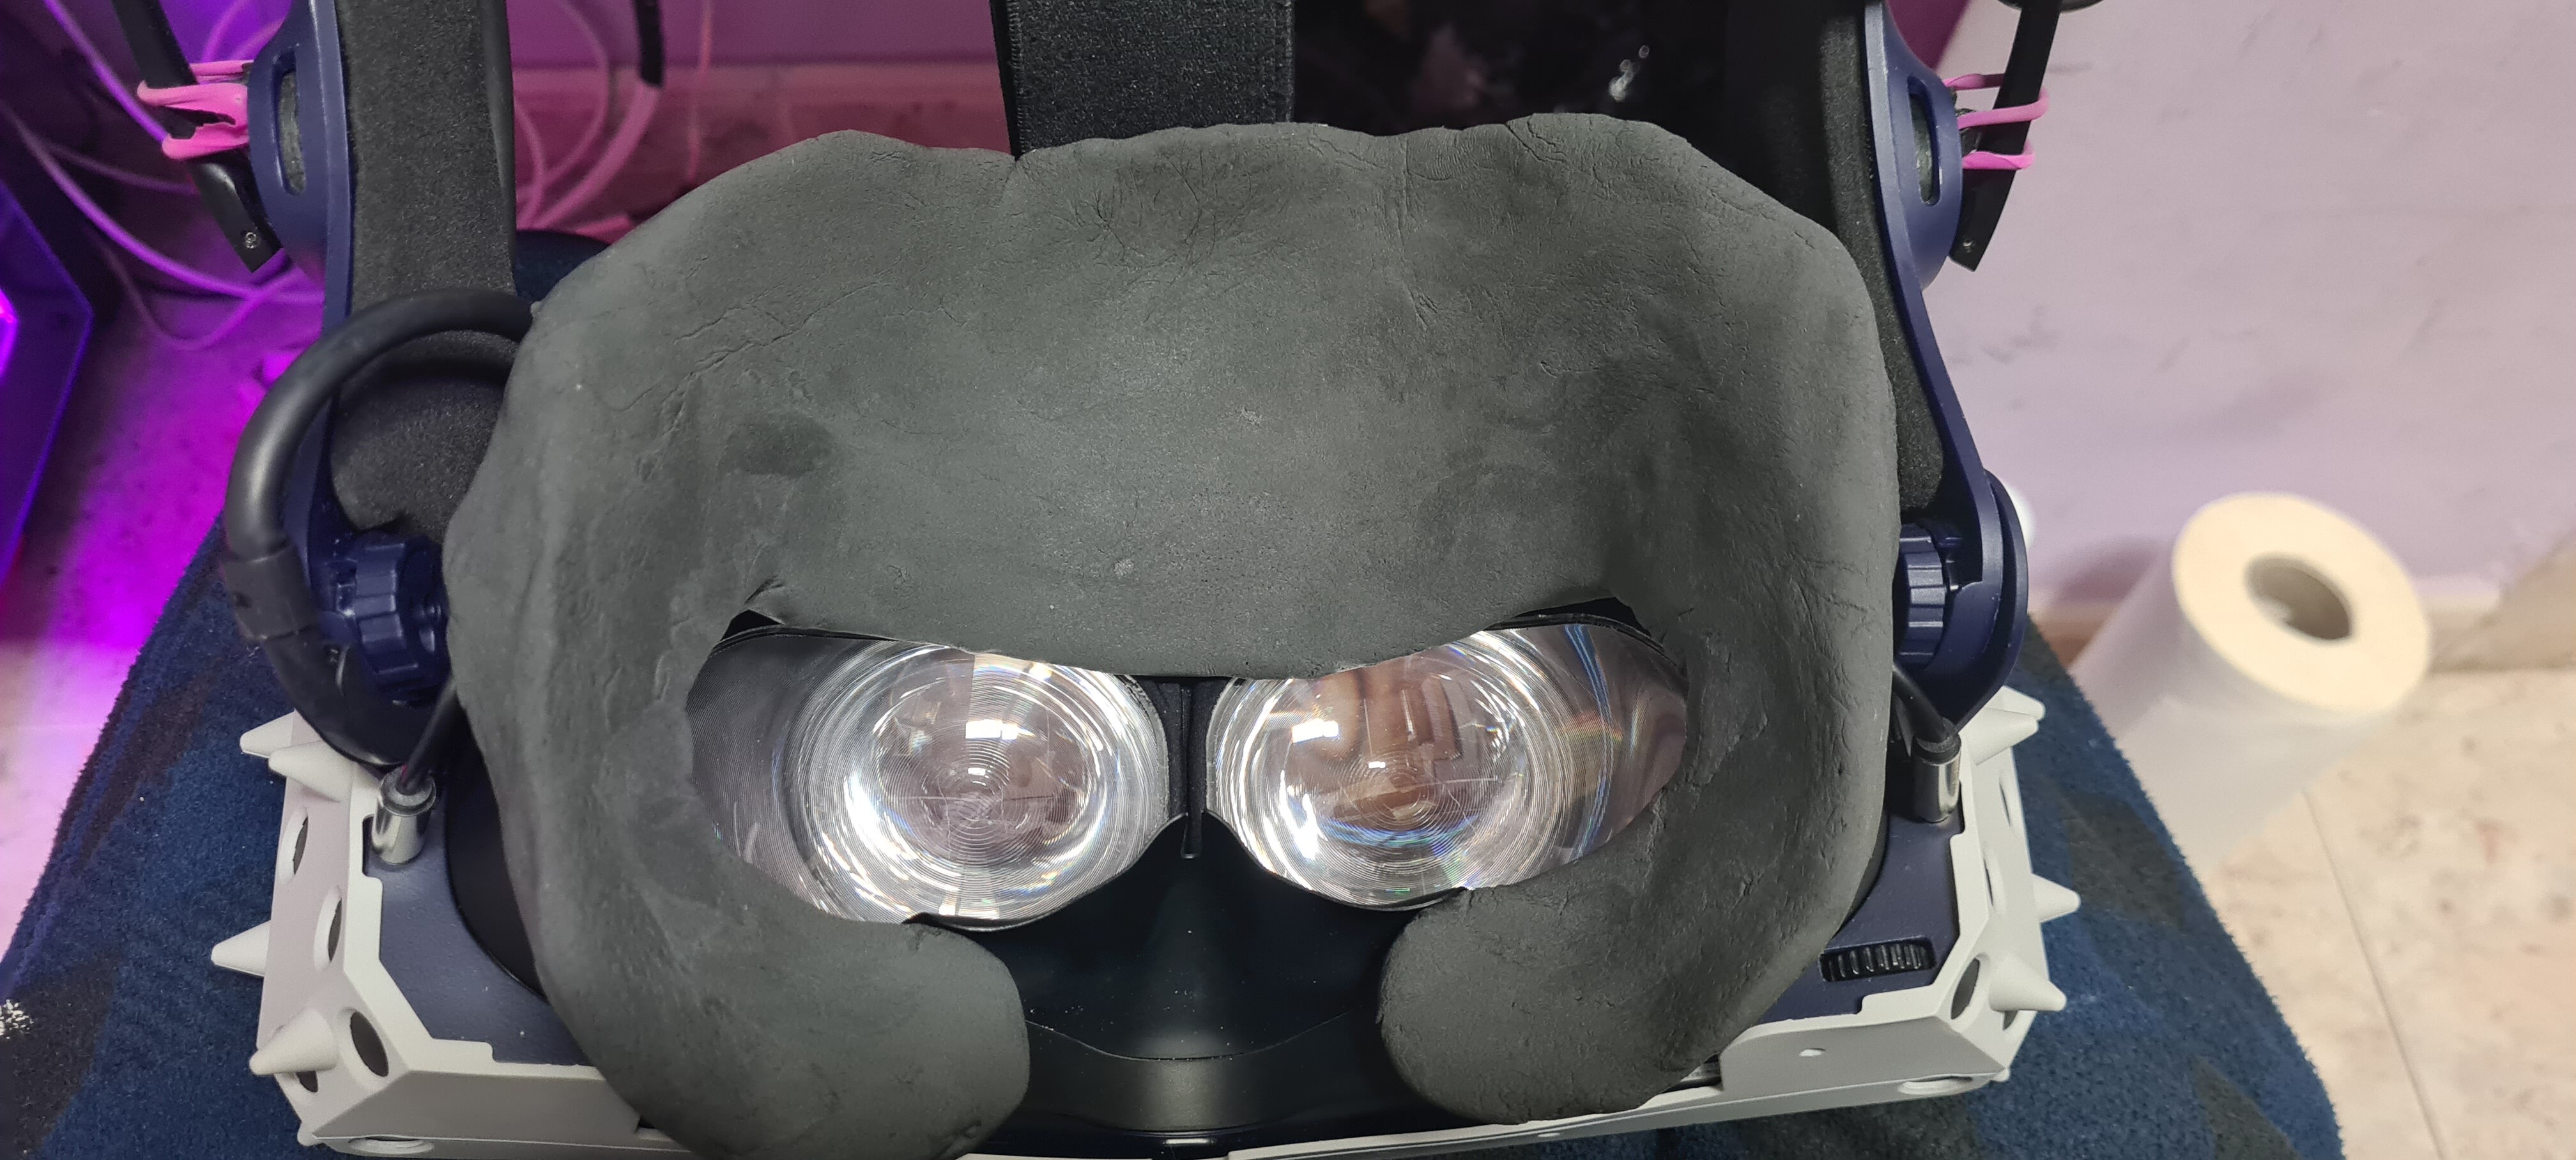
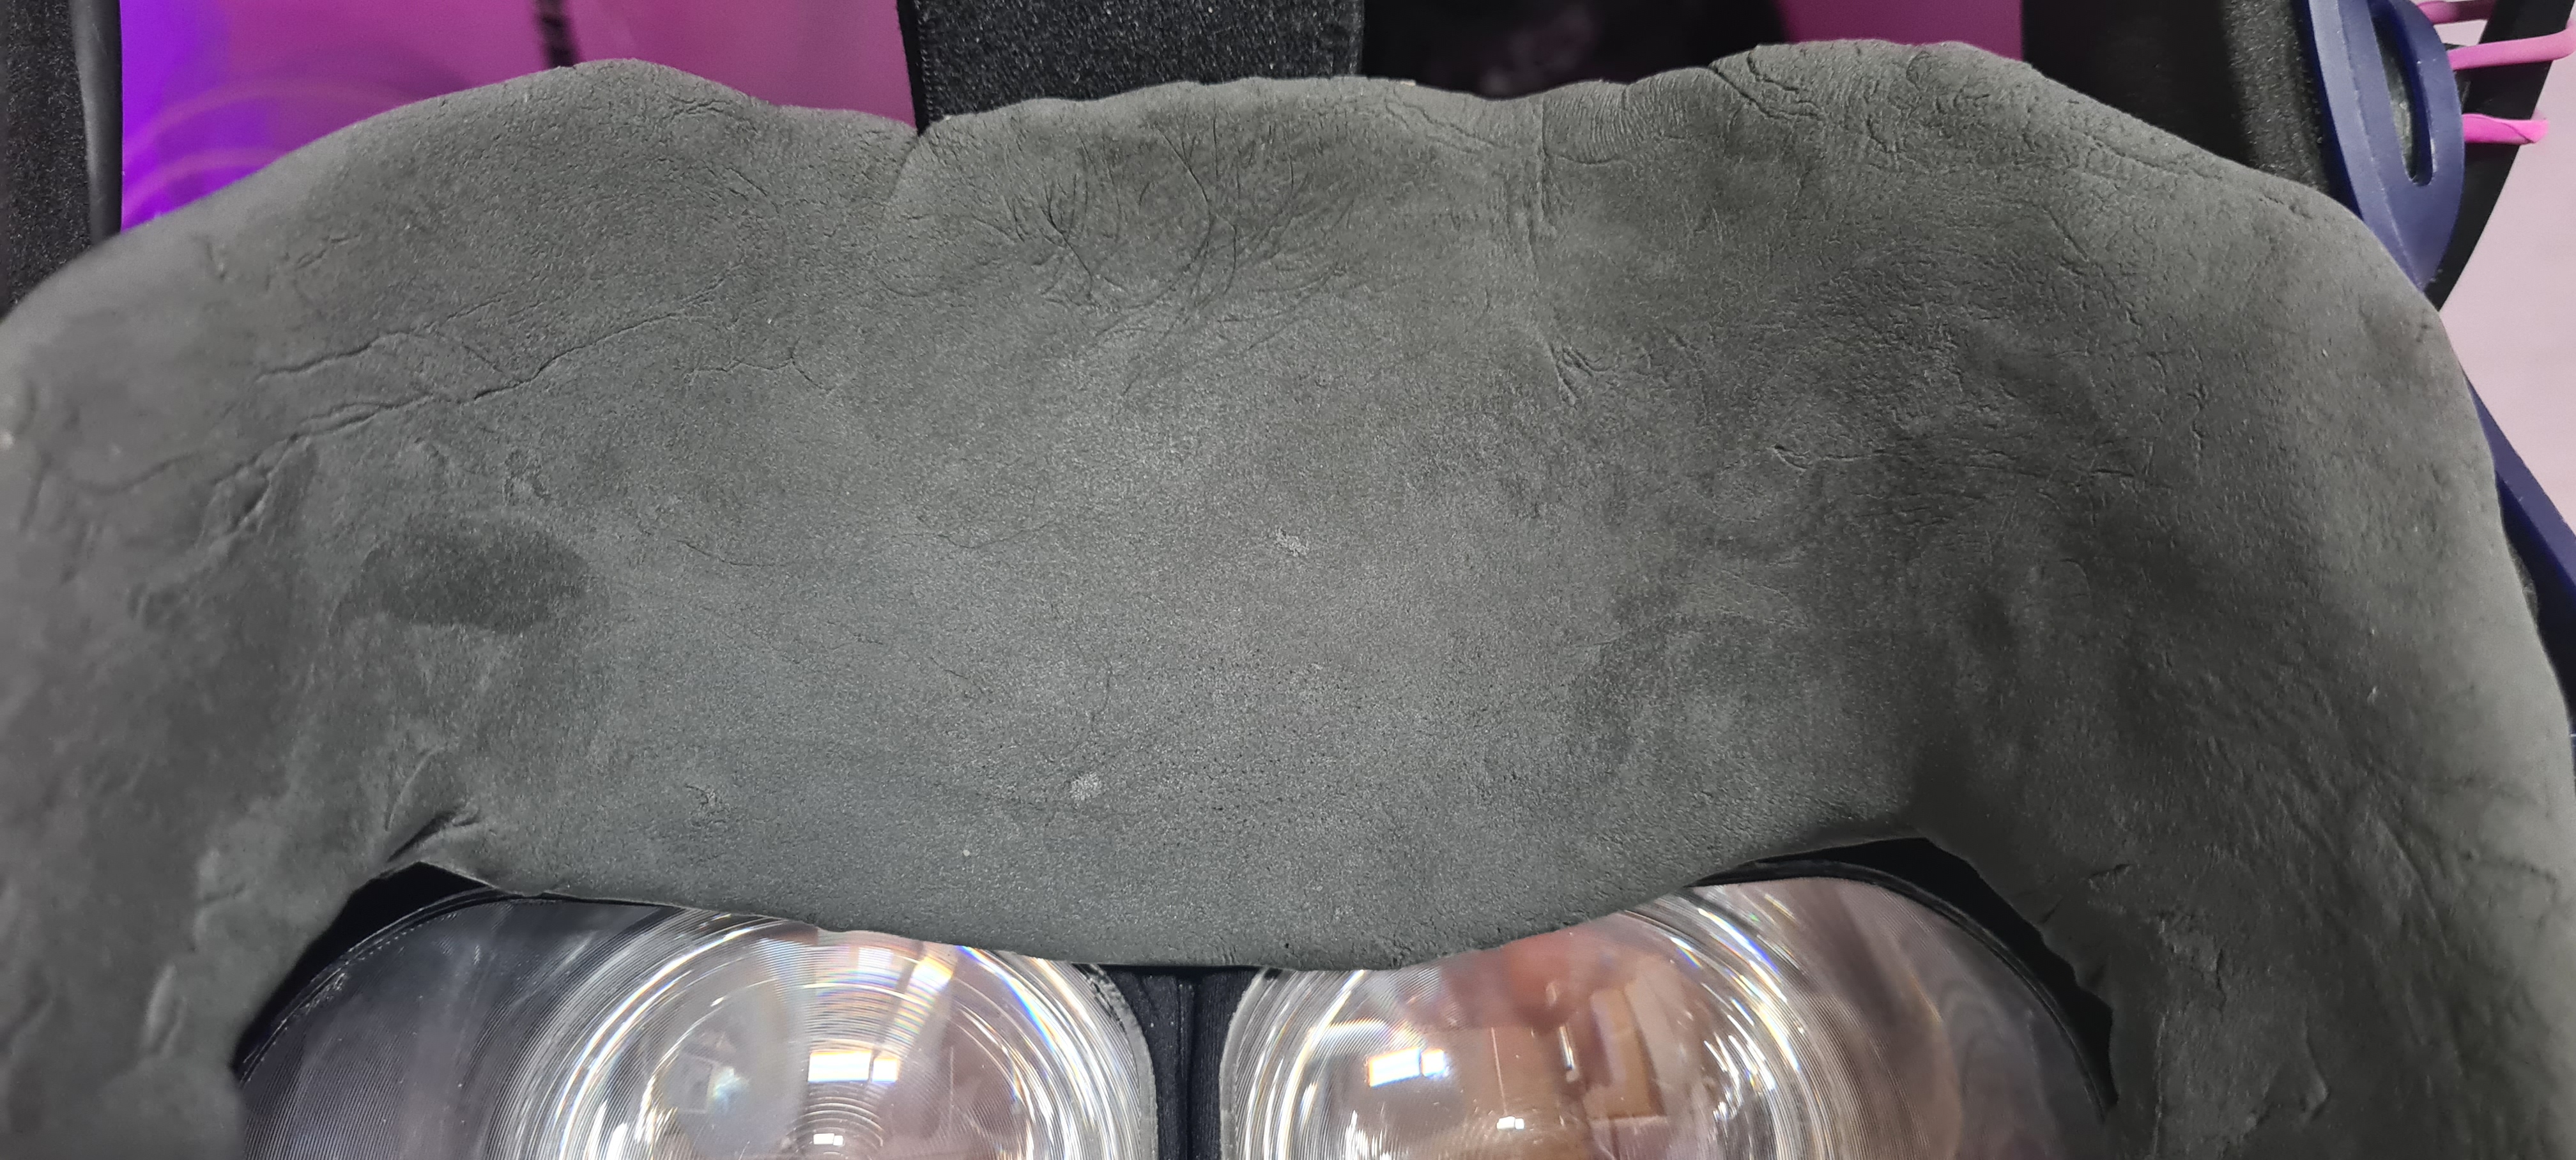
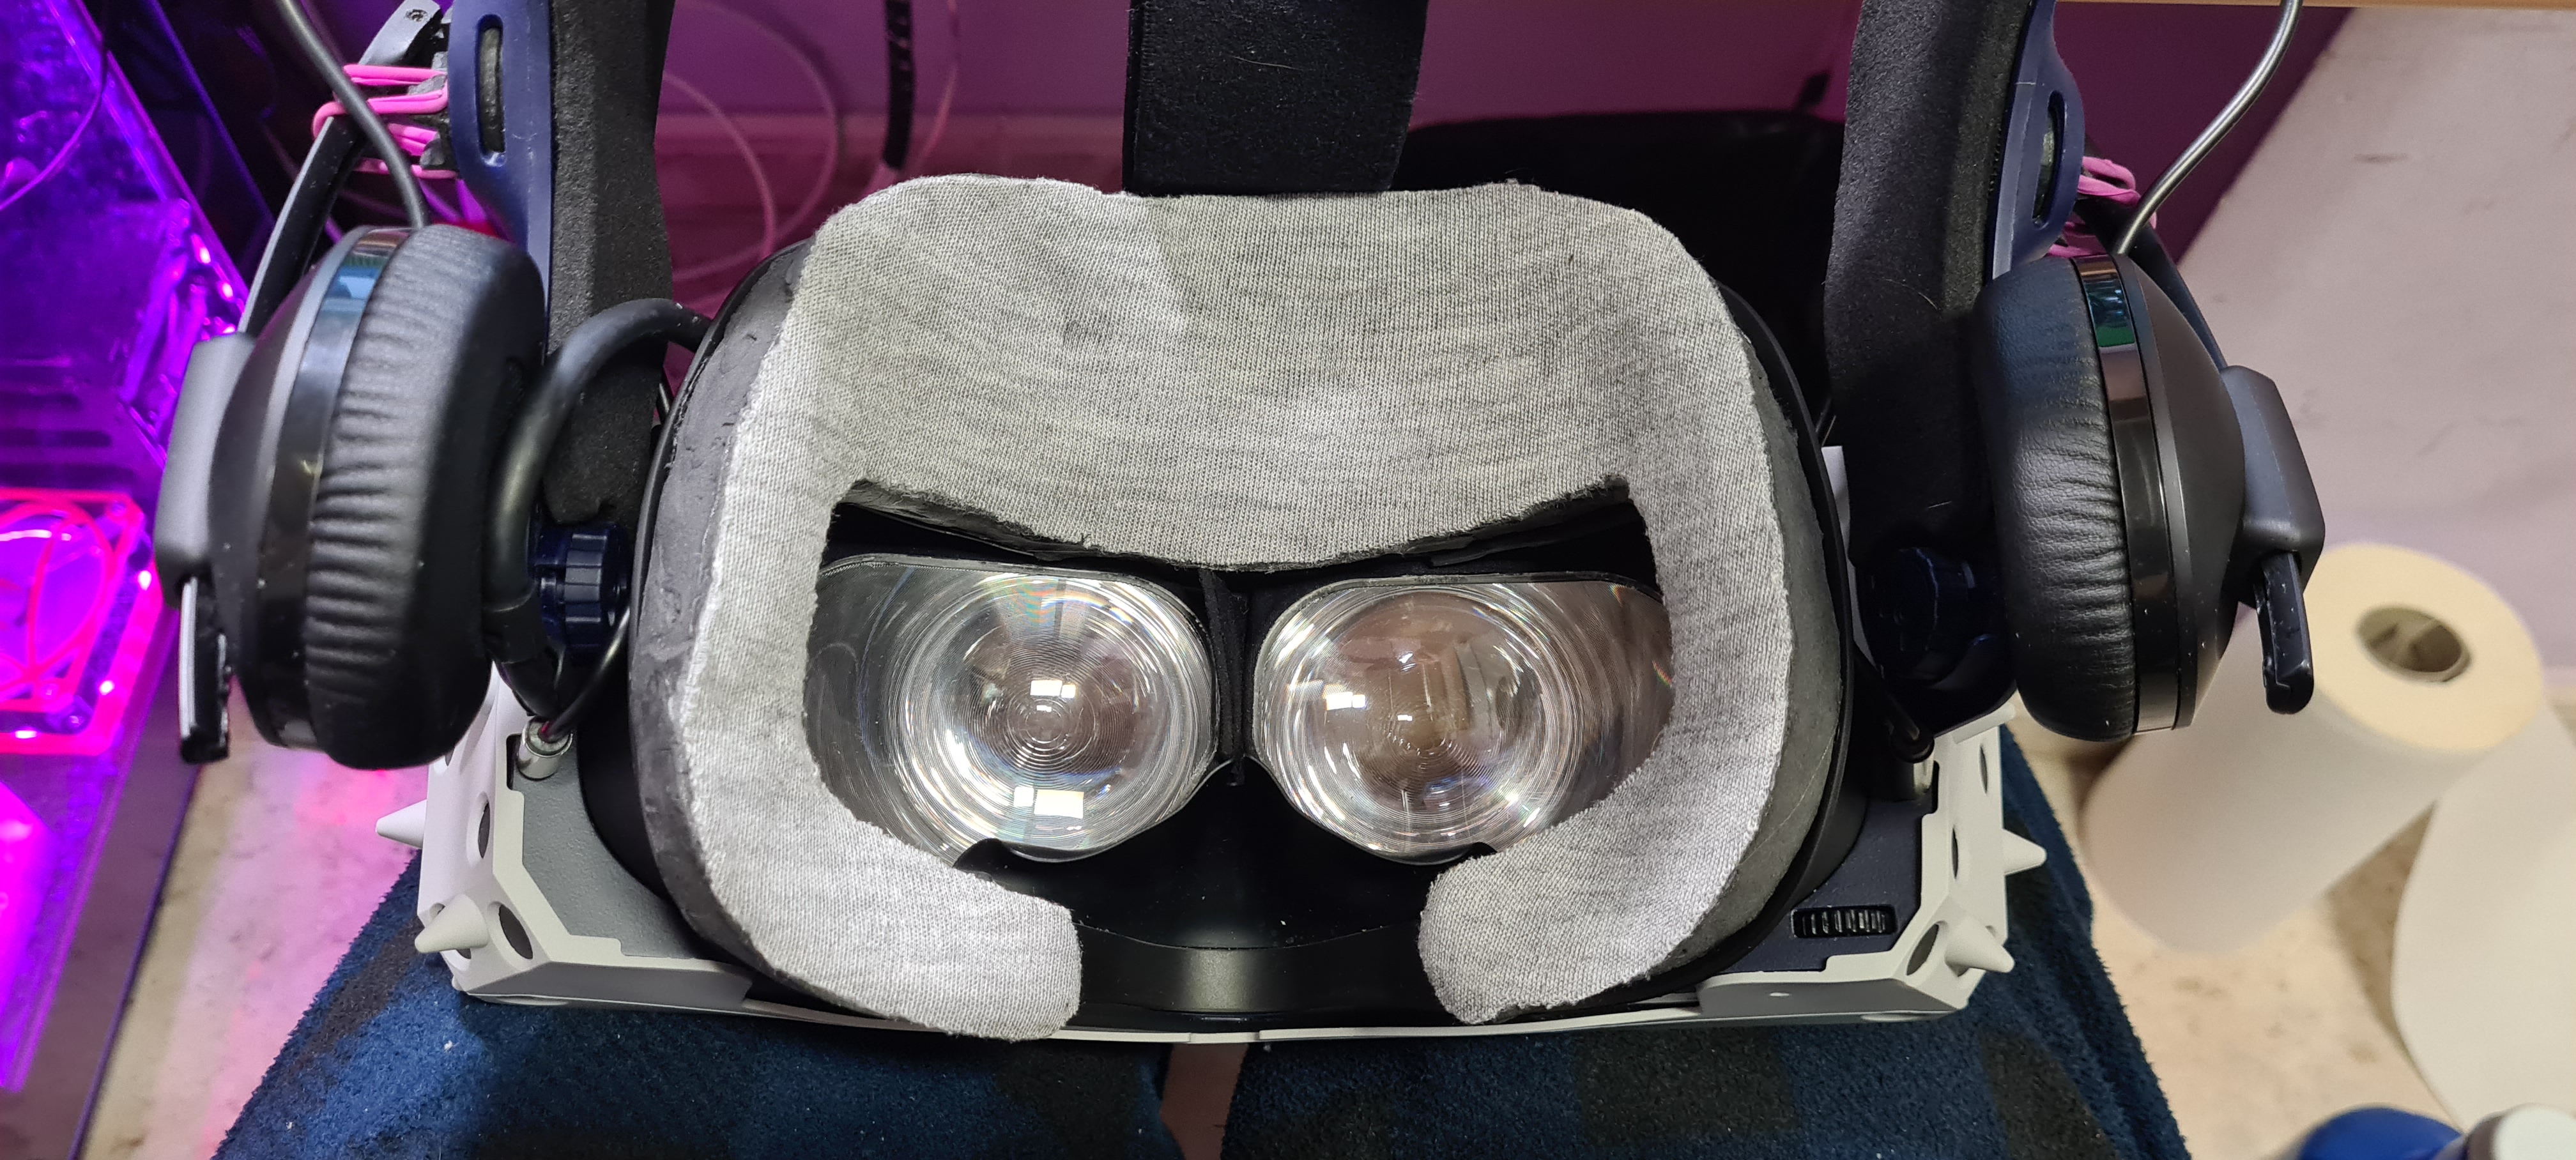
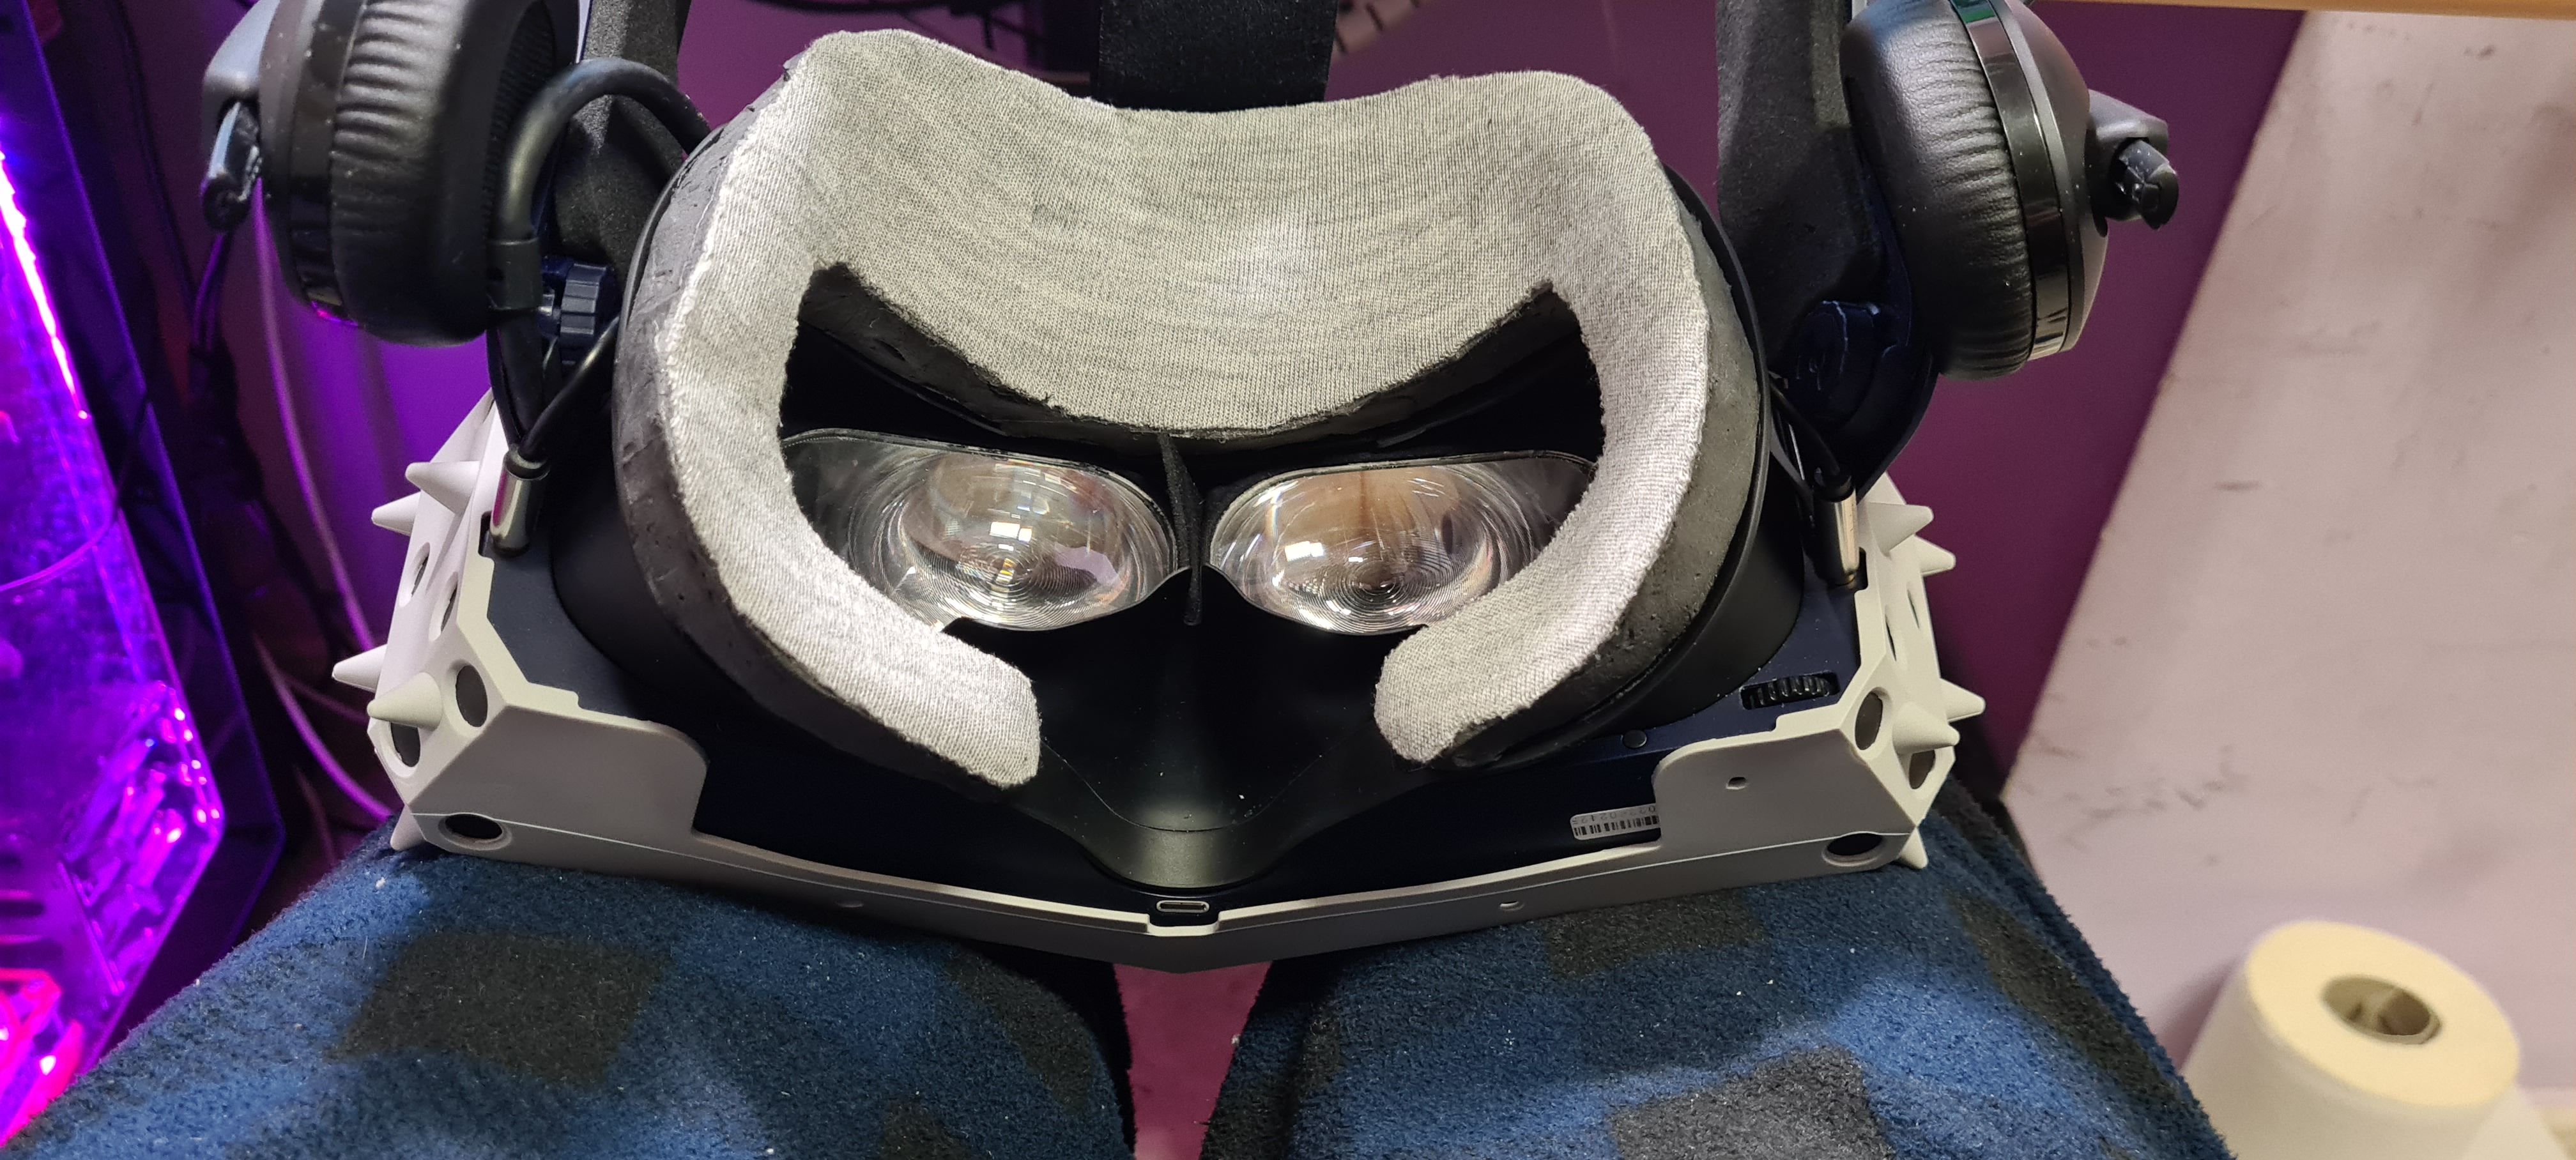
MOD ergonomically perfect facial foam
Tired of putting supplements in thick facial foam to try to adapt it to my face and the correct distance and inclination for me, I have created a mold of my face on light air drying foam, and the result is perfect ergonomics, you put on the HMD and it goes to the right place without having to move or squeeze it. It also provides much more stability in fast movements. Being somewhat rigid, nothing moves once the HMD is on. As it has the shape of your face even if it is not very soft, you notice that it fits perfectly. Another mod that I have had to do to my Pimax 8KX to complete it.
Of course this is a first prototype and from this idea optimizations can arise to make it easier, more comfortable and durable. But I think it’s a good idea as a starting point.
A few steps to my custom facial foam:
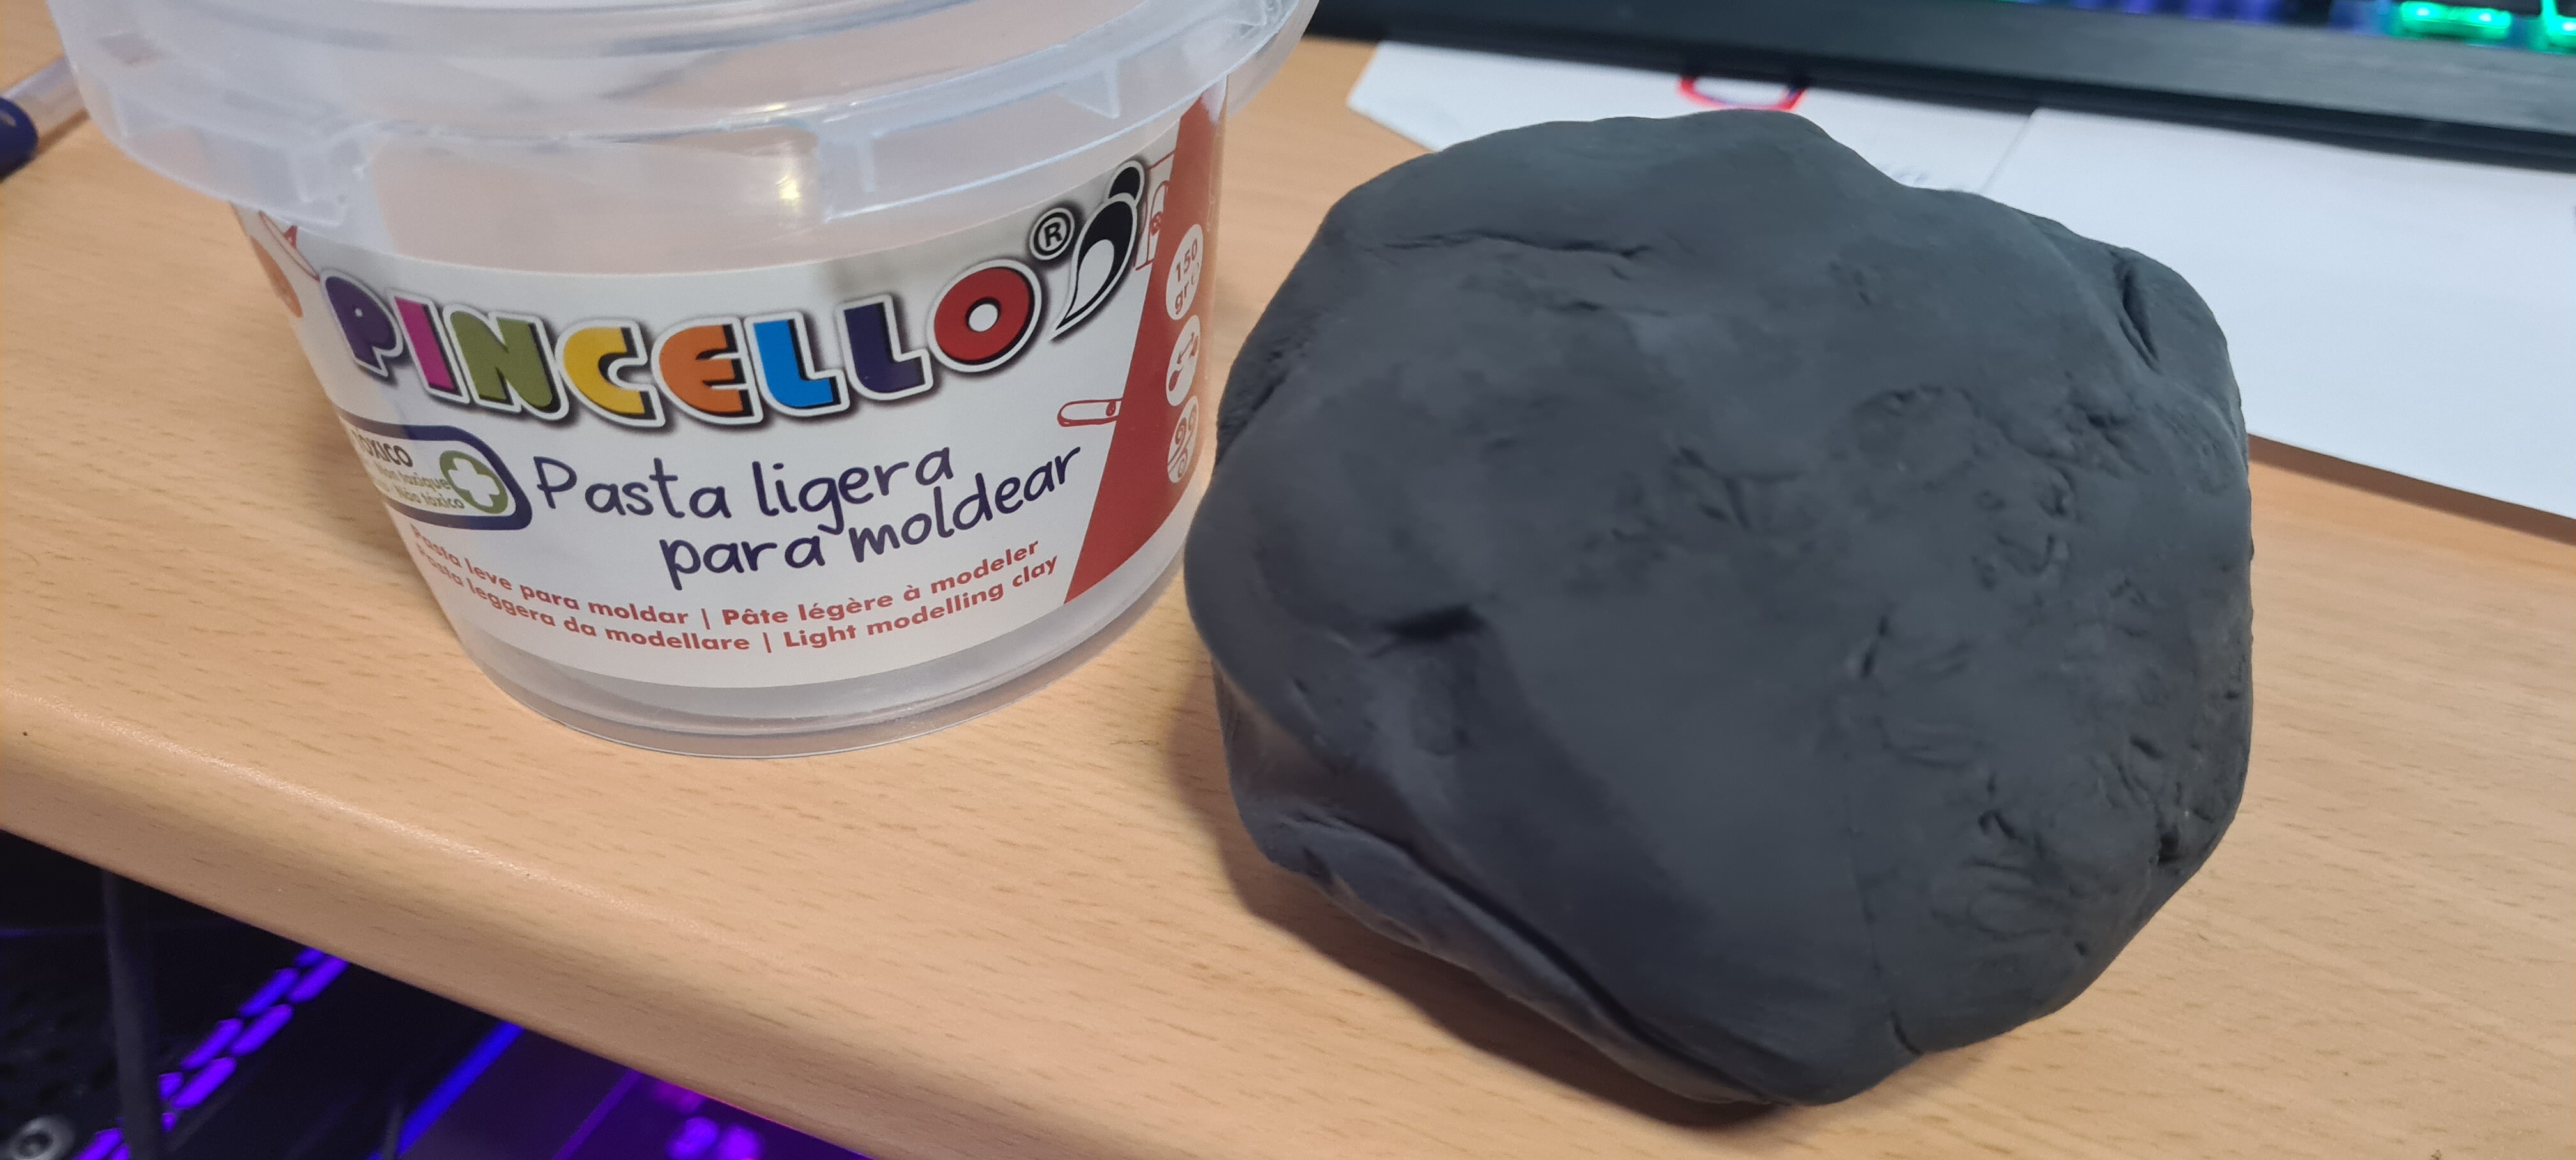
I have used light air dry children’s modeling paste. When it is dry it has the texture of EVA rubber. It is light, very flexible, but it is not like a foam.
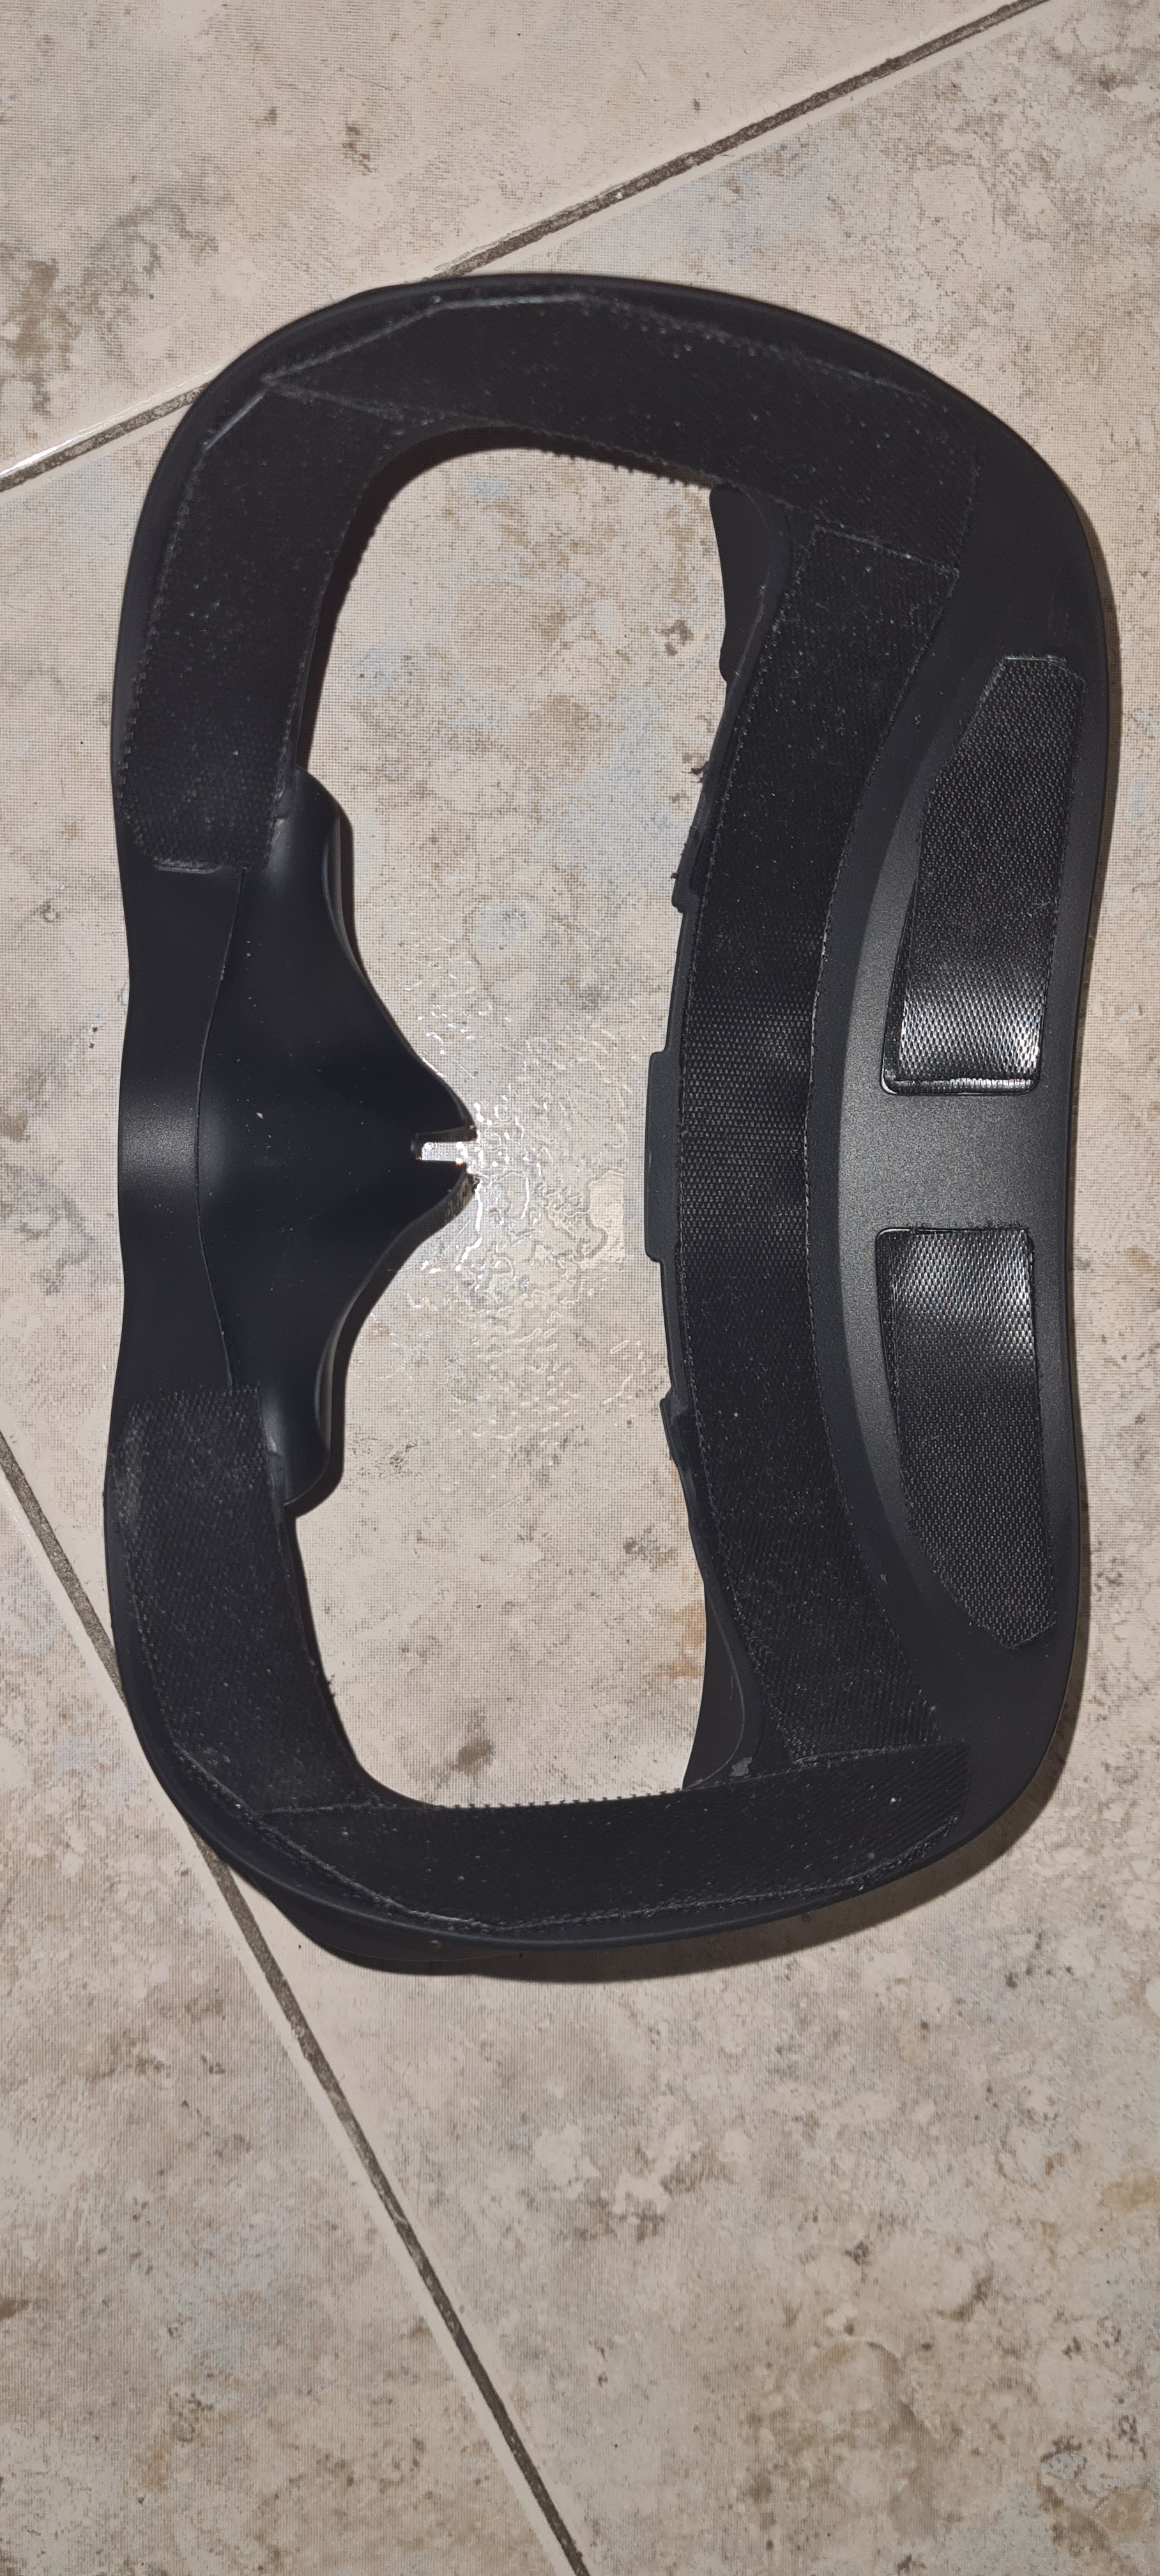
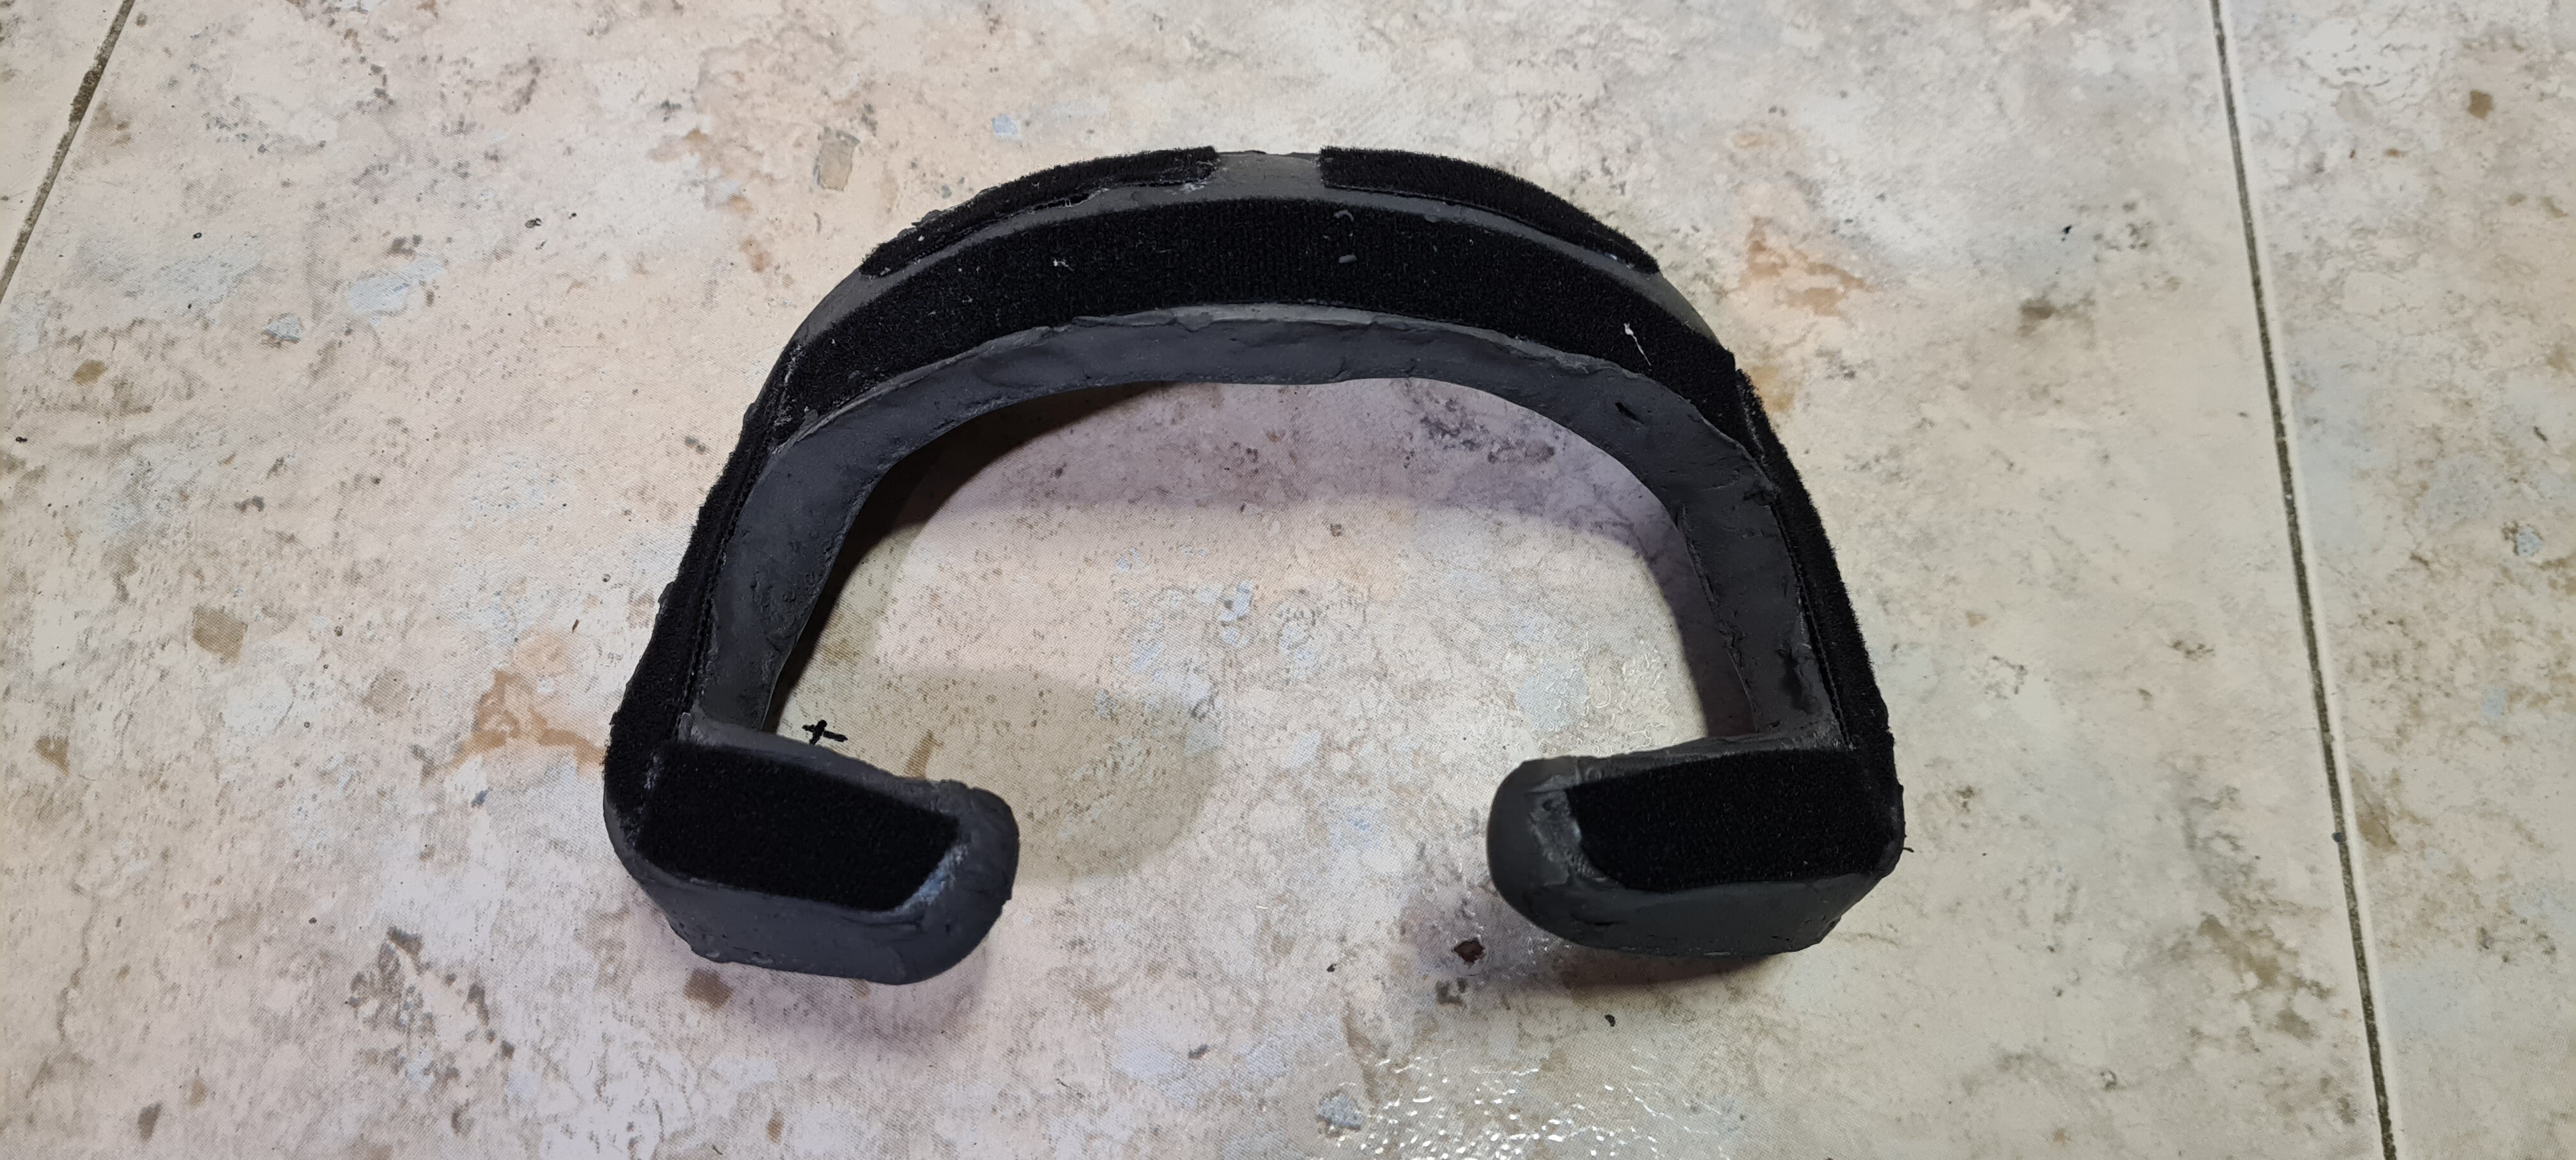
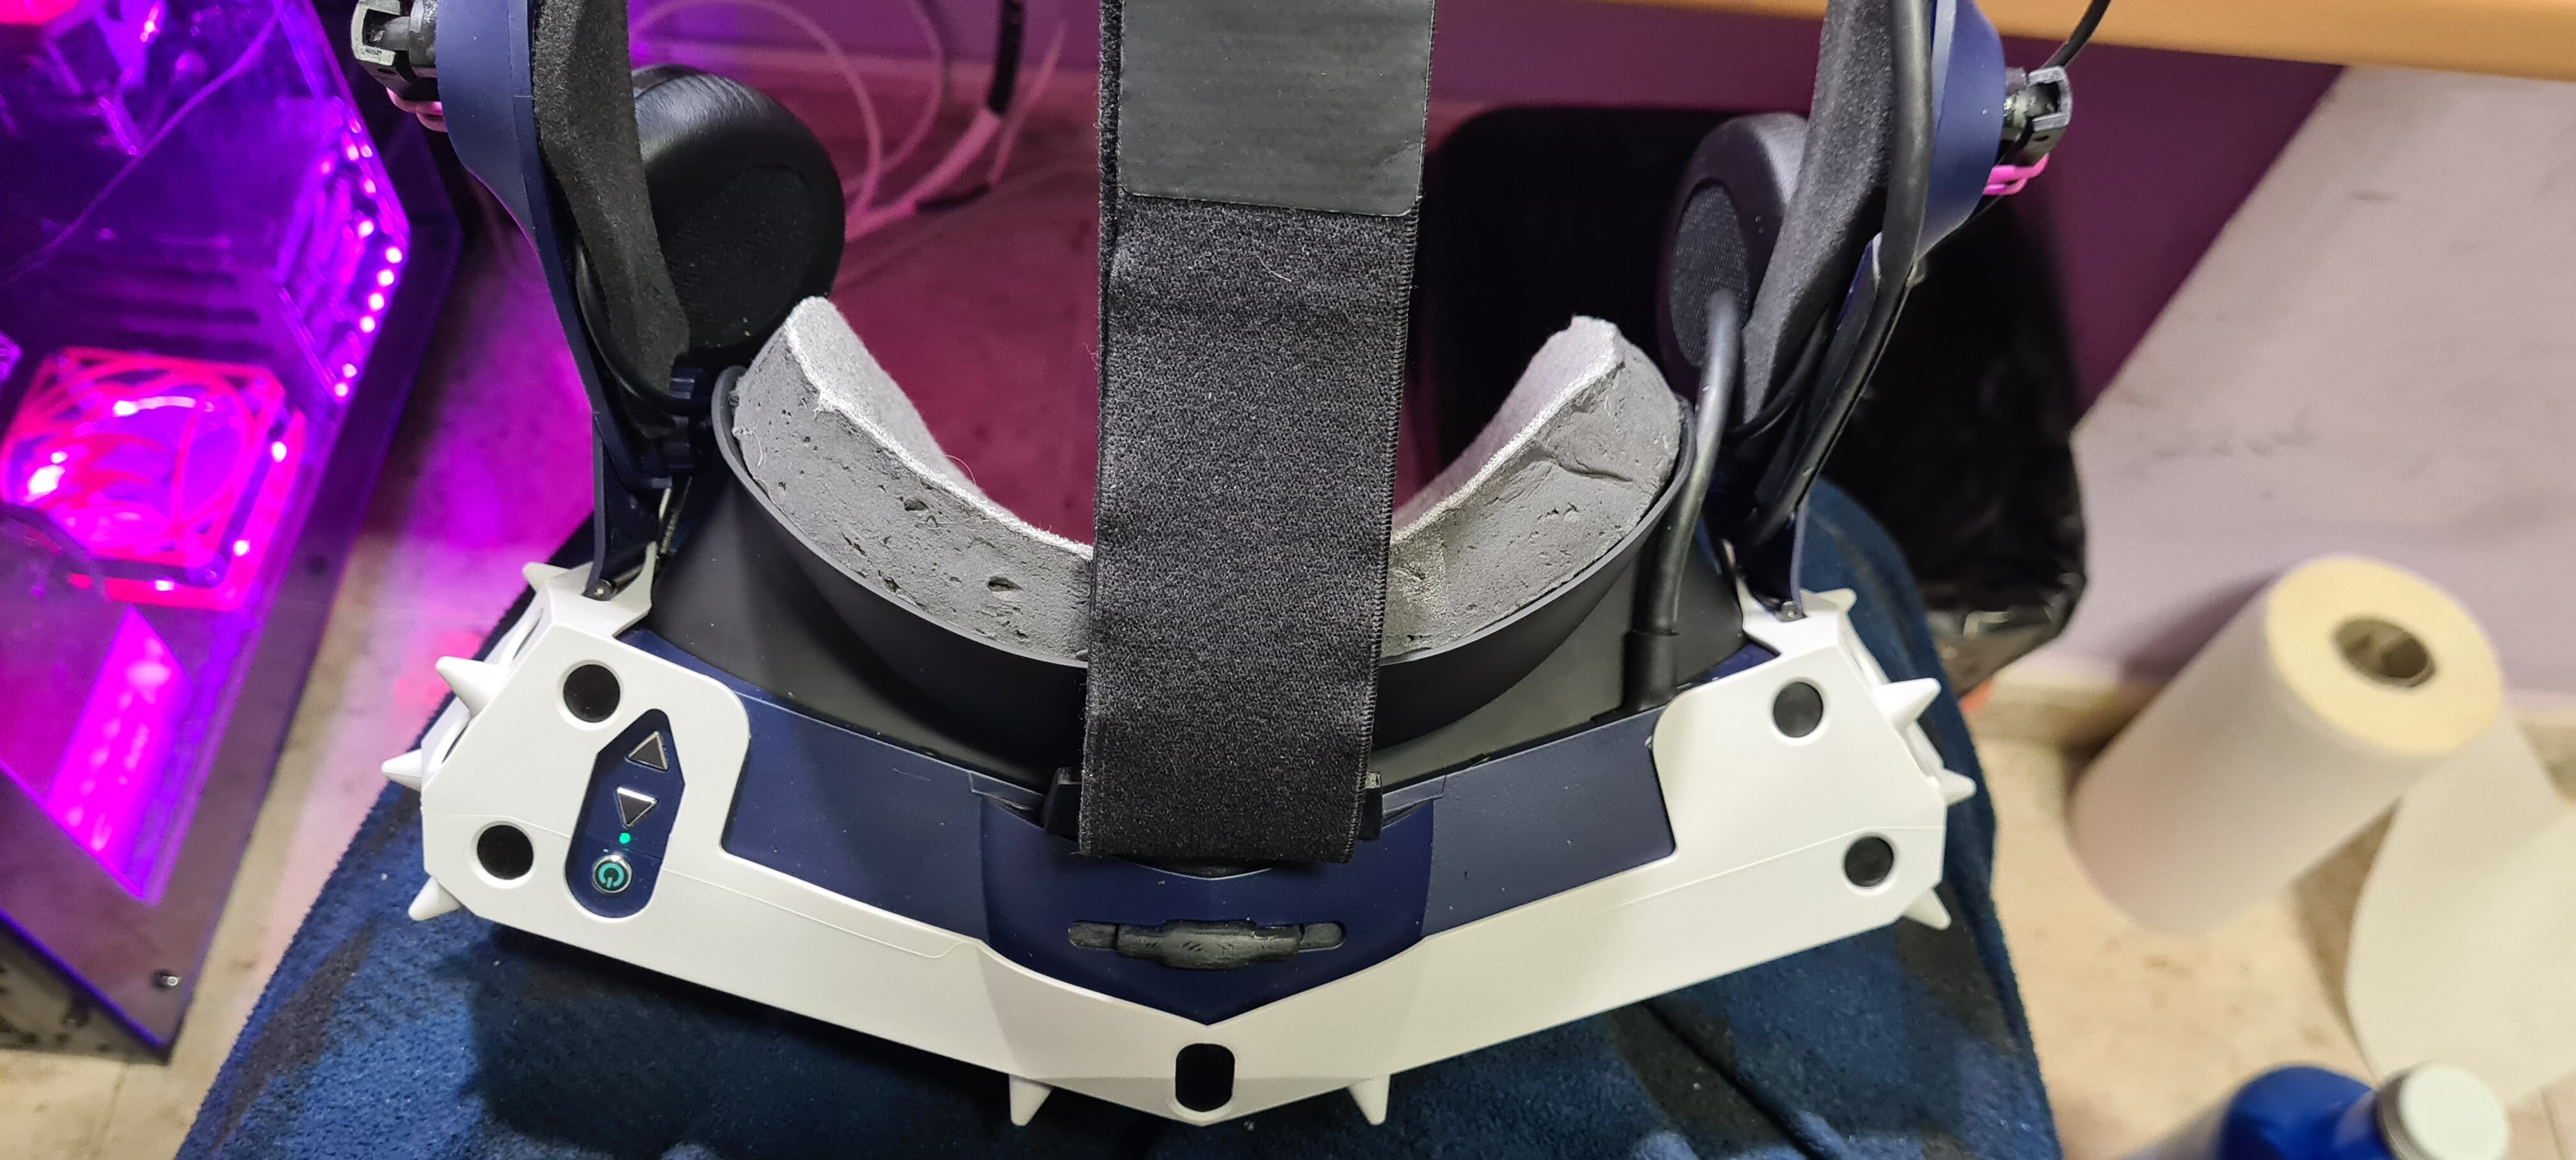
Before starting, I placed a double-sided velcro strap on the shell of the comfort kit.
Mold and spread the dough over the entire surface, putting more material in the areas where you think you need more distance.
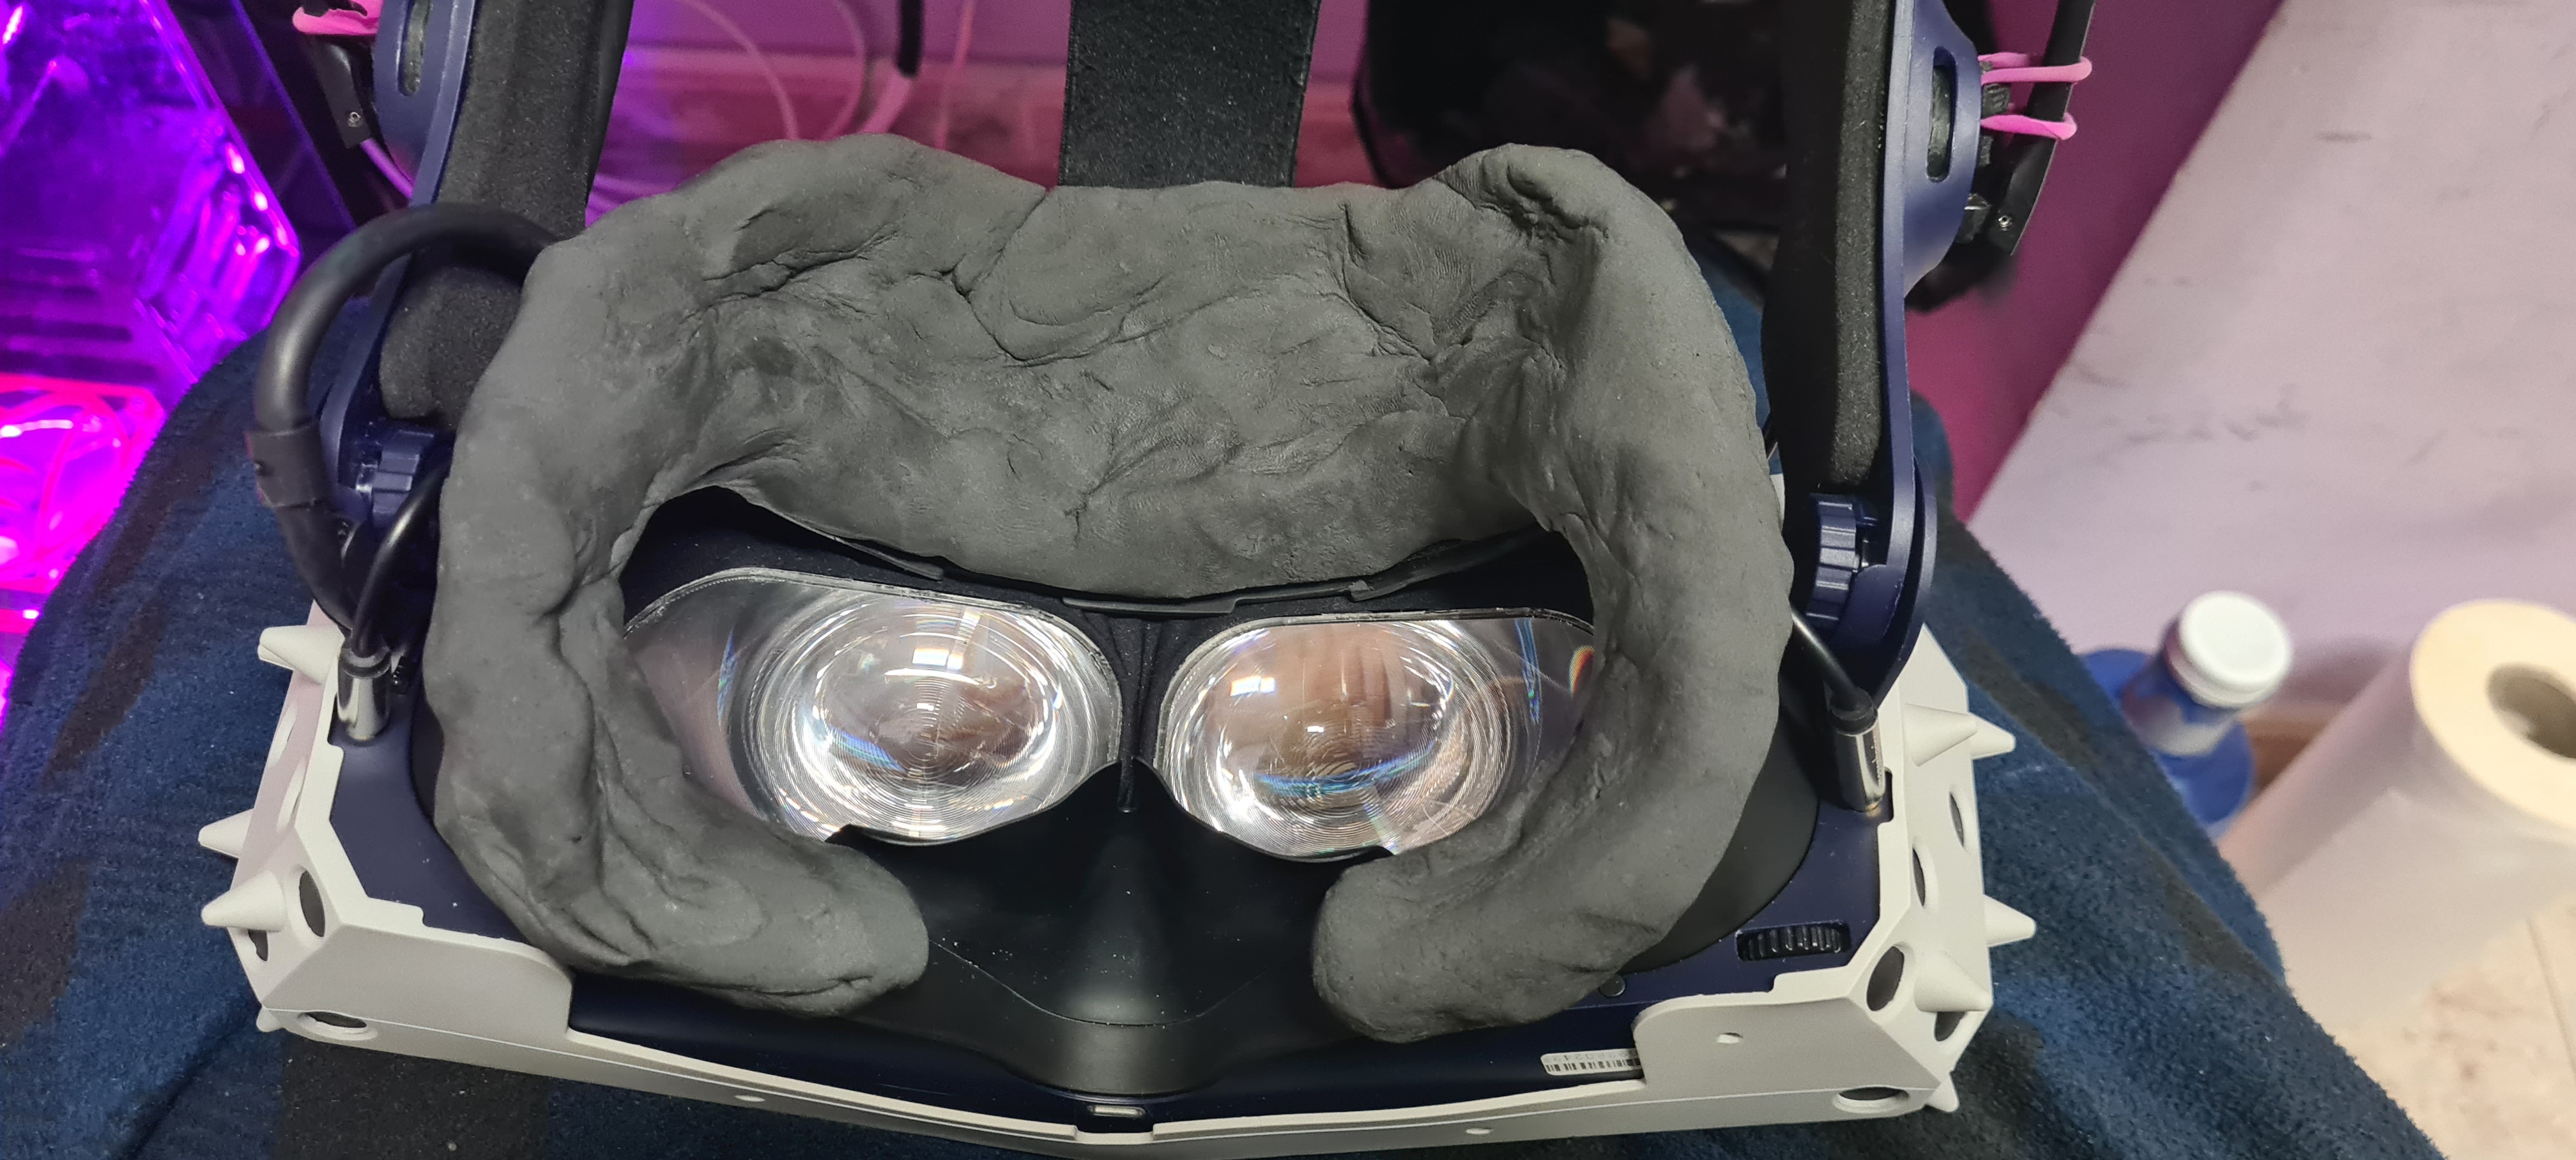
Put it on and press a little so that your face molds itself against the putty, adjust productivity and angle to have a perfect vision in a VR environment. When you have that ideal HMD positioning point on your face, take it off. You can repeat the process if you see that you lack material at any point, but if at first you are generous with the putty, you will not miss it, on the contrary, there will be enough left over.
Let it dry for a while before removing the entire comfort kit from the HMD. Any squeeze on the putty will ruin its ideal shape.
When it has a more consistent exterior feel, you can remove the comfort kit from the HMD and let it dry for 24 hours. better in the air and if it is a good day in the sun.
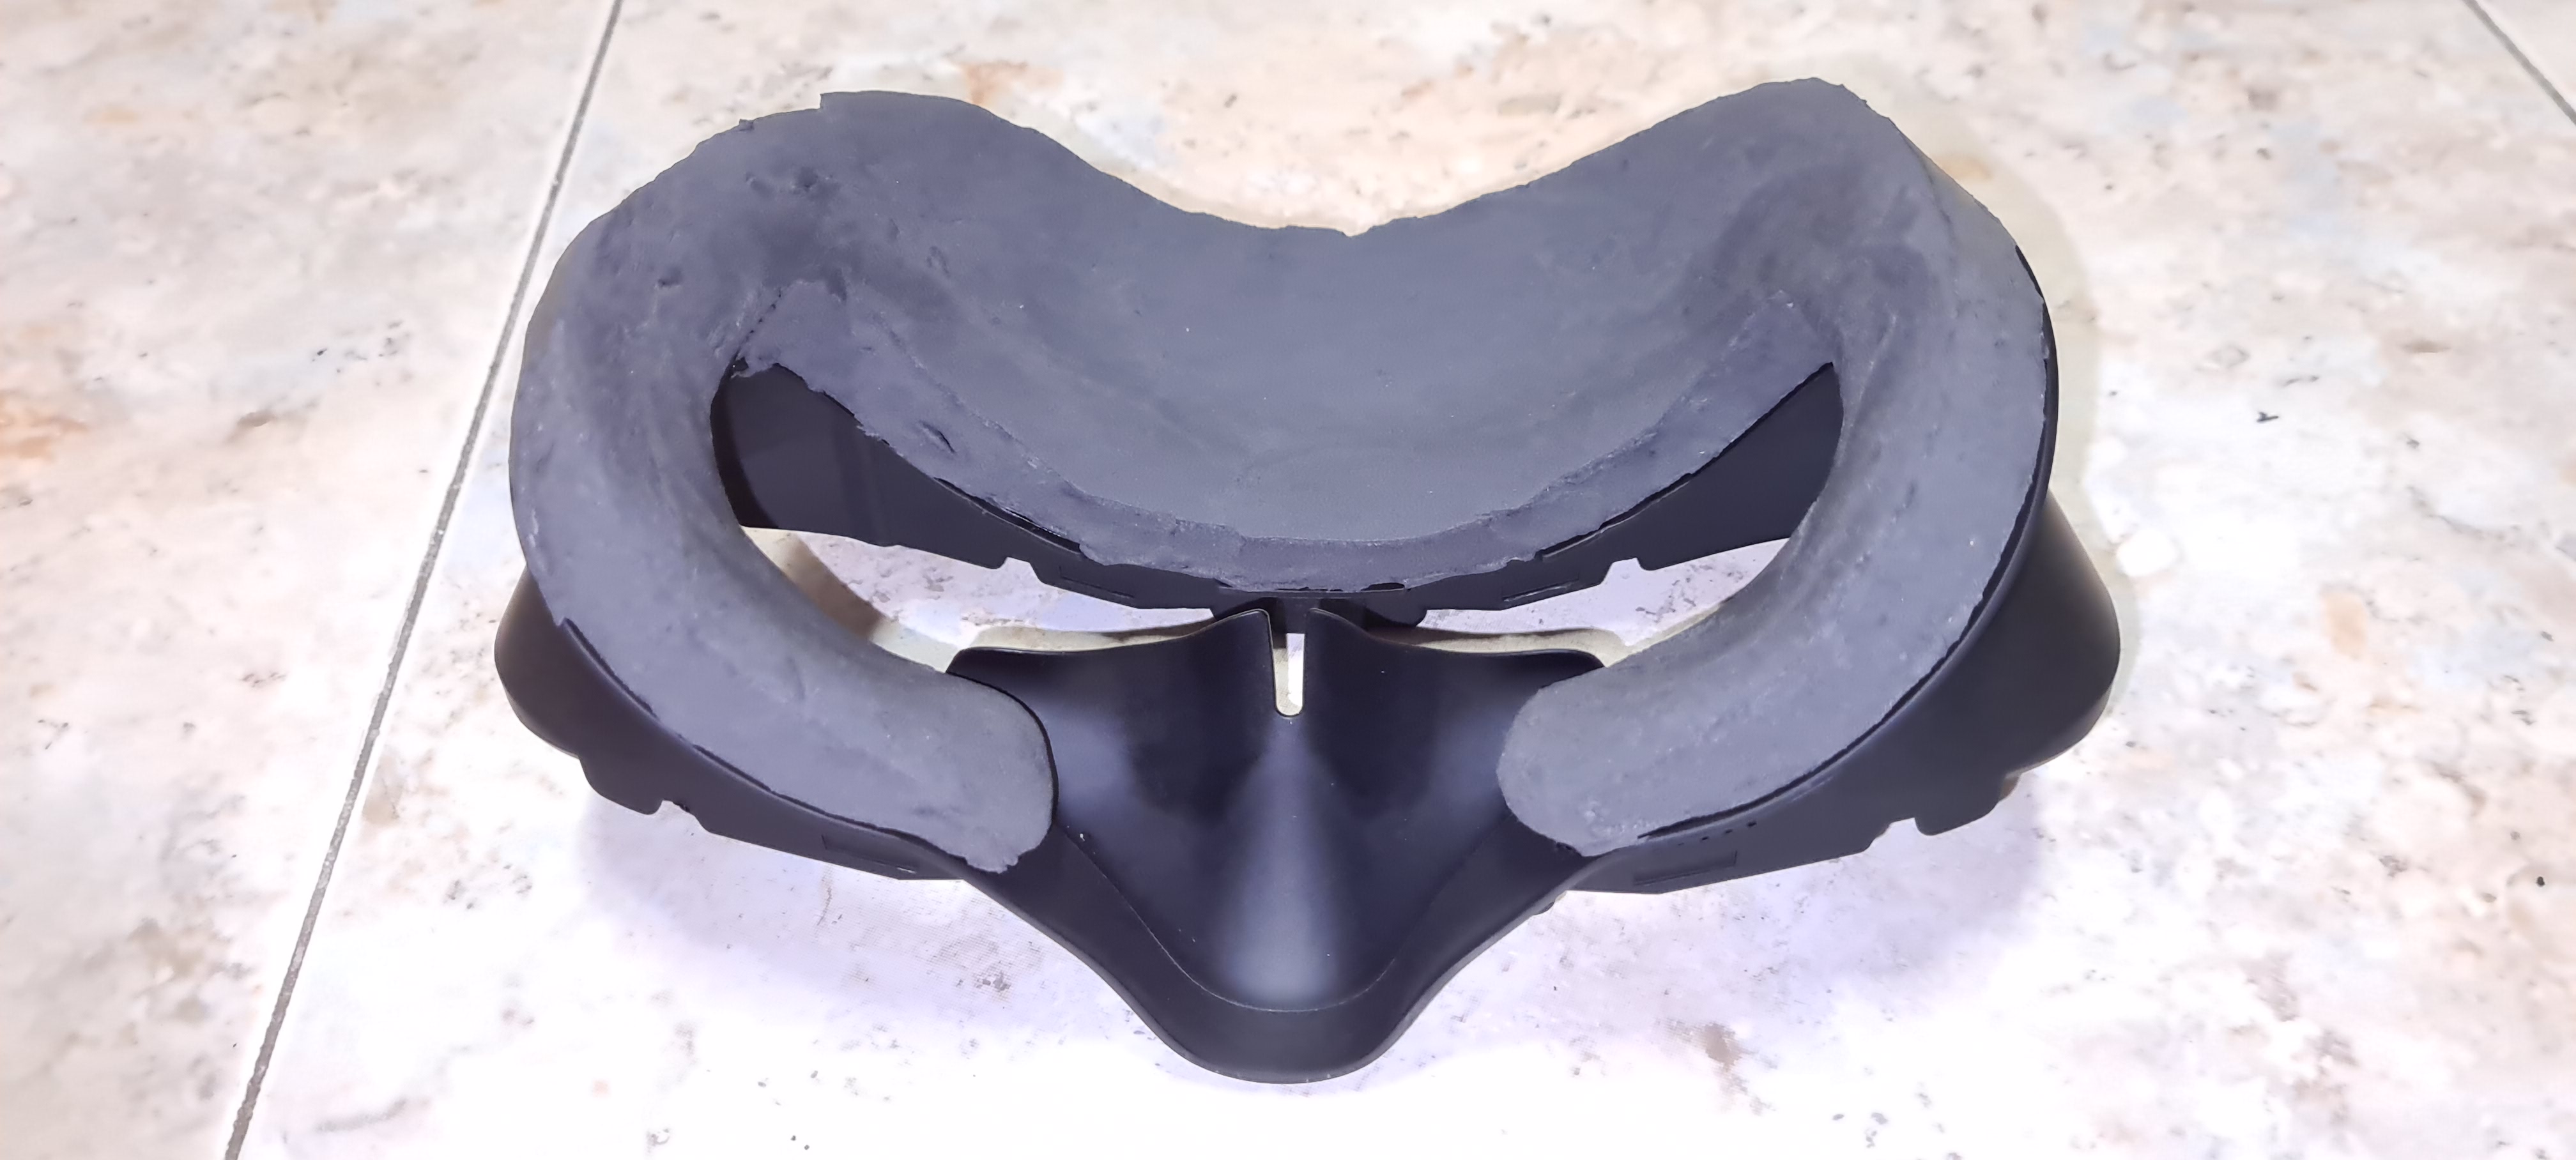
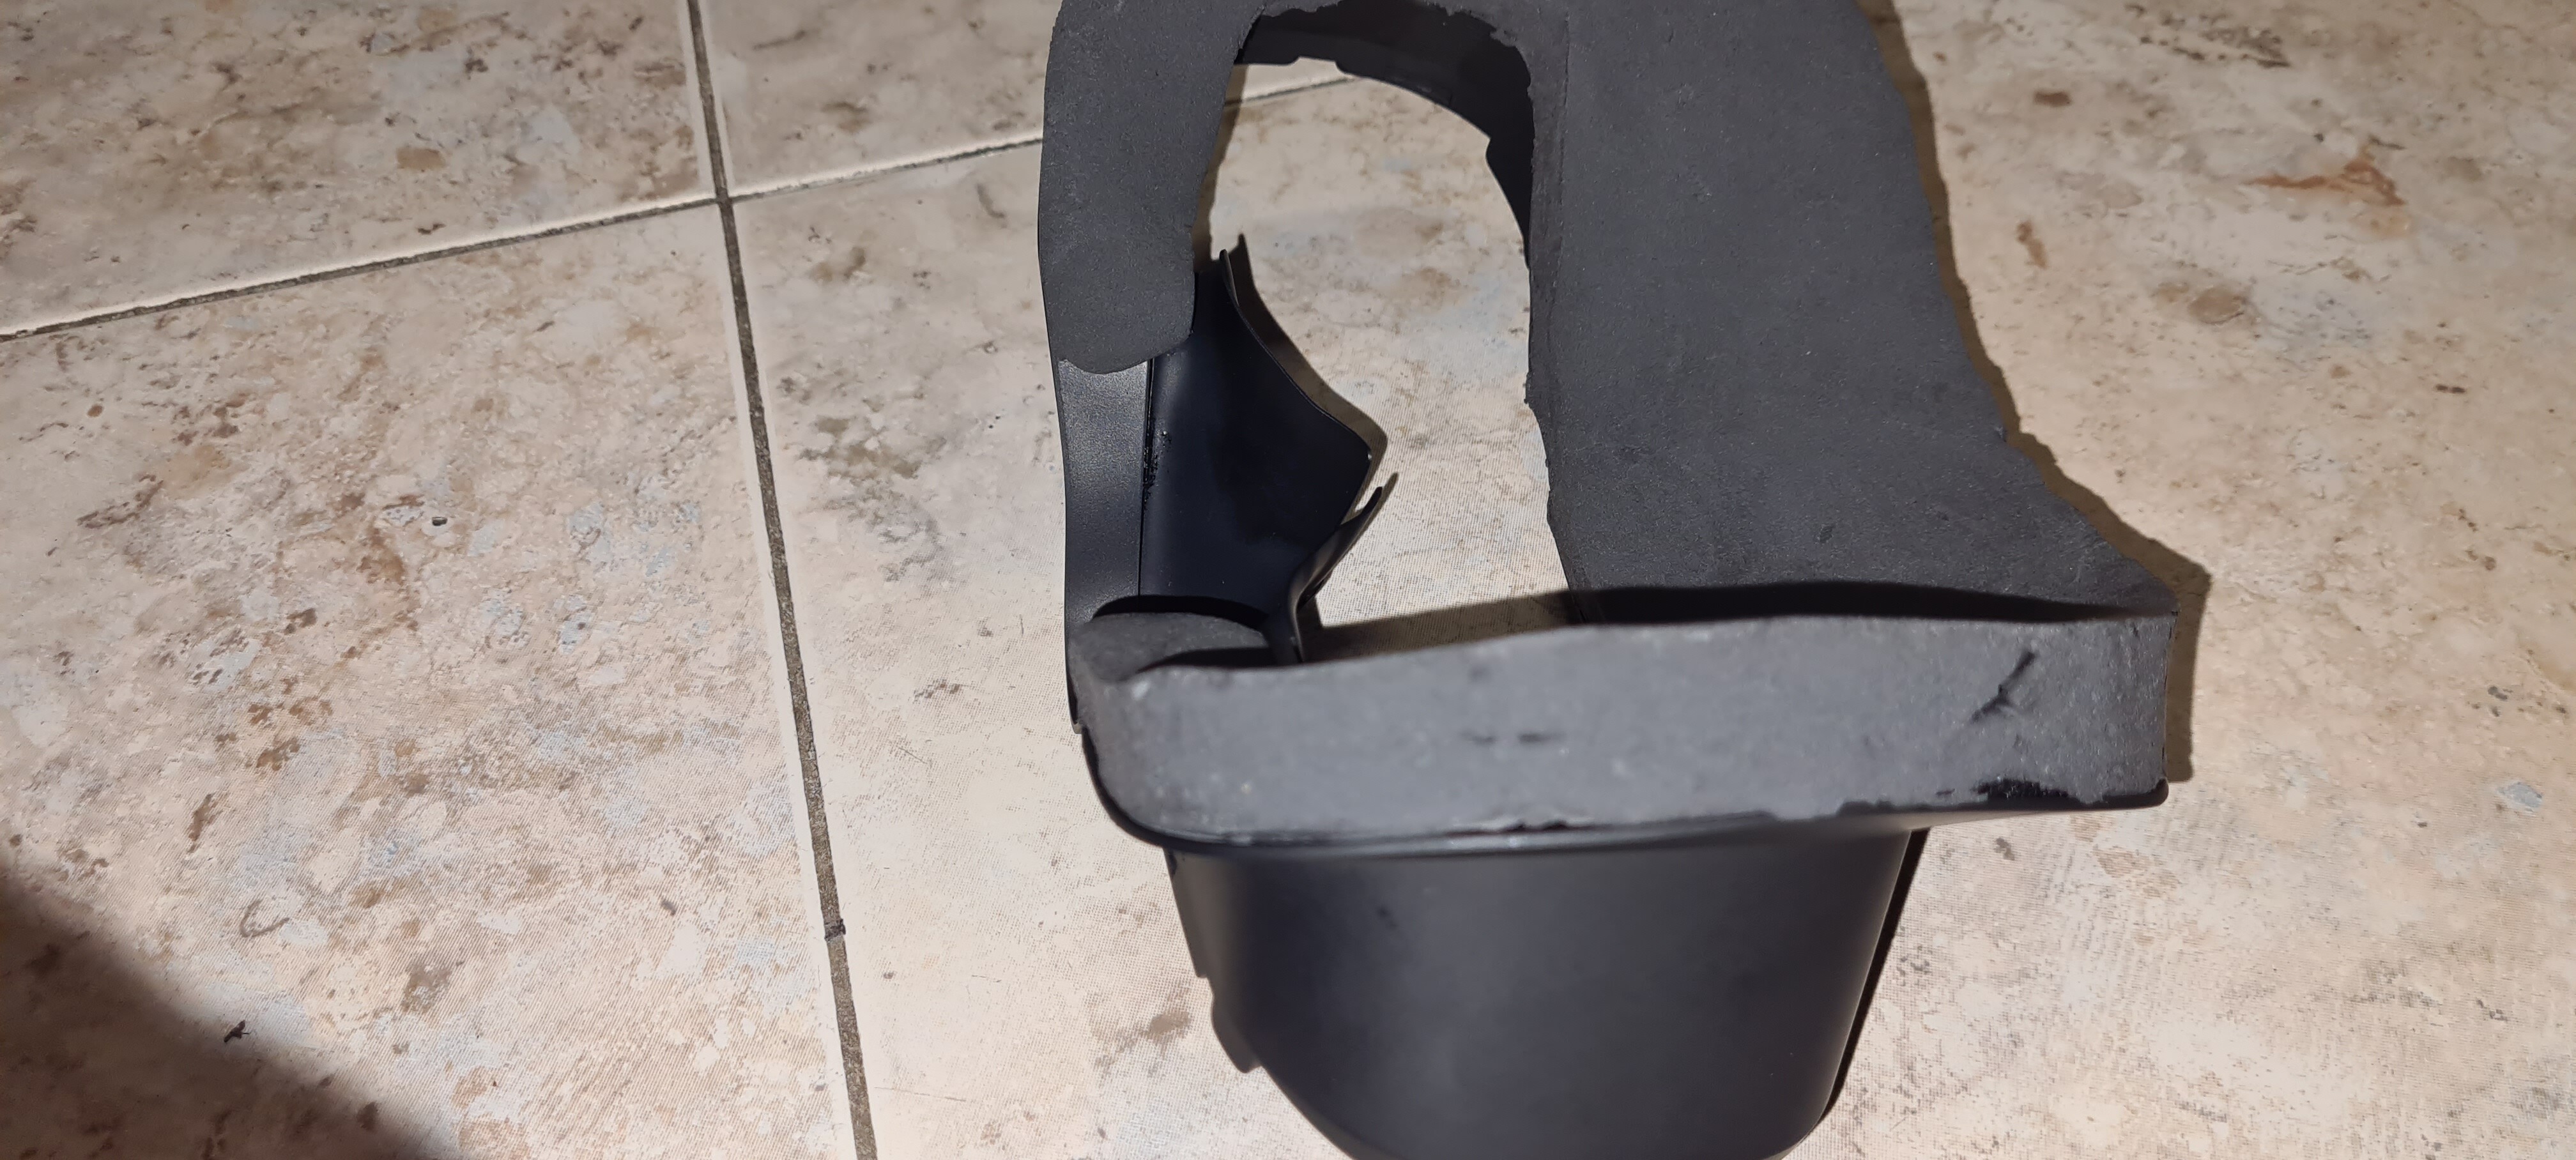
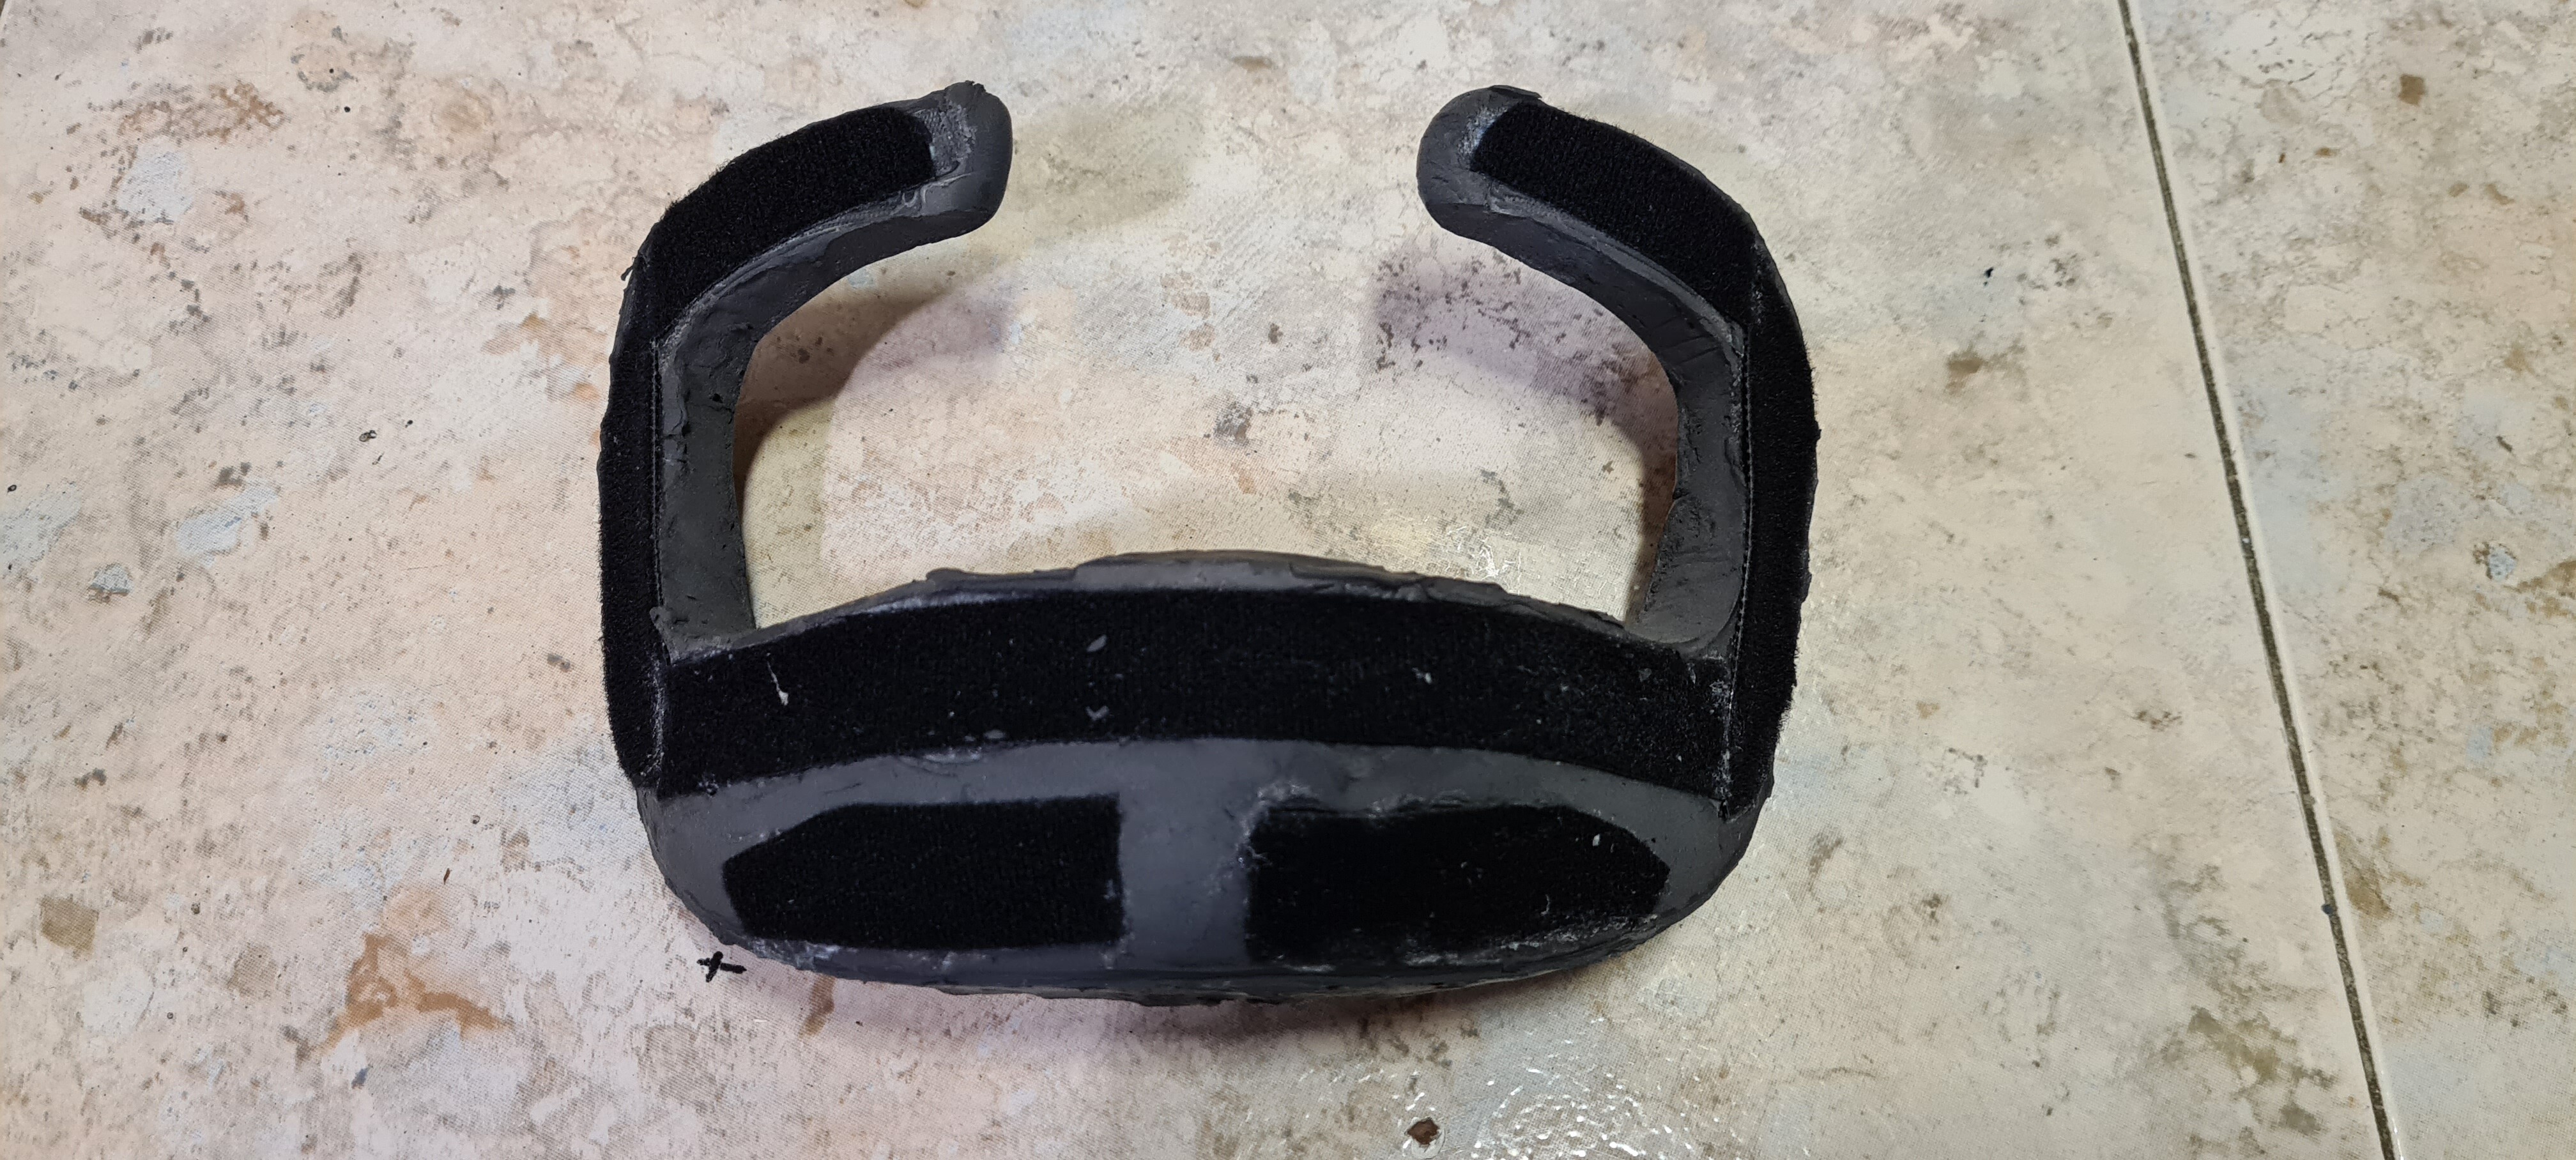
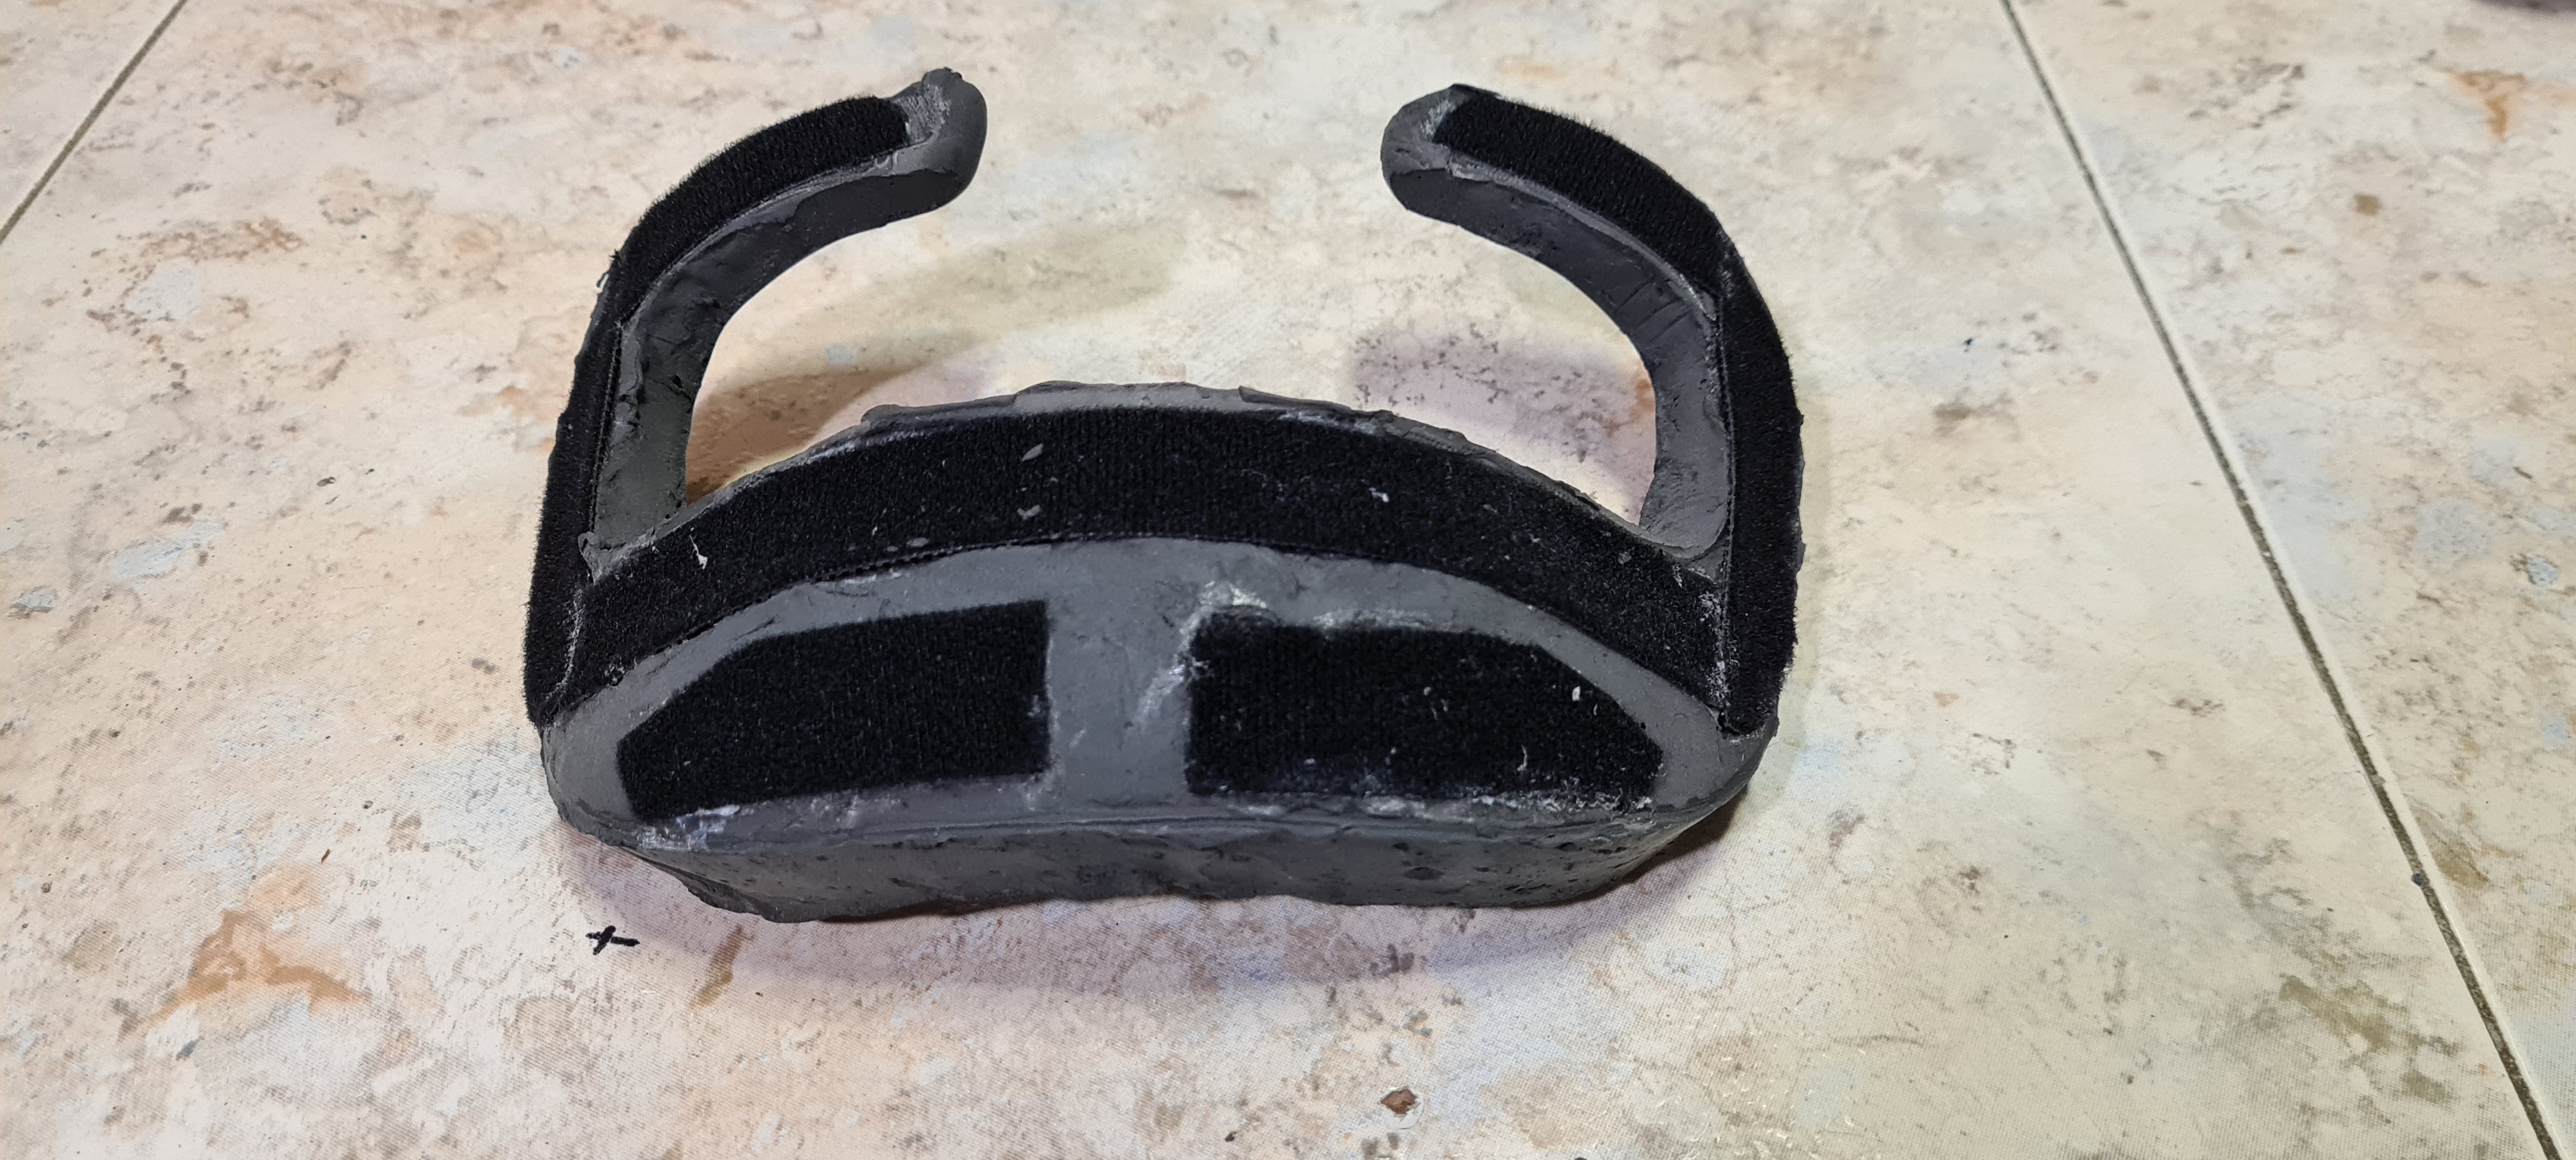
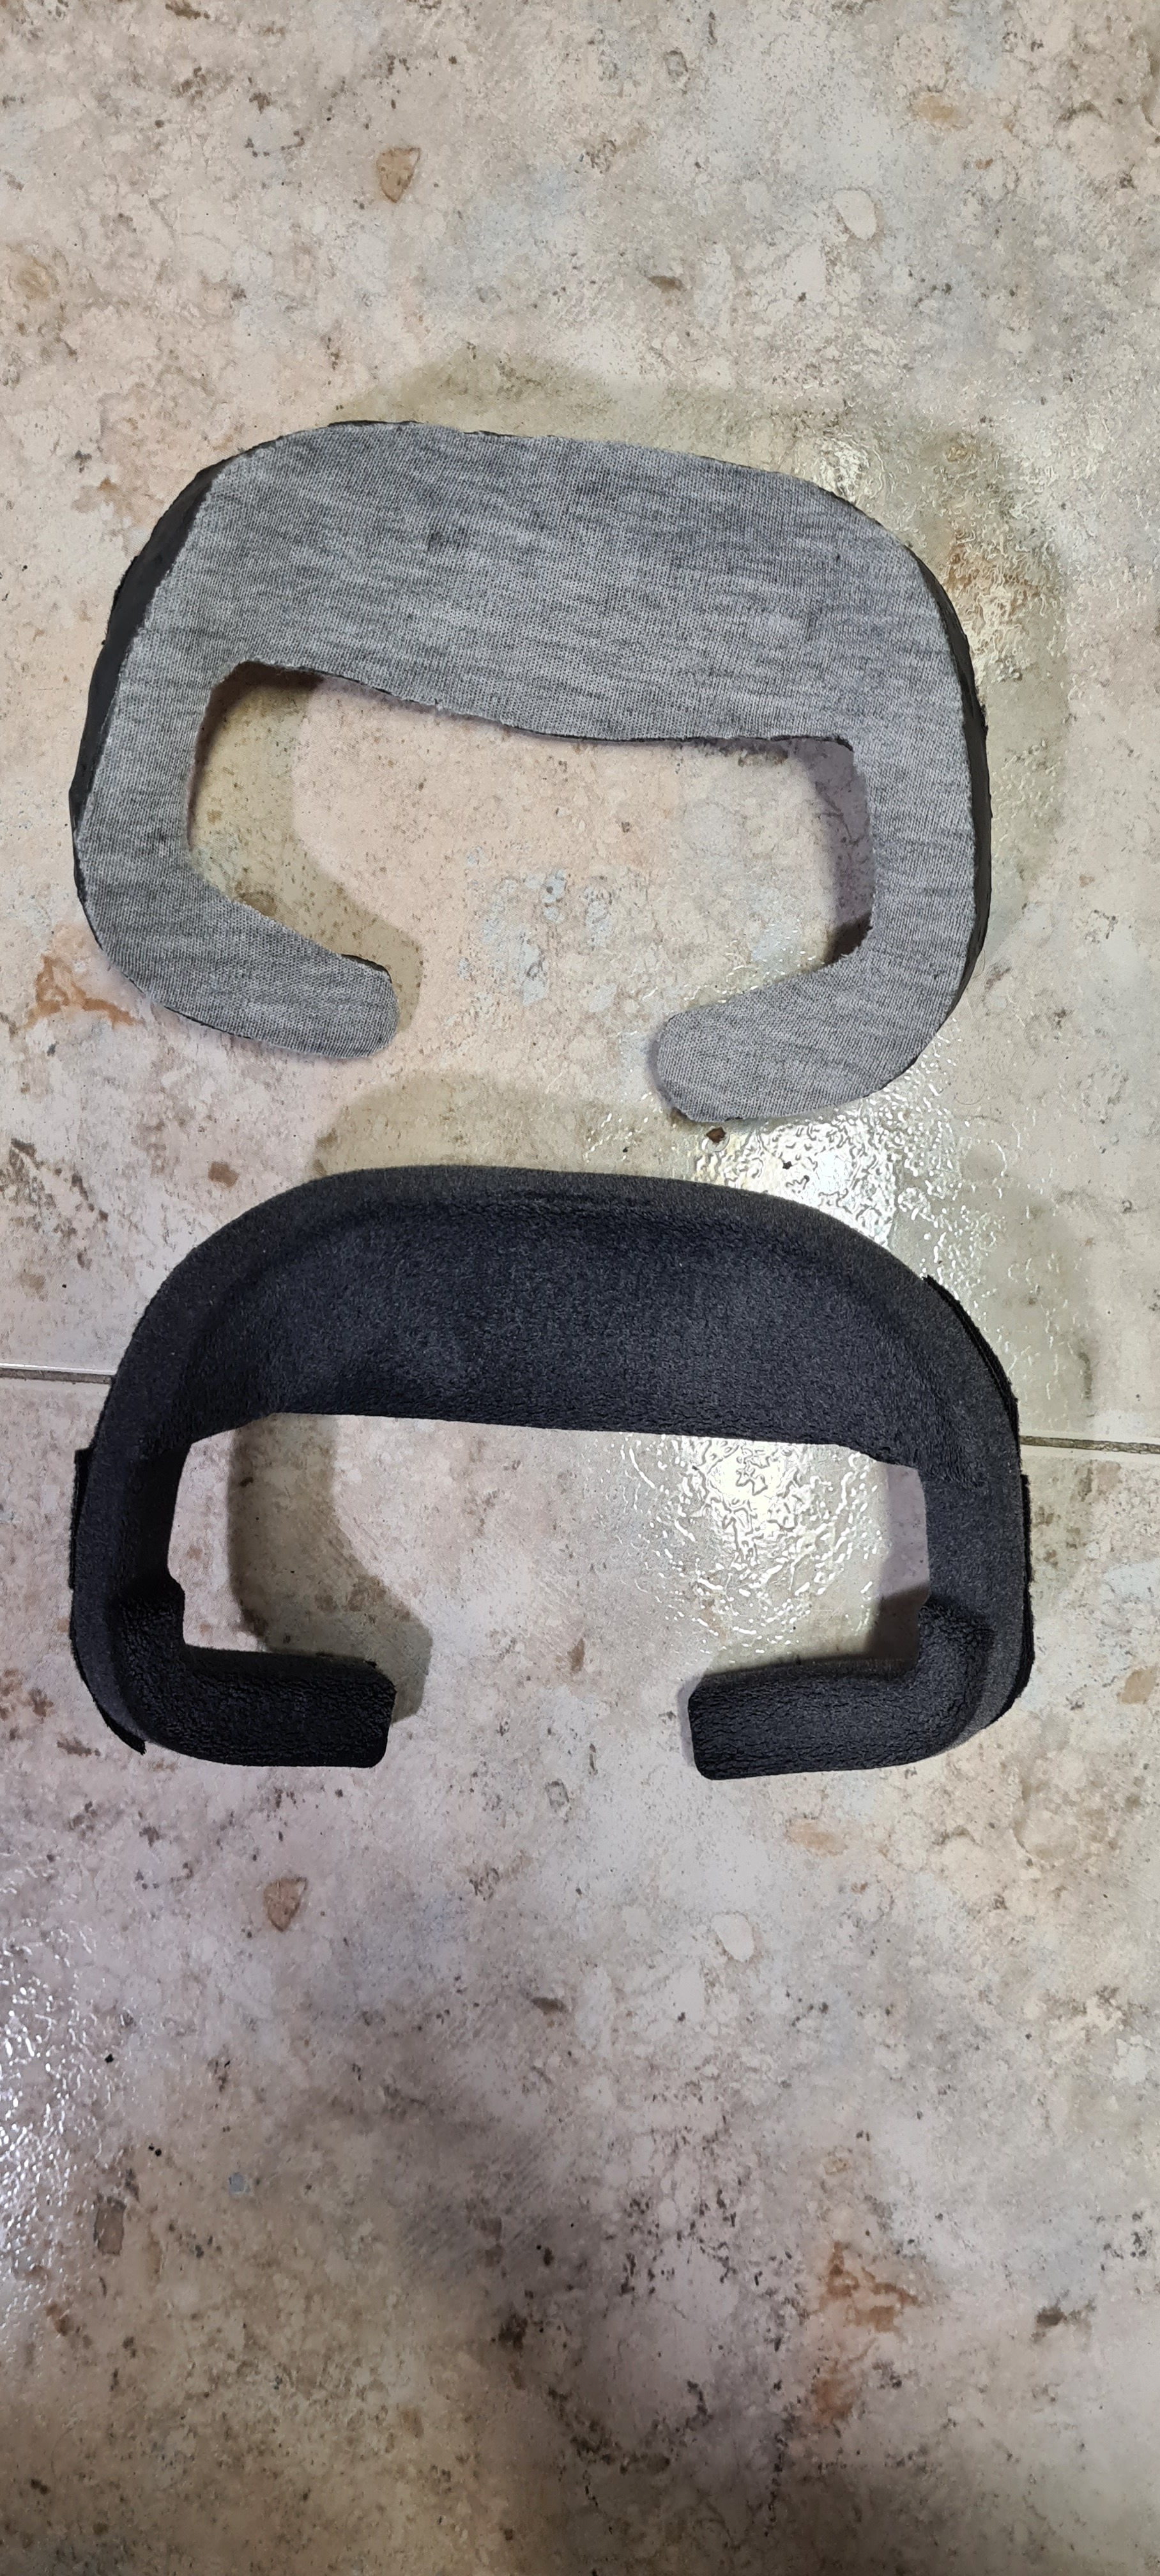
Then trim all the excess, and you will notice that the inside is still soft, it lacks drying. So carefully peel it off the comfort kit and also remove the velcro strips from the foam. They have been marked so that in the end you can stick them in their original position.

To get a total dry, I have needed 2 days. But I have not looked for the ideal lightweight, quick-drying molding material either.
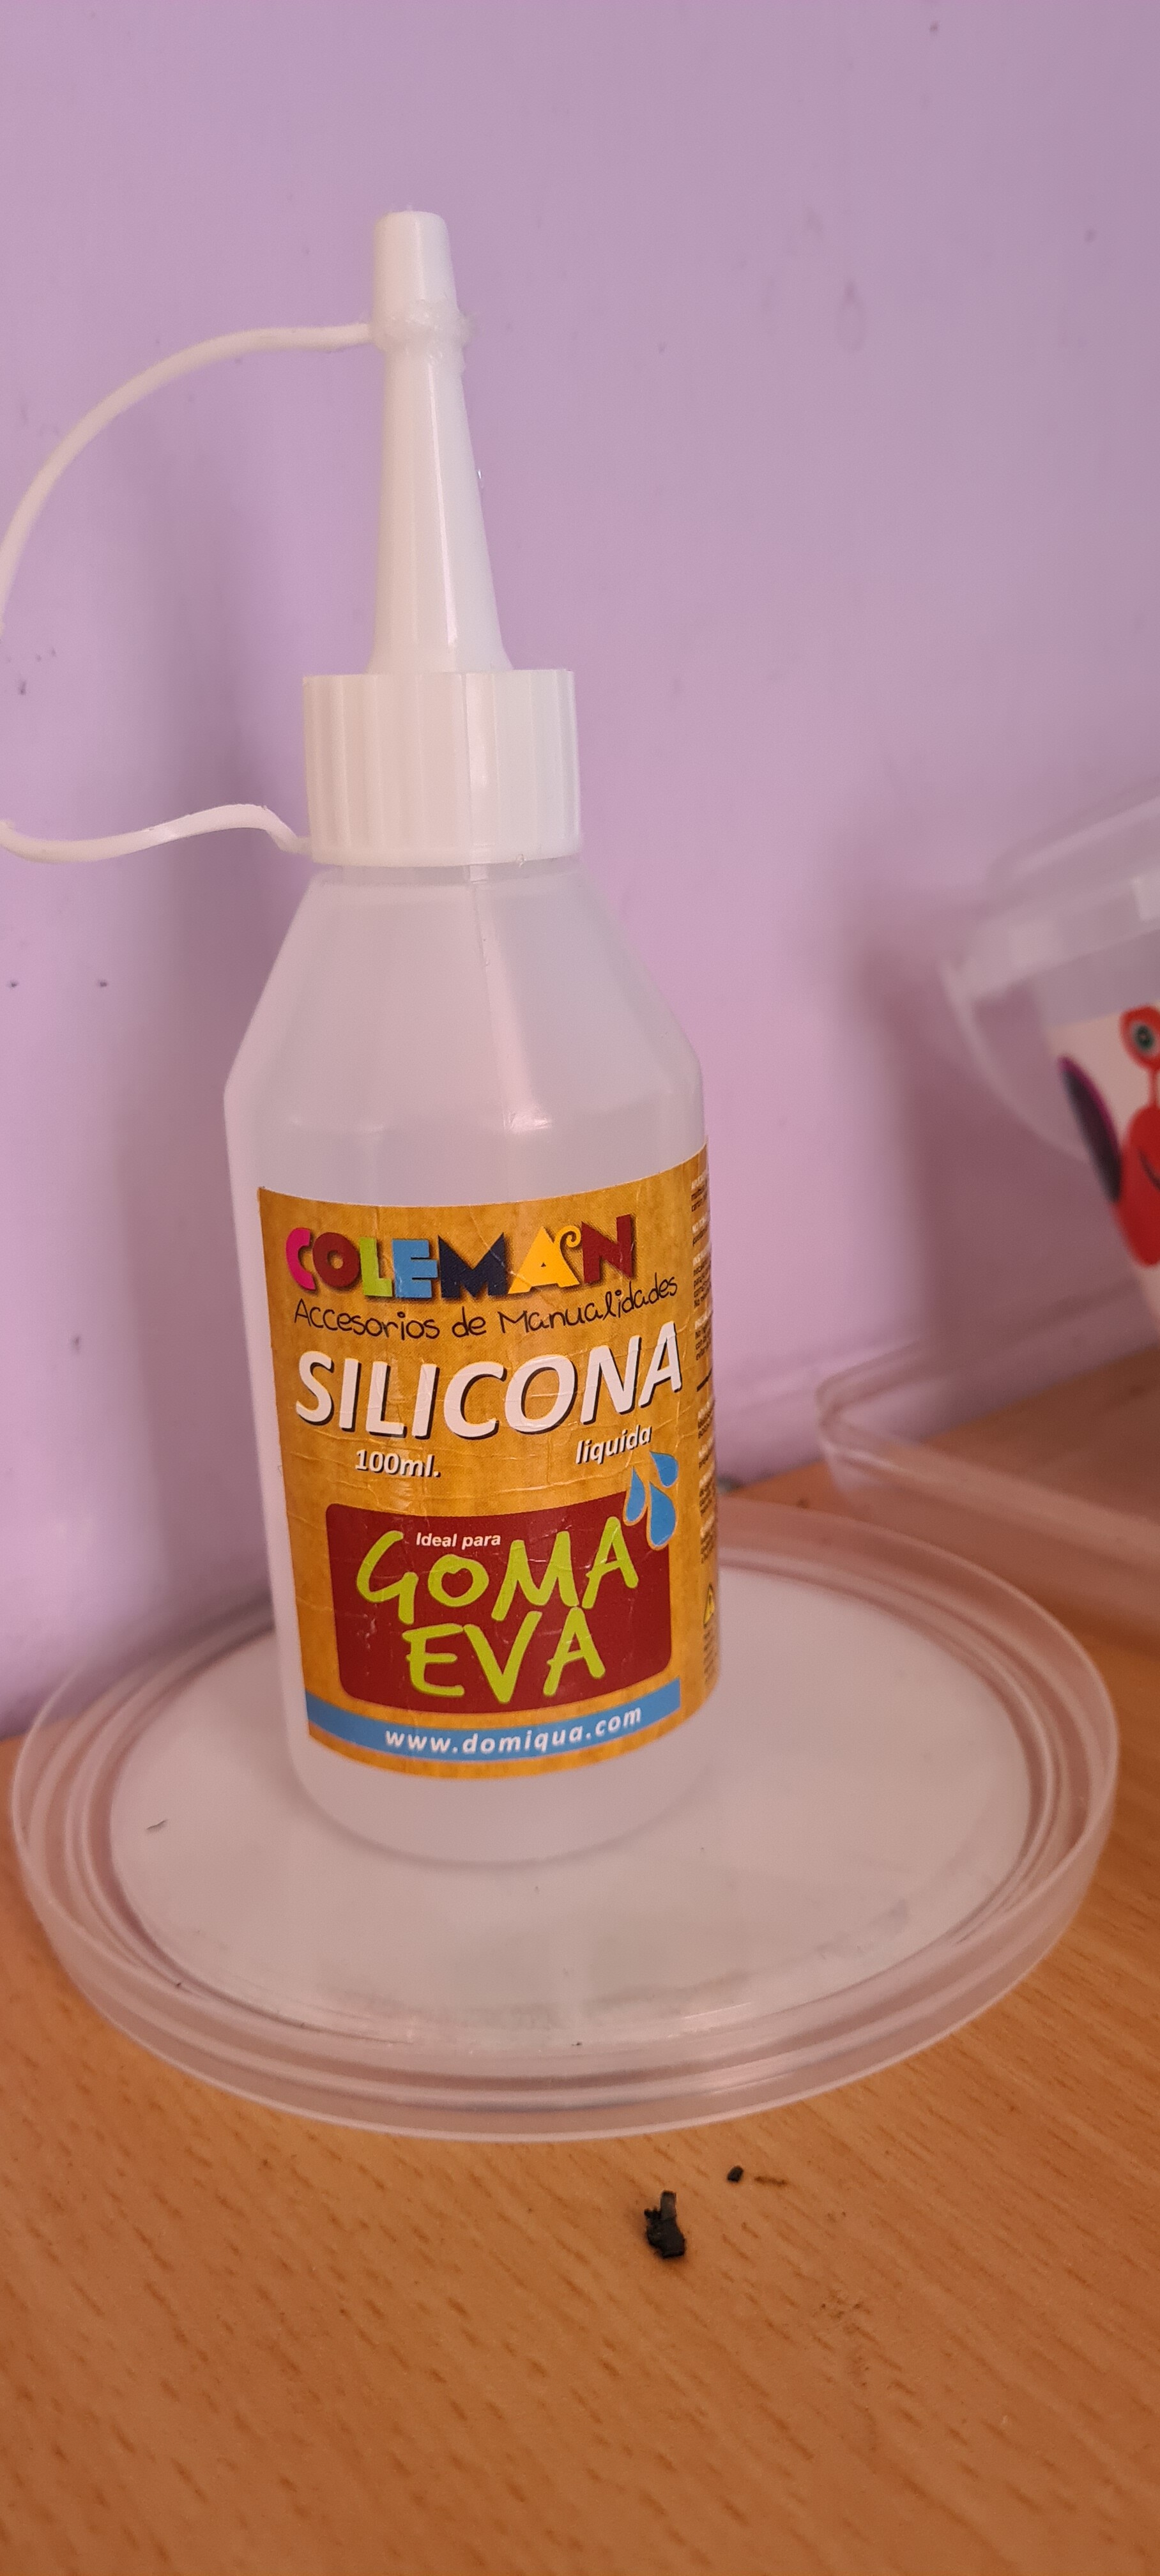
I found this in the Chinese bazaar for € 2.
When you have your mold perfectly dry, stick the velcro strips on their housings with some elastic glue, like liquid silicone for EVA rubber.
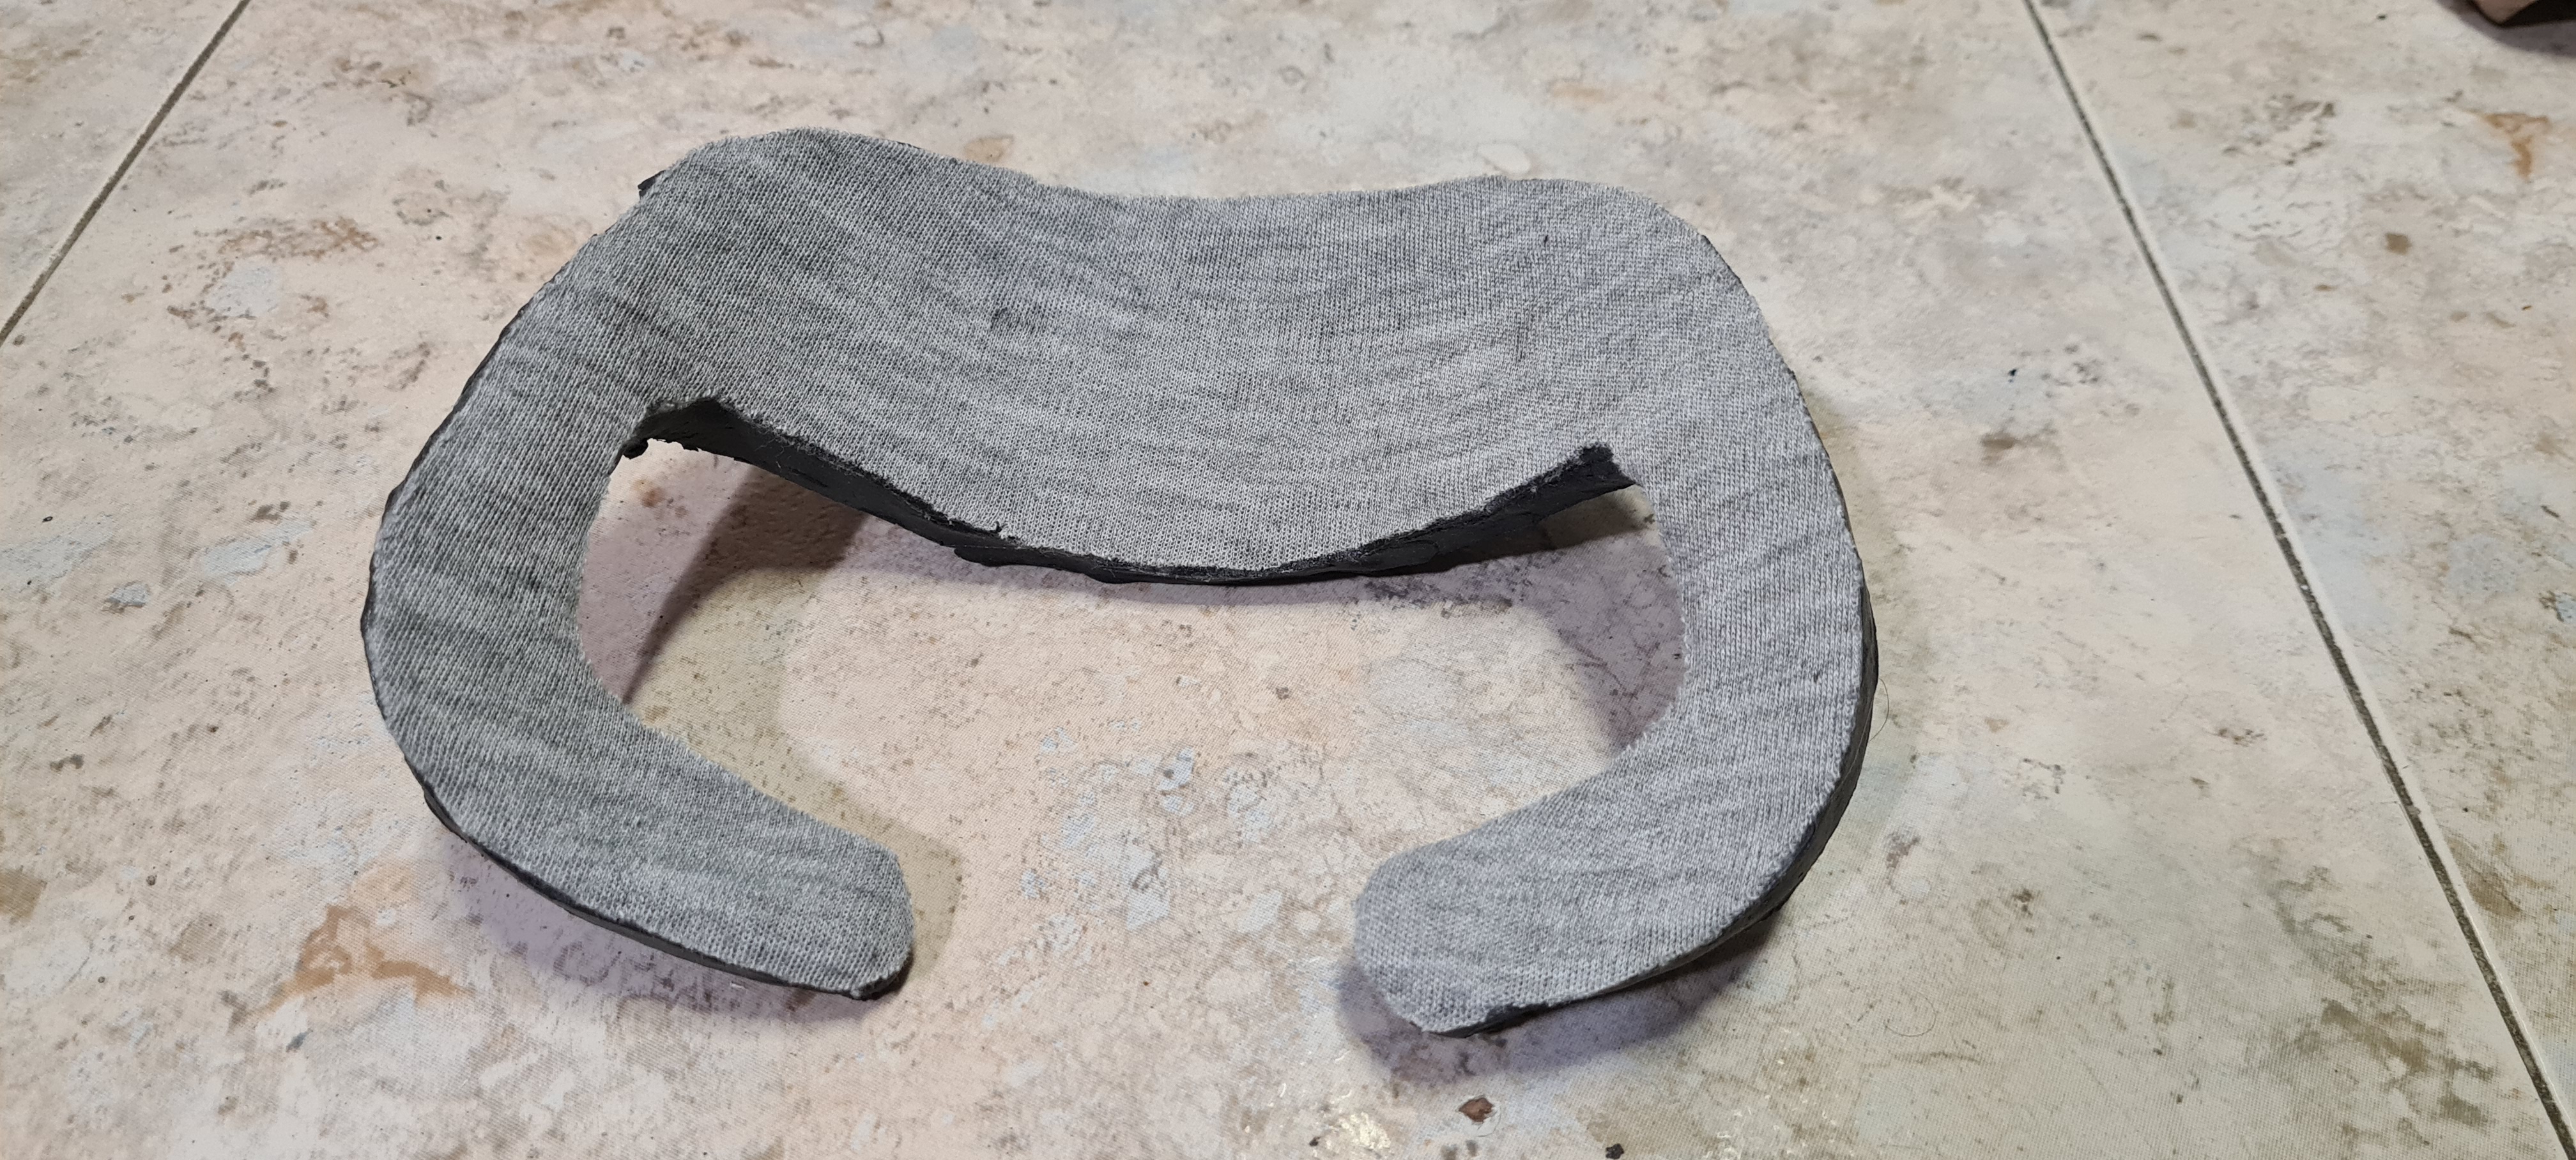
Lastly, I have used cotton fabric from a winter thermal shirt. Cut out a good piece of fabric and stick it on the mold with the same liquid silicone, let it dry and 1 hour. Trim all the excess.
Here I could also have covered the edges with the same fabric and give it a more professional touch, but the rush and the desire to try the invention, I have gone the fast way. (this is a good point to optimize).
In summary, I think it is easy, very cheap and gives you everything you need for an ideal position and comfort. Which is a very disputed point about our Pimax.
I look forward to criticism and constructive comments to improve this first prototype, so that everyone can make one as easily as possible. And treat other aspects such as durability, final aesthetics, comfort and above all what will happen when washing it.
Greetings to all.