Good news for my bespectacled brethren… and sor…sororren? What’s the female version of that word, I don’t know. Regardless, I have news!
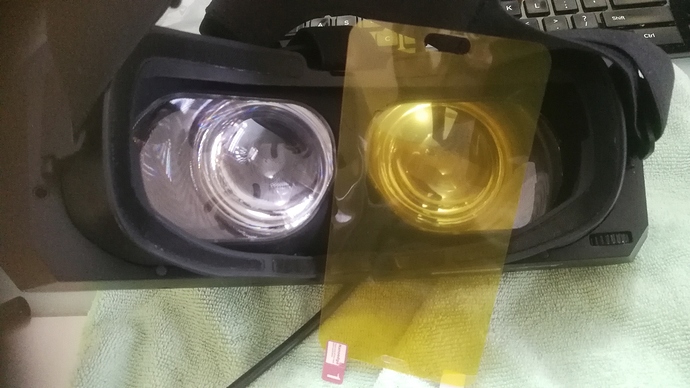
I went ahead and bought some TPU film for mobile phone screens- this is the older style, rubbery stuff NOT the newer glass protection. Here’s what I purchased. And apologies for the crap pics. My phone case kind of hangs over the camera a little ![]()
Rather than going the more civilized way of printing a pretty template from a CAD file I was going to make, I just decided to #yolo it and got to cutting. A couple of pointers here:
-
CLEAN ALL THE THINGS. Wash your hands. Do it well. I used some alcohol afterwards to try and get as much oil off my hands as possible.
-
Use good sharp scissors. This stuff is way more rubbery than I remembered.
Started by trimming the outsides and making a rough shape. Then I layed the film over the lens and started to scribe the outline, while holding the film to the contour of the lens. Then I cut the film a little proud, thinking the excess could be squished into the edges where the cloth meets the lens. In reality you are gonna press and pull on this film, so you might even consider going shy of your scribe lines.
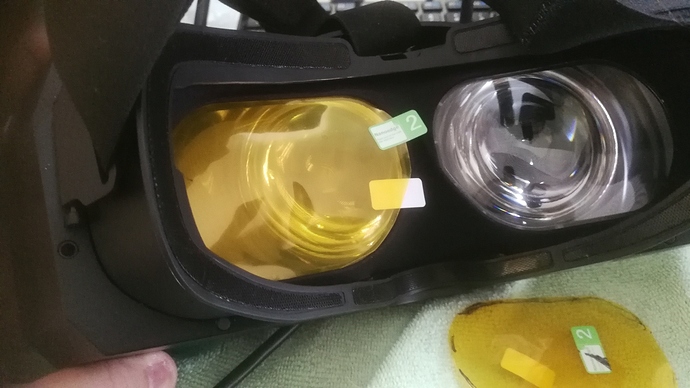
First I scribed the top, then the bottom of the lens. After I was happy with the shape, I just grabbed the second film and cut around the first. Took all of 30 seconds…
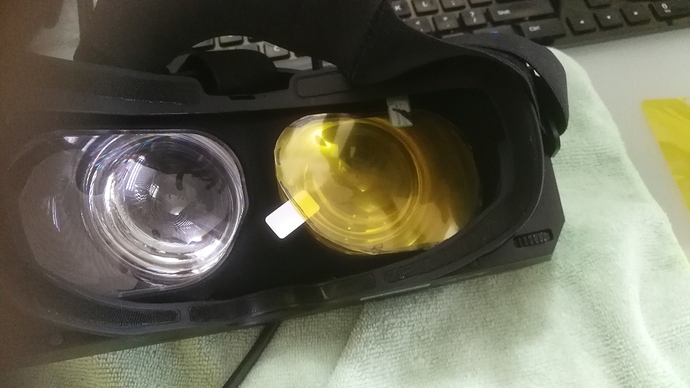
Then I got to applying. I kept the little sticky tabs and re-applied them to the cut film. The yellow is the outside of the film, which I figure probably has some kind of oleophobic treatment. It looks like it will do a good job slowing the accumulation of oils from folks with long lashes. The trick for application is to align the lens film and touch down in the middle- the high point of the lens. Make a perfect center sweet spot. Next you want to work out from the middle in whatever direction (prioritized the nose end) and you’re gonna keep the film taught while you carefully push the film down onto the lens with your other fingers. A couple of tips:
-
This film is pretty forgiving- you can pull it up and re-apply, but be careful how you pull. If you stress the surface of the film it will potentially leave a little streak.
-
Press down with the pad of your finger. DO NOT use a nail or anything too sharp. It will mar the surface.
I made these mistakes so the first lens did not come out perfectly- there was some marring from when I pulled the film up, and there is quite a bit of TPU at the bottom of the lens. I could try to hit it with an xacto knife, but rather than risk damaging anything, Imma just splurge the 7 bucks and give it another go.
RESULT! I tried it out with one lens done (poorly) and the other bare naked. The various little marks from my flubs were absolutely invisible. You would really need to mess up your application to see it on the lens. After checking it a while I am happy to report there is a bonus effect: THE BLACKS LOOK BETTER! That weird haze has been diminished, and the contrast has definitely been bumped in the right direction. I won’t say it’s transformative, but it’s a noticeable difference from the bare lens. My conclusion: DO IT! DO IT NOW!
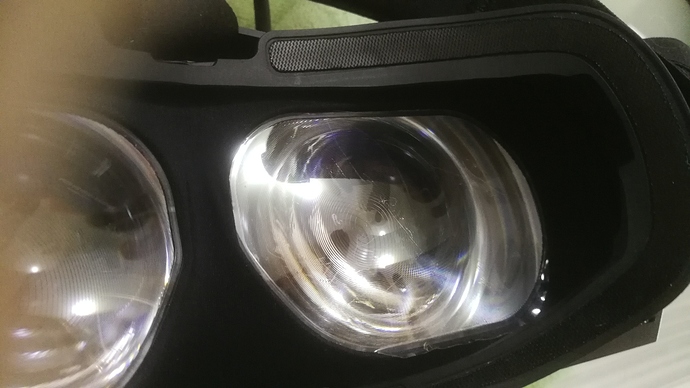
I already had a couple of tiny scuffs from my glasses. This film will improve your view through the lens and stop any scuffing from happening. For seven bucks you’re crazy not to. Like I said earlier, I am going to buy another pack and redo the application. I have a feeling that this stuff will last a long time, so it’s a job worth doing well.
Hope this helps, and good luck!


