I couldn’t post this in games so it’s going into general chat, sorry. Anyway
Recording Large FoV can be a little difficult, especially on the 8k X due to the sheer power it takes. A while back, Sweviver posted a video on how to set up your recording for OBS as part of the Summer Challenge, but I’ve found a much better and quicker way to crop your footage to a proper aspect ratio for youtube without sacrificing a bunch of Large FoV in the capture and how to use VRPerf’s FFR feature in a way which helps mitigate the performance demands, but doesn’t ruin the recording. Show off the wide FoV Pimax can do and don’t worry about dropping to normal yourself if you gotta have the widest vision.
Video guide here on my channel. But for anyone who wants a written guide instead, here’s one. This assumes you know some basics about OBS and followed the VRperfkit’s install instructions

Things you’ll need:
OBS+OpenVR Plugin
Fholger’s VRPerfkit, follow the install instructions.
RTX Card for FFR(Good luck)
CROPPING:
First thing’s first, you’re gonna open up OBS and select OVRCapture as a source. It should look like this.

This obviously won’t fly. Now, instead of doing the method where you right click and “fit to screen” transform then manually enter some cropping numbers in the plugin, we’re gonna do this an easier way.
After clicking okay, left click the top left corner and drag it downward to shrink the capture in size. Do this till you get something which fills most of the screen, but not all of it. Something like this.

From there, you’re going to alt+left click on the sides of the image, clicking and dragging to manually crop, just like this. You don’t want to crop out too much from the right(And especially left side, that’s your centered view) because the point of this is getting as much horizontal FoV as possible. But, we still gotta sacrifice some if we want to avoid the black bars, so get it around this point.

Repeat this for all sides until you’ve removed most of the black bars. At that point, drag it to the top left corner and it should look something like this. Your exact crop may vary somewhat depending on what you want to get.

From there, normal left click, NOT with Alt, and drag the crop till it fills the whole screen and snaps into place. From here, you may need to fine tune your crop somewhat, cut out a little more vertical FoV, expand the horizontal a bit, make some fine tuning and tweaks to your personal liking. But in the end, you should get an image like this in your recording.
Large FoV:

Now, to quickly compare to both normal FoV cropped via the same method to see how much more you get, and then uncropped large to see how much you lose
Normal FoV:

Uncropped Large FoV:

Now, you do still lose a chunk of horizontal FoV in the cropping, but you gain just as much, if not more, FoV over normal, at the cost of a very tiny sliver on your left side. So yes, there might be a little bit viewers would not see, but it’s a small portion of the peripheral.
Do not that HAM seems to impact the crop somewhat on a game by game basis, but overall I’ve found a crop like this works for just about everything I’ve used and has almost no empty space to space of.
That out of the way, time for the FFR part, which less people probably know about and is the real exciting thing.
USING FFR WHILE RECORDING:
Anyone who’s taken screenshots using this feature, be it Pimax or the VRPerfkit, probably knows some stuff looks wonky on it. If you go with the default settings on my crop, some games it looks awful on in the video. Take a look at this worst case scenario I found.
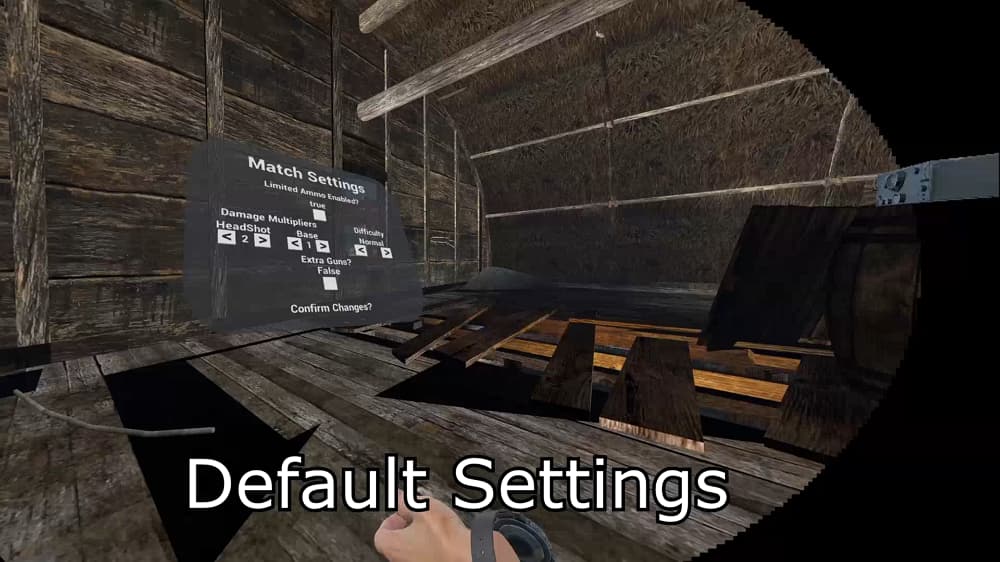
Looks awful and ruins a bunch of your FoV, don’t it? It is NOT this bad in the HMD, I wanna stress that. Sometimes, it won’t look anywhere near this bad and may even look like it’s not there, but these settings are designed to prevent any worst case scenarios and potentially losing a bunch of footage due to game/map variance.
Open up the VRPerfkit.yml, go down the FFR settings, and make them look like this.

A few quick notes. The only one you need to follow is the outerRadius. You can fiddle with the innerRadius and midRadius to your liking, I set them slightly lower to save on performance and make up for increasing the 1/4th area vs 1/16th. Do this and even in the same map, you won’t see this issue.

The performance gains from this, at least on Pavlov, were quite impressive and helped make up for the performance hit of recording and the insane demands of 4k per eye.
In the same area, with FSR on and these FFR settings, I got 84.45 average FPS. With FFR off and FSR on, I got 71.4, with FSR and FFR off, native quality, I got 66.46.
Do note, I only tested this in Pavlov due to time, performance gains will vary from game to game, and FFR may not even work this way due to some game engines getting really temperamental about it, but when it does that can be a meaningful jump. I did not test with just FFR and no FSR, because in the games I play FSR had a negligable impact on quality and I use it whenever I can.