Pimax Backer Box Installation Guide
Congratulations!
You have received your new Pimax Backer Box!
Installation of your stretch goal items included in your Backer Box will dramatically improve the operation of your Pimax 5K+, 8K, XR, 8K Plus or 8KX headset.
Some of the benefits of installing this kit include:
- Dramatically Increased Comfort
- High Quality integrated sound with strong bass response
- Height of the speakers are adjustable
- Soft replaceable ear cups included
- Decreases the time it takes to wear and remove your headset
- All foams are replaceable and upgradable later
- Nose Guard prevents light leaks around your nose
- Silicon Sleeve Protects your headset from drops and bumps
- Included thicker foam has cutouts for headset use with glasses.
If you have not used your Pimax VR headset recently we ALSO encourage to tryout our latest Pitool and Pimax Experience software app! The new Pimax Experience software is a free app that optimizes your SteamVR settings for maximum resolution and detail and acts as an optimized game launcher. You can download the latest Pitool and Pimax Experience here:
Pimax VR Experience 0.60.00 https://drive.google.com/file/d/10jKI8OwonLlXx0sM2Qdw2YwxkaVDudih/view?usp=sharing
PiTool 1.0.2.084
https://drive.google.com/file/d/1GbqVsJOigAA_qlY6akJT64tiMCnX1R5U/view?usp=sharing
With the new hardware installed and the latest Pitool with the Pimax Experience installed it will feel like you have purchased a new VR headset and we encourage you to checkout the countless improvements that are now part of the experience!
Here are the items included in your Kit:

BACKER BOX INSTALLATION STEPS:
Installation of the hardware parts included in this should require less than 15 minutes and does not require any special tools.
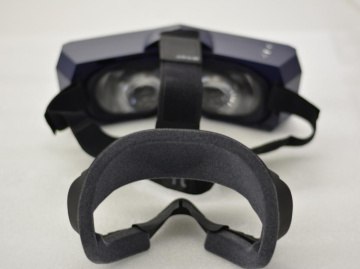
STEP 1 : Remove the original face cowling. To do this you must apply pressure on the cowling towards the center of the headset and pull. The plastic face cowling comes out and can sometimes require a fair amount of force to remove. (Note: You will install the comfort kit after the KDMAS is installed)
STEP 2: Remove the soft head strap by peeling back the Velcro.
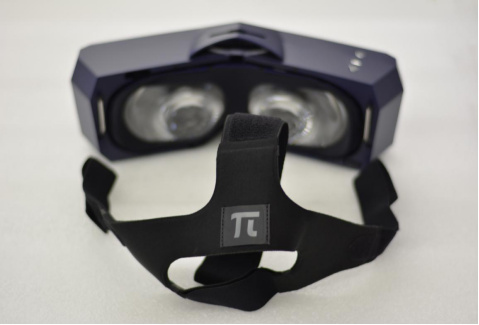
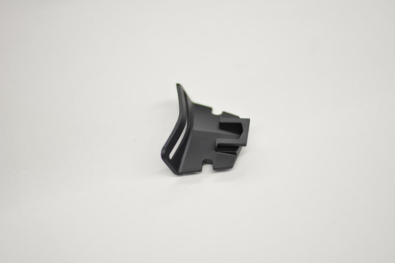
STEP 3: Install the KDMAS Adapter to the end of the KDMAS soft headstrap (the part that touches the top of your head). Feed the end through the loop on the KDMAS Adapter. The bracket with the slide should be facing UP.
STEP 4: Add the included ear cups to each KDMAS speaker.
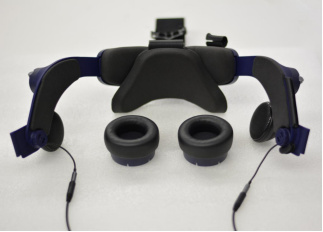
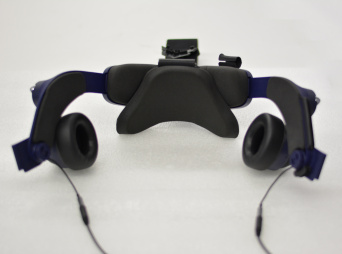
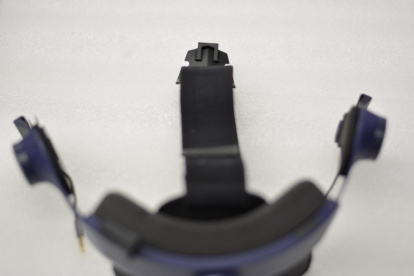
STEP 5: Clamp the KDMAS Adapter to the top of the headset. The adapter does not go inside the aperture, but the clamp is pushed down from the top.
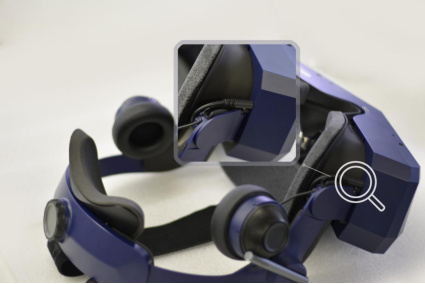
STEP 6: Snap the left and right KDMAS hinge to the left and right hinge rod to attach the KDMAS to the headset.

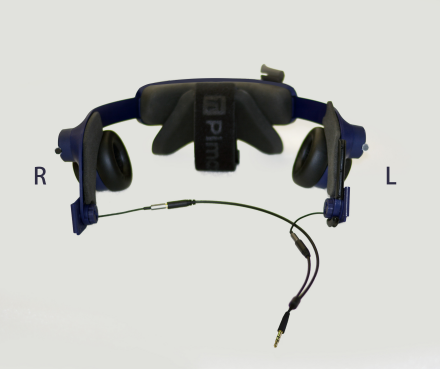
STEP 7: Attach the included audio Y Adapter and plug the audio jack into the LEFT audio jack on the headset. (Note: If you connect it any other way the audio quality will be negatively impacted.)
STEP 8: You can now install the Comfort Kit face cowling. Push it into the headset into the same position the original face cowling was located.
OPTIONAL STEP: Install the Silicon Sleeve by stretching the silicon sleeve over the body of the headset. This can protect your headset from drops and bumps.
Important Backer Box Usage TIPS! (Please Read)
Now that your headset upgrades are installed it’s time to put it on and test it BUT FIRST a few things are important to know:
Note 1: It’s a good idea to rotate the KDMAS hinge downward. This may require a bit of force the first time, but good rotation is required to properly position the headset on your head.
Note 2: The KDMAS is designed for the rear foam to cup the lower part of the back of your head. The foam should NOT be positioned above your ears but instead it is designed to cup the lower curve if your head at ear level.
Note 3: It’s important to use the position of the headset to align the position of the speakers. The included soft speaker cups should be touching your ear if possible. You can also use the integrated slider to adjust the height of the speakers.
TROUBLESHOOTING
Question: My audio quality is not good or I cannot hear strong bass response.
Answer: 1) Make sure the soft speaker cups are installed, 2) make sure you are using the Y adapter and plug into the LEFT audio jack, 3) Try to position the cups as close to your ear as possible, preferably touching your ear, 4) Make sure the jacks have a good connection.
Question: I cannot achieve the comfort level I wish with the KDMAS.
Answer: Make sure you position the rear foam low on the back of your head. In some cases, it requires some force to rotate the hinge downward to properly position the headset. Once properly positioned most people find the comfort excellent.
Question: I am having trouble removing the original face cowling. It seems stuck!
Answer: Some people have success by working their way around the original cowling pushing it inward right at the point where it mates to the headset housing. You can then pull it out as you move around the edges with some added force.
If you have ANY further questions, we are happy to help! Please contact our help desk and we can assist you! Thank you for your support!
Your Pimax Team