@Starraker Lens Adapter
This is a description of the push-fit prescription glasses modification for long sighted people using the Pimax 4K.
This modification is non-invasive and will as far as I know preserve any warranty and will allow for use by several users of the same Pimax 4K.
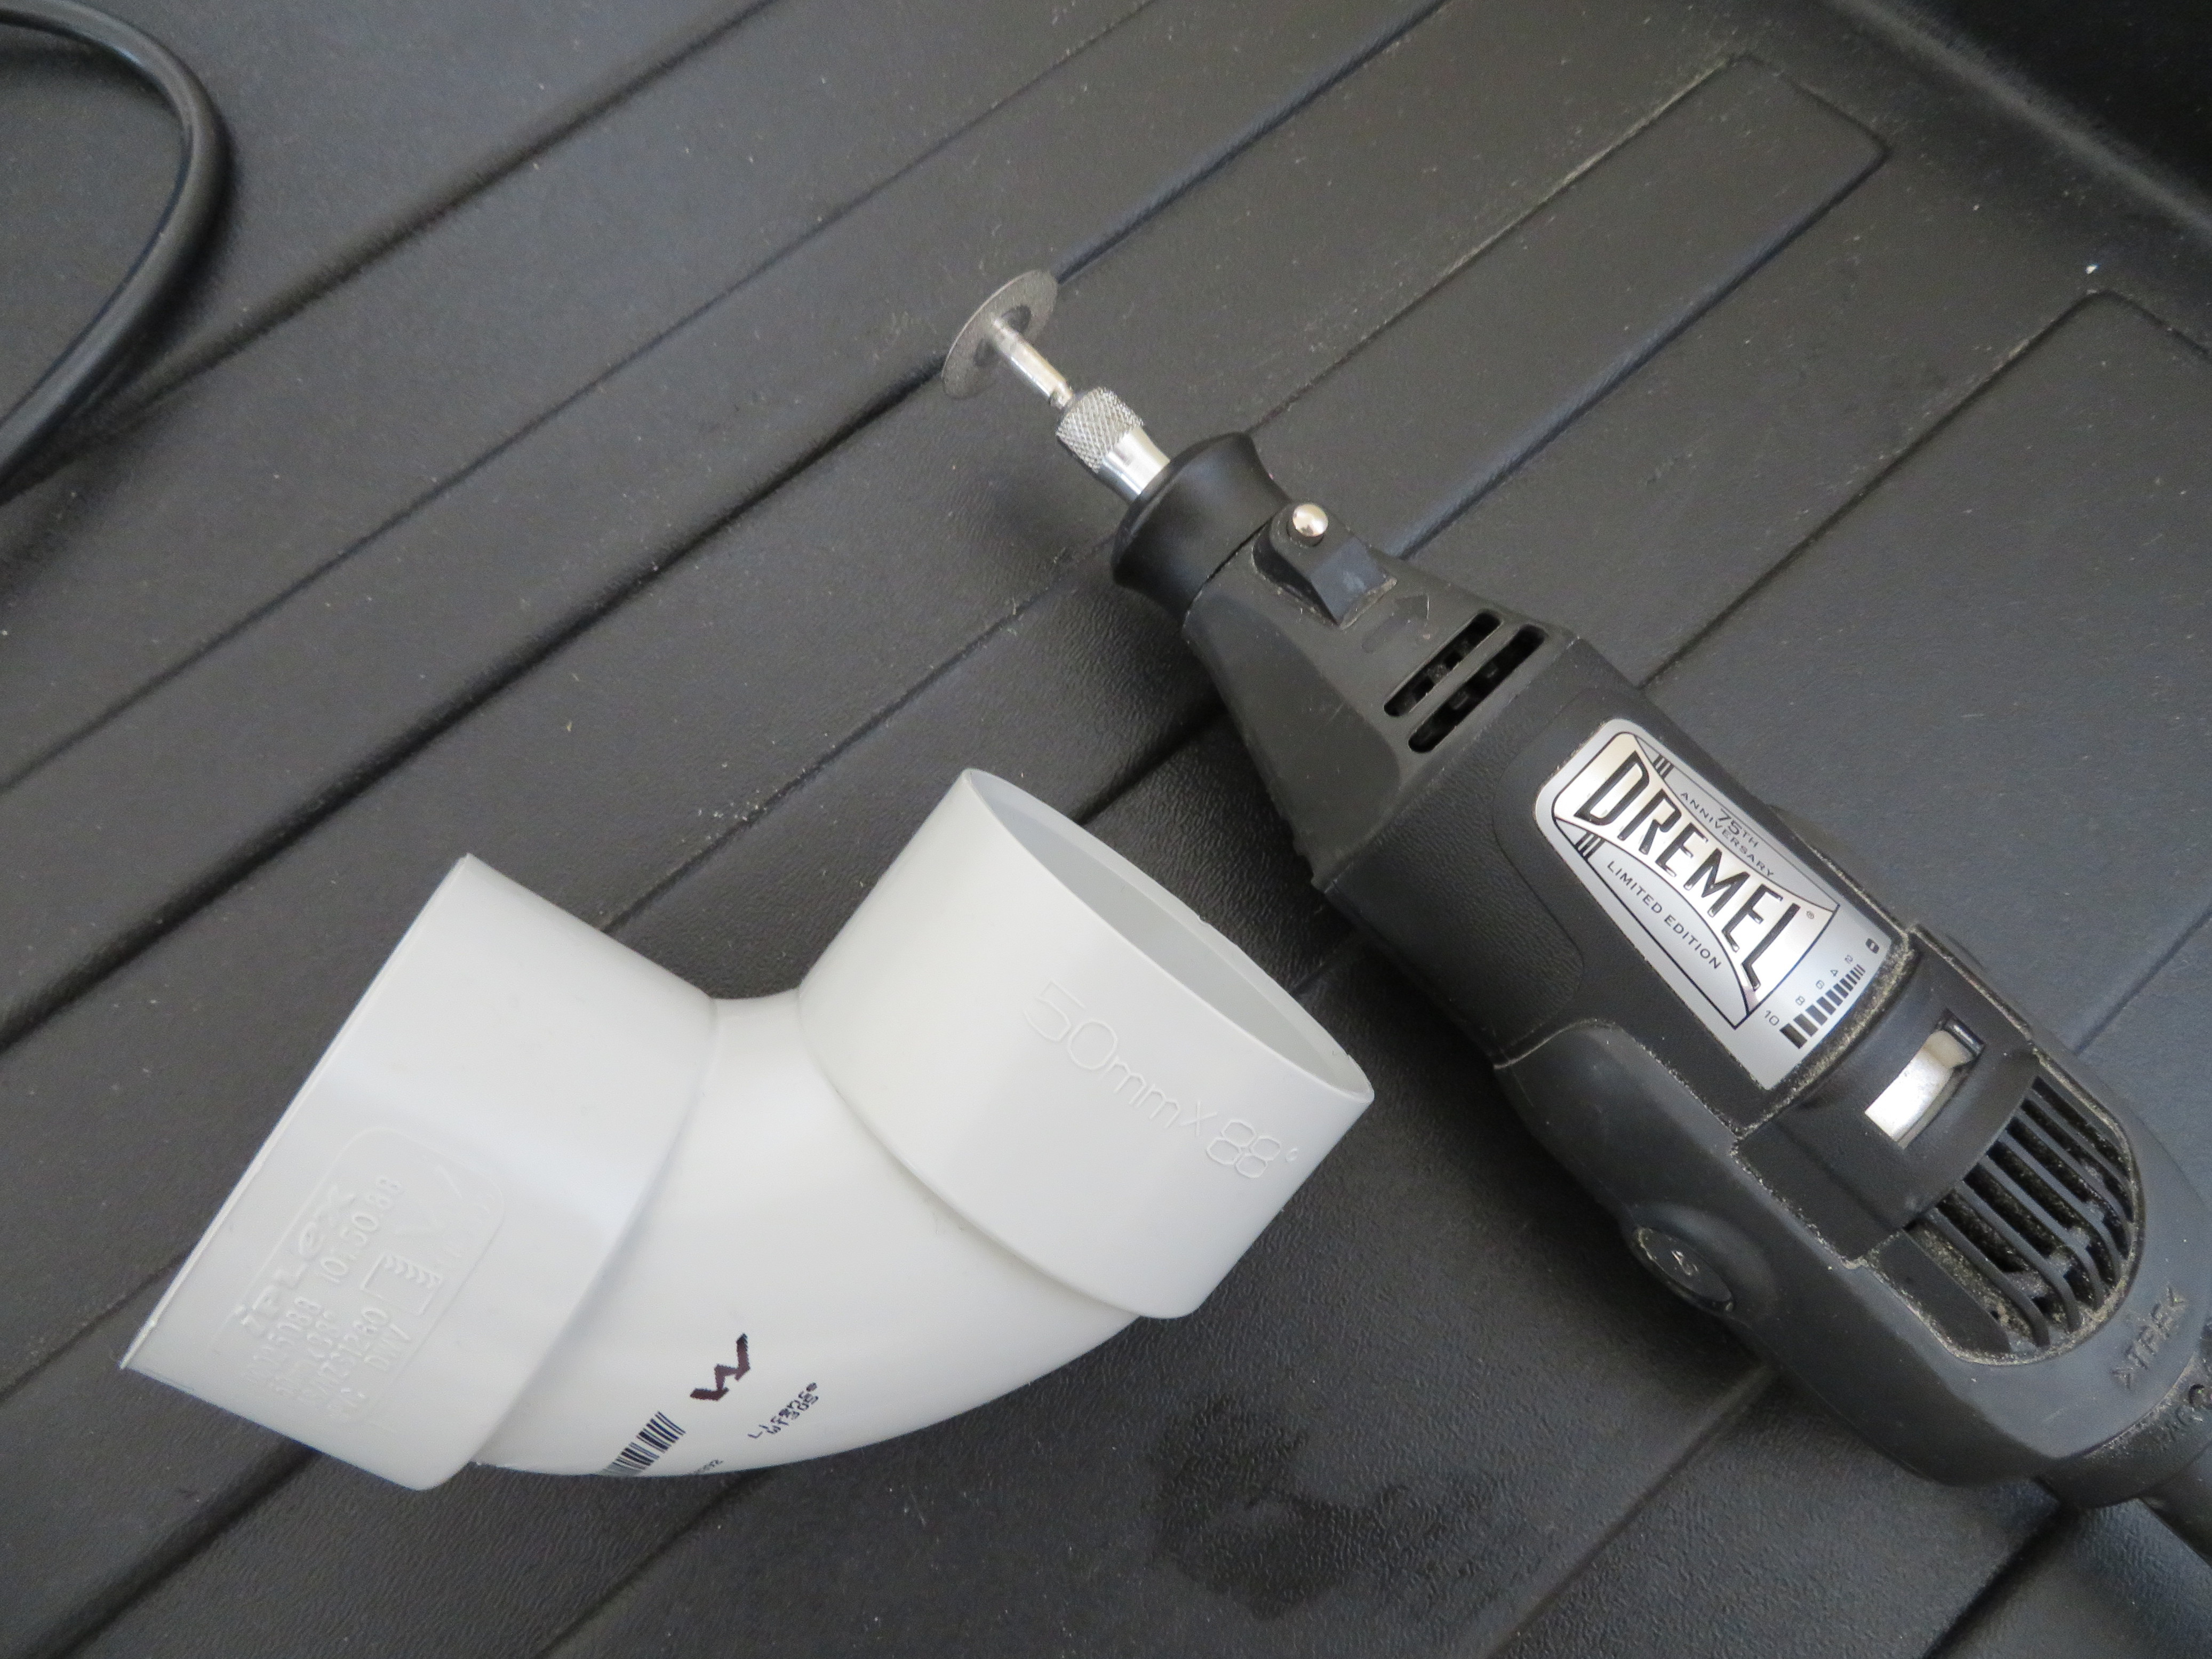
To perform this bit of magic you will need to buy a 90 cent plumbing fitting from the local hardware (get 2 in case you mess up your first attempt) and some two part epoxy glue. The part I purchased is an IPLEX uPVC 50 mm x 88 degree bend (part number D0025068 bar code 9 311381 150392) but any fitting with two outlets that take a 50 mm plumbing pipe (internally) will do. You will also need a DREMEL with a diamond cutting wheel (other cutting wheels will do provided they are meant for metal or plastic) - refer to the following photo
You will also need a set of reading glasses of near to your prescription - I used the cheap plastic ones you get from your local newsagent or service station for less than $20 - if you have a choice choose black plastic framed large glasses rather than the skinny ones. Alternatively you can use a set of prescription glasses that you have spare - you will need to remove the arms - so do not use your good ones.
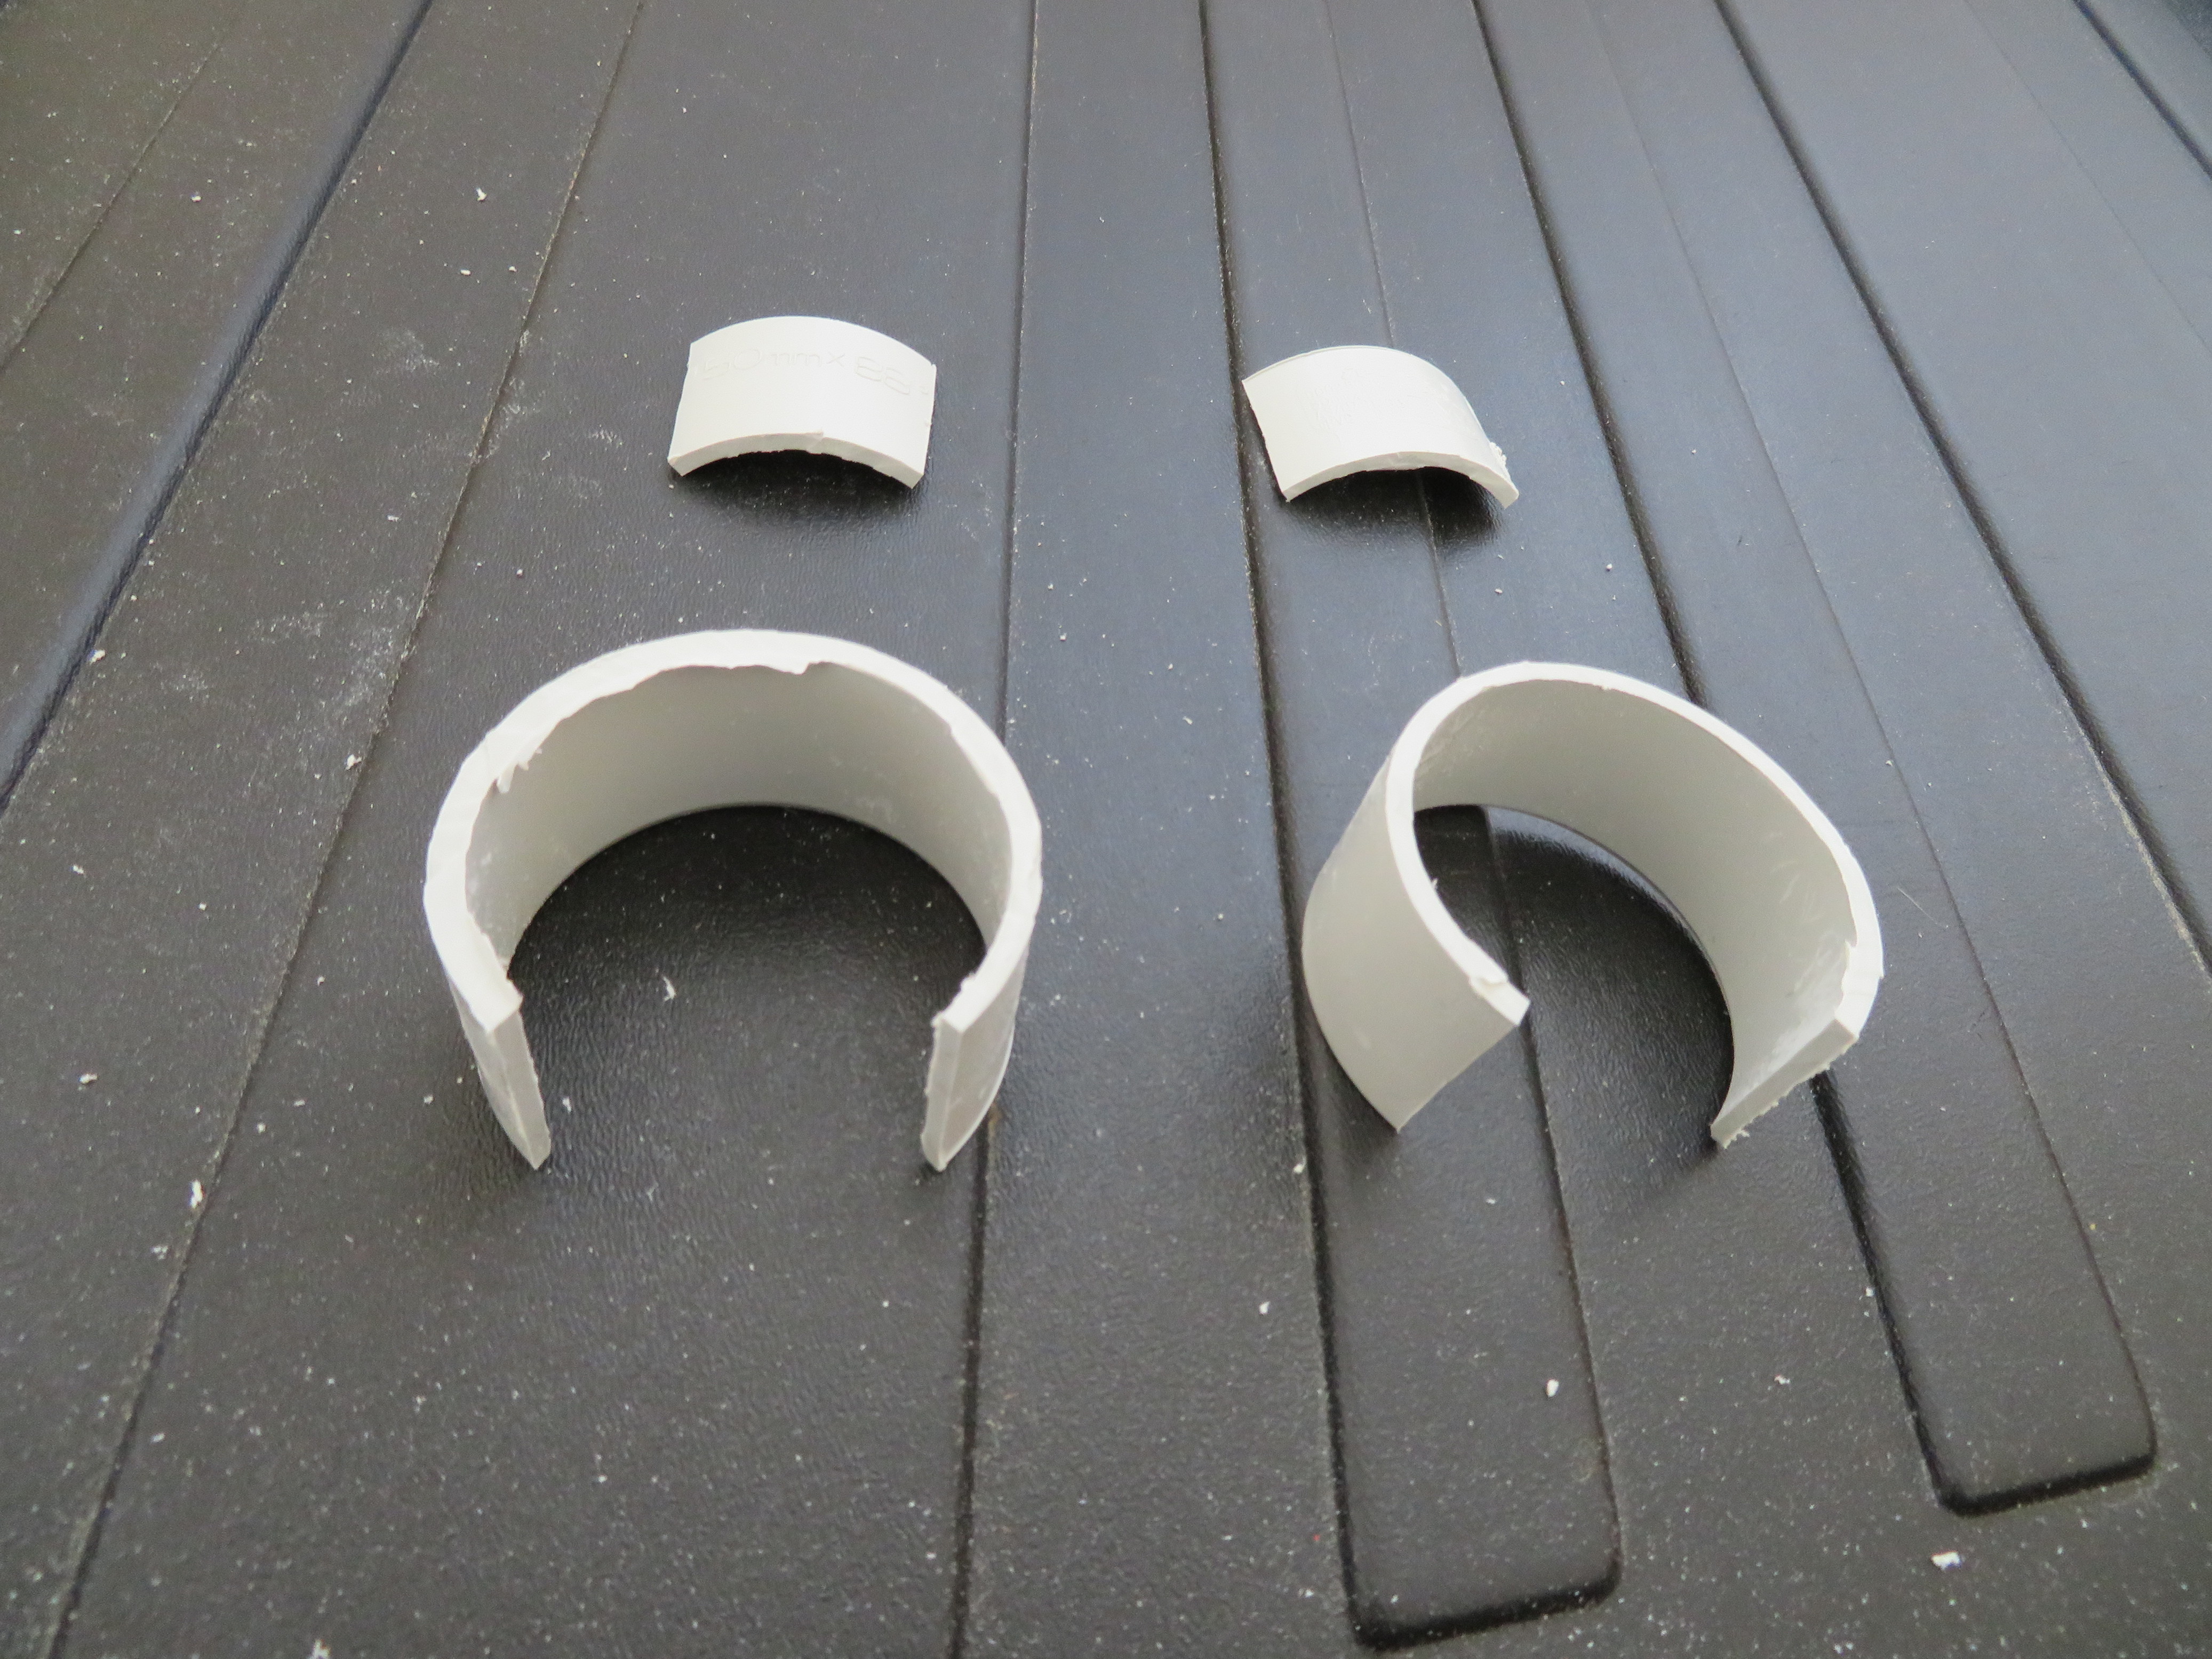
To start cut 2 tubes off the fitting - leave about 3 mm of plastic closest to the bend. When this is done cut out a segment from each tube so that they fit into the Pimax over the lenses (refer to the following photo). Trim as necessary and bevel the end edges slightly
When that is to your liking push fit the plastic parts over the two lenses in the Pimax and make sue that you have the manufactured edge down and the cut off edge upwards. Once you are sure that they are fully down mark (with a felt marker pen or pencil) on the plastic fitting the top of the Pimax lens (this is then is the reference line). The reference line you cannot cut below in any operation (if you do start again with one or two more tubes).
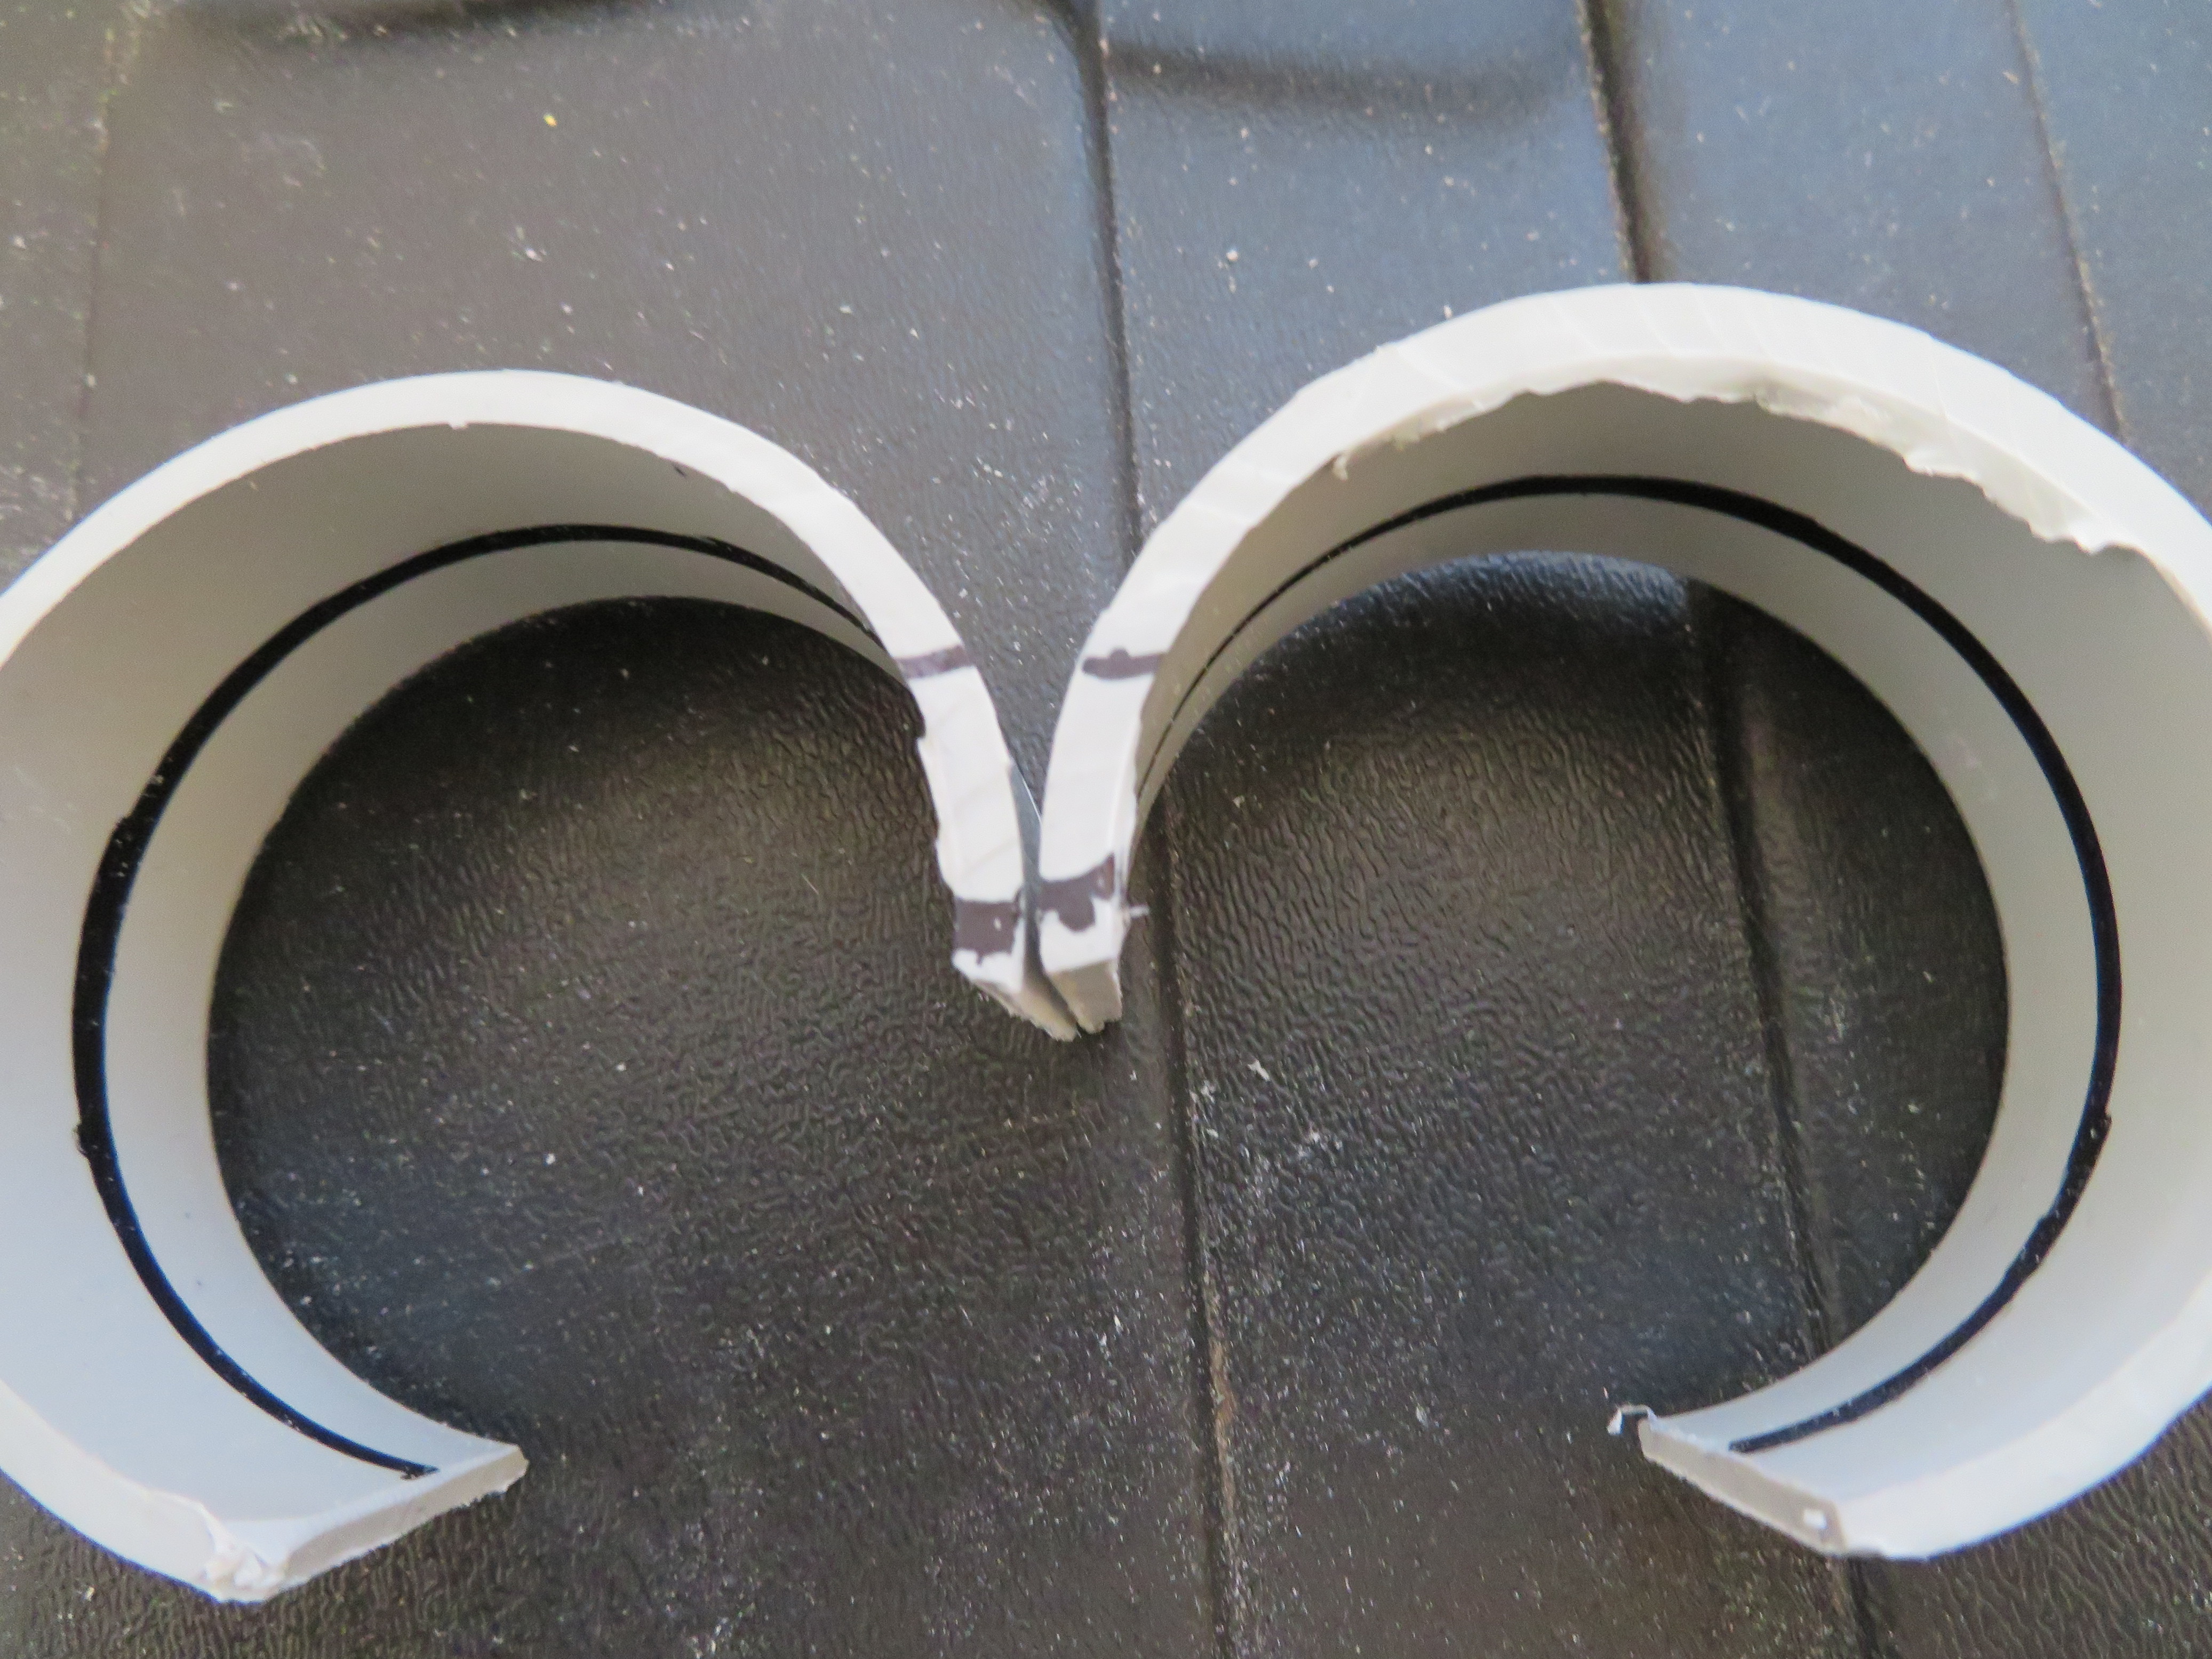
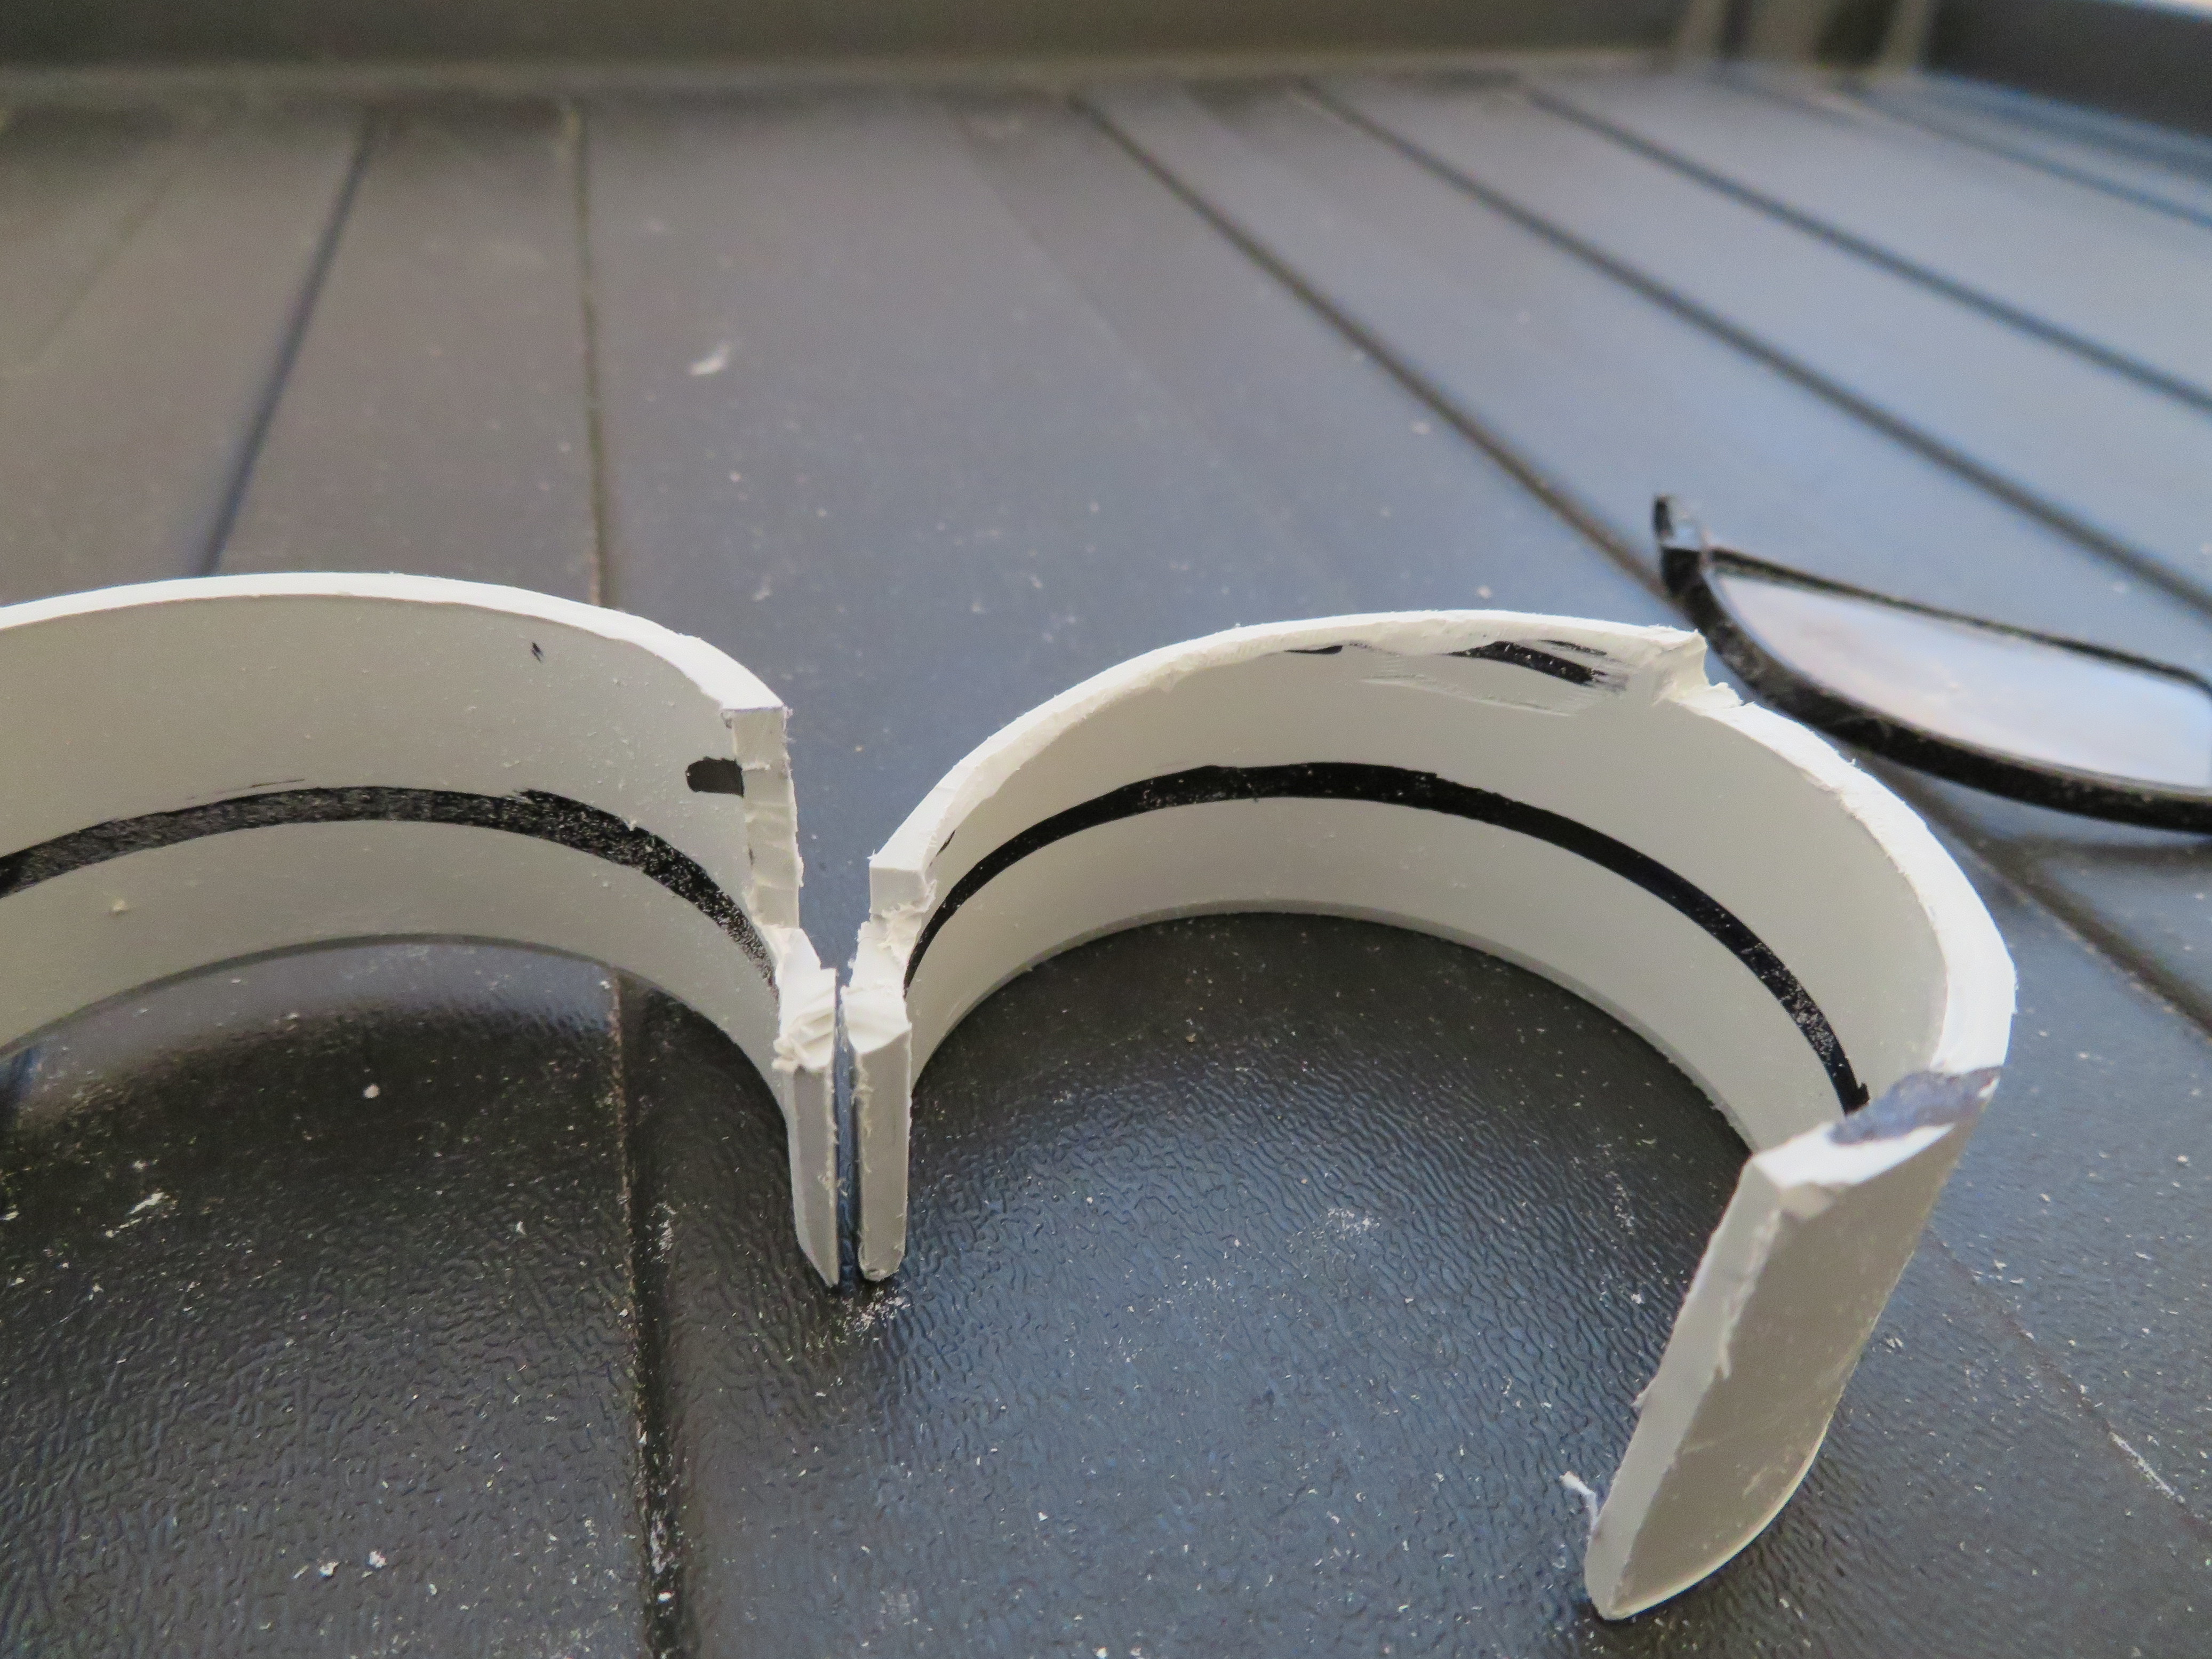
Ok now rest your glasses on top of the tubes and mark the position of the glasses bridge on the plastic fitting then cut vertically down the tubes to the reference lines or slightly above (I did mine slightly above) - refer to the following photo
Once these are cut (no need to polish at this stage) rest the glasses bridge in the cut-outs with the two fittings pushed together and the glasses balance left to right and up and down and marked to outside of the glasses on the fittings and cut vertically down the fitting at the correct angle to suit your glasses about 5 mm (refer following photo).
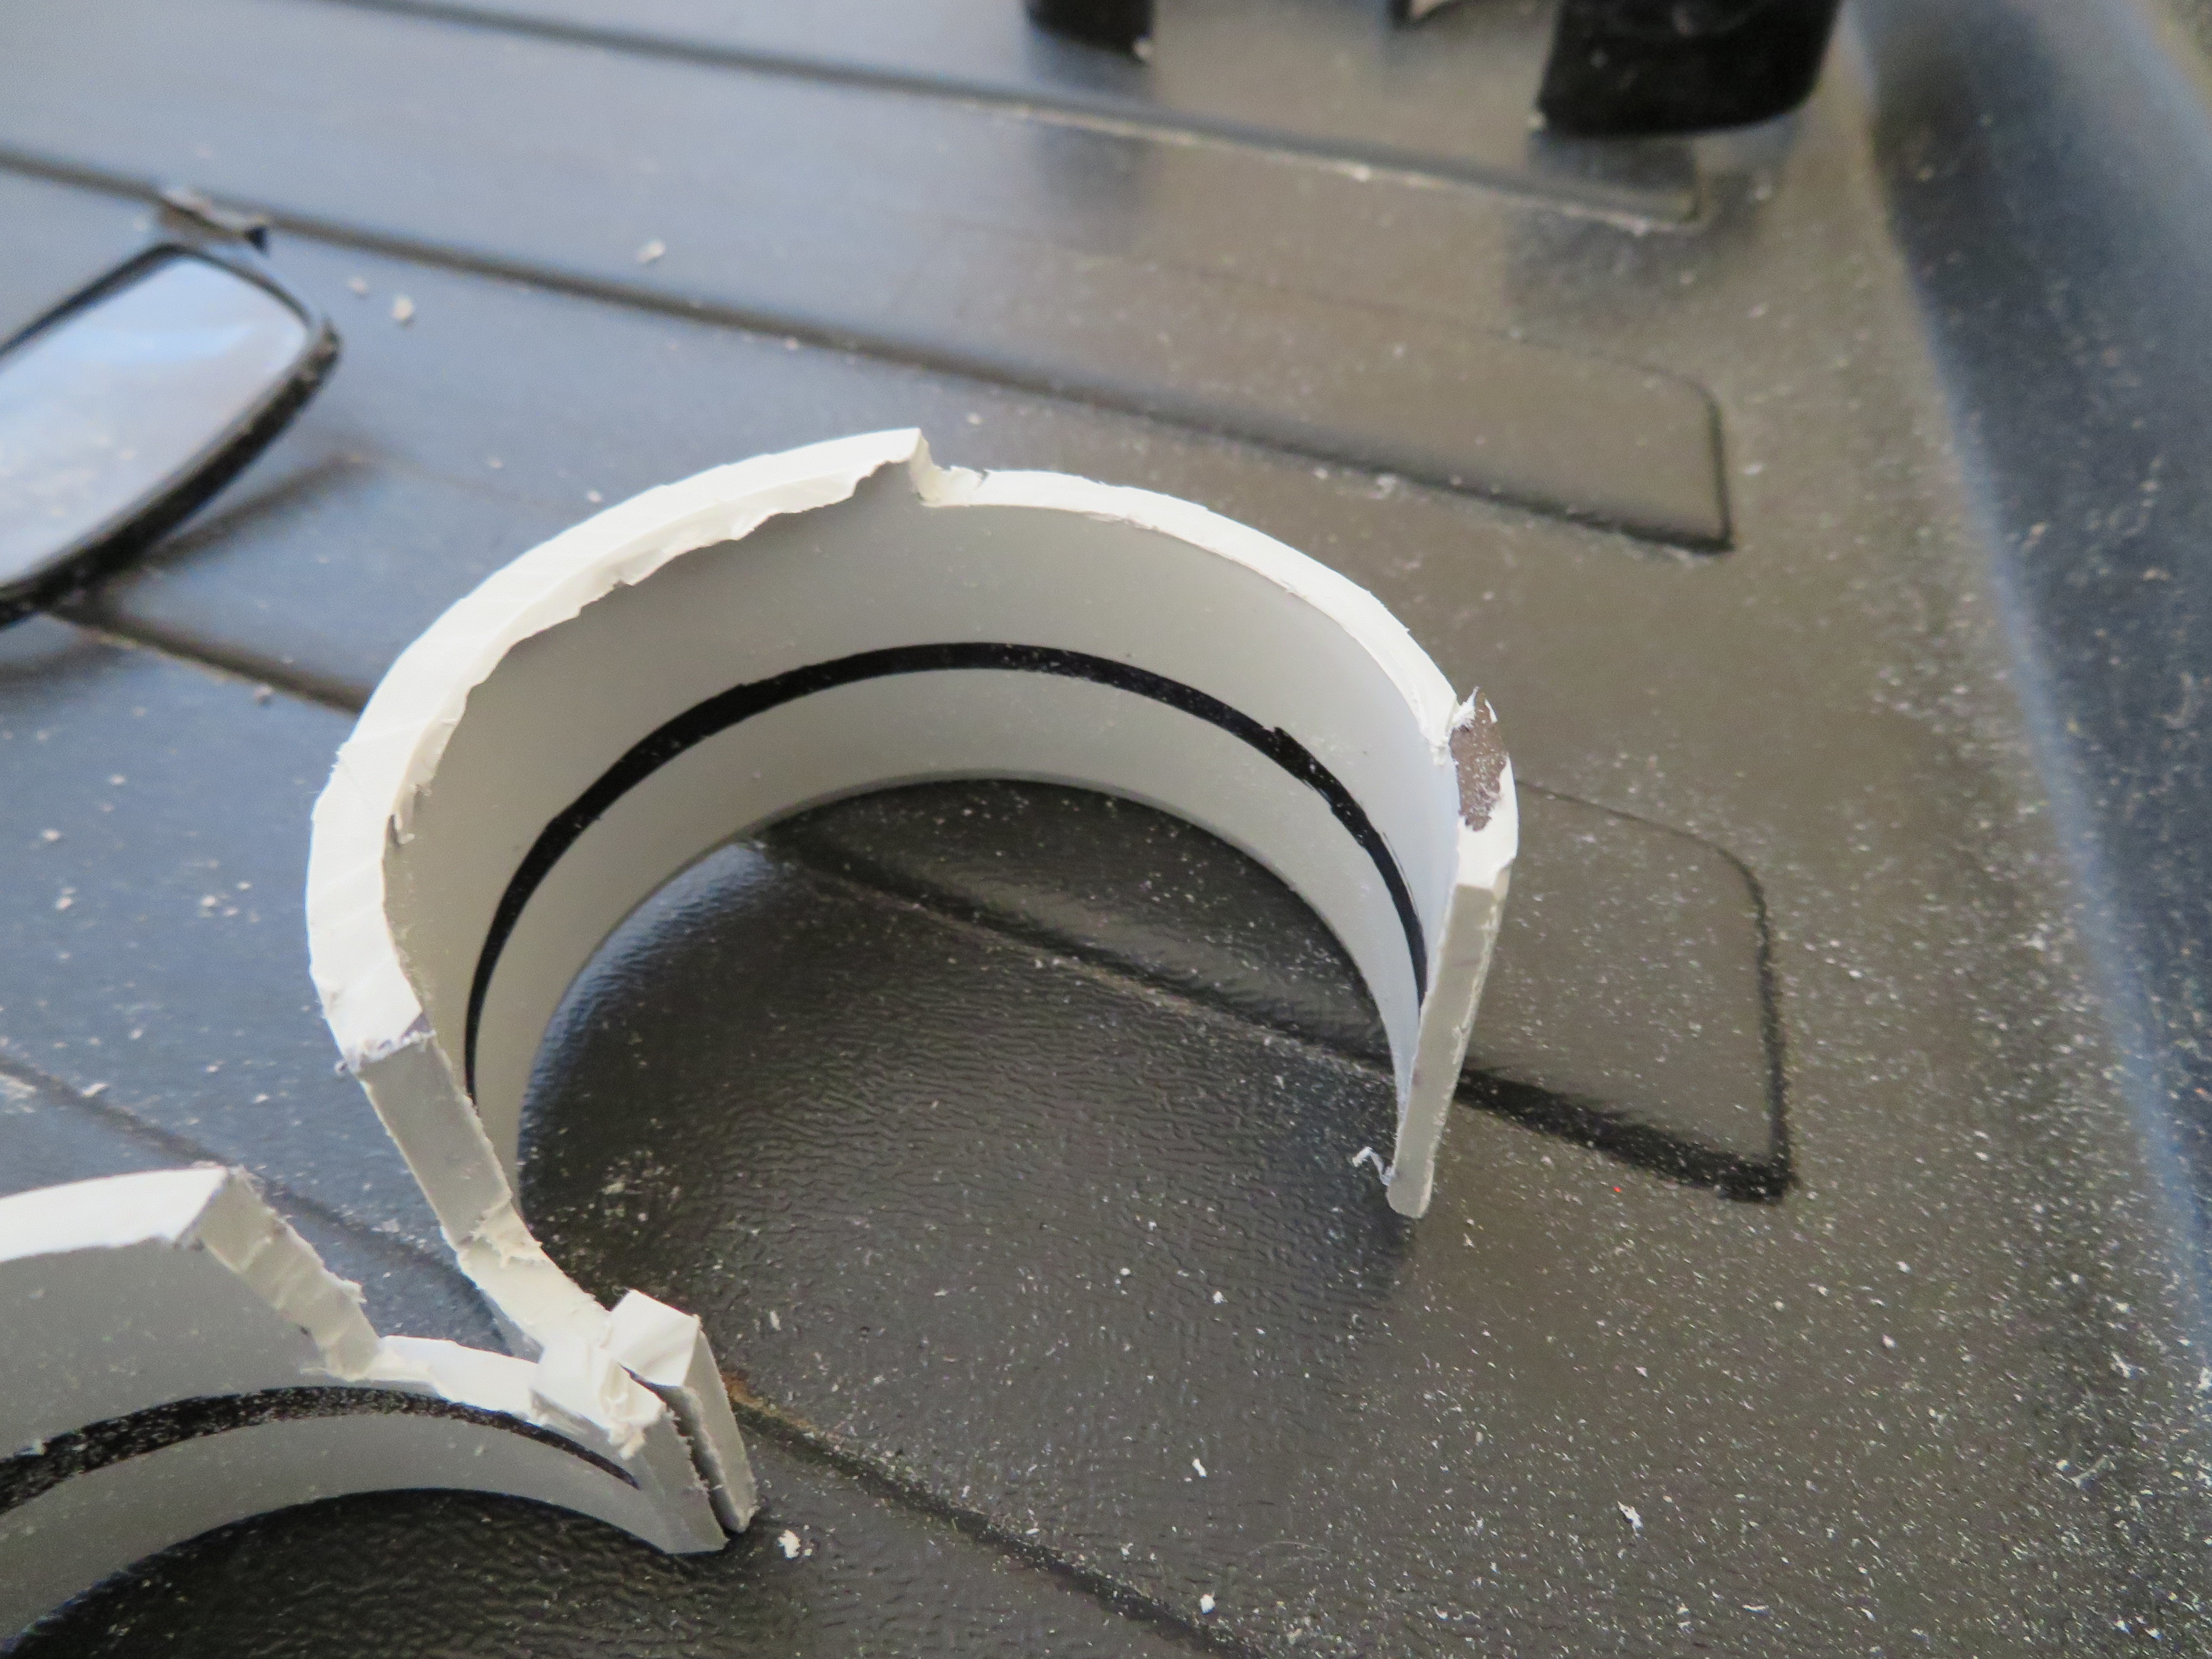
Now place your glasses on the bridge cutouts and make sure that the outer cut-outs fit. Now is the time to make sure that the glasses cut-outs fit properly to your glasses (if you have several different glasses for different people make sure that you use the largest glasses as the template). Ok with this done mark the top of the glasses bridge on the plastic fittings. With this done cut a semi-circle from the bridge marking you just made to the top of the outer glass cut-out (see photo belo) - the photo shows one cut-out done for clarity but both need to be done Left eye and right eye).
e)
With this done and with the glasses fitting properly it is time to polish and bevel the top edges of the plastic fittings and smooth the bridge fittings. You should also put a 45 degree bevel on the front retaining section up to the bridge so your nose will not be interfered with when wearing. When you are satisfied with your left and right fitting it is time to glue the 2 sides together with the epoxy glue - to aid adhesion I roughed the walls of the fittings that mate to each other. After the glue has set - this can take from 20 minutes to several days depending on the epoxy chosen, you need to colour the plastic with black felt tip indelible ink pen and make sure that no light colours show when the fitting is in place.
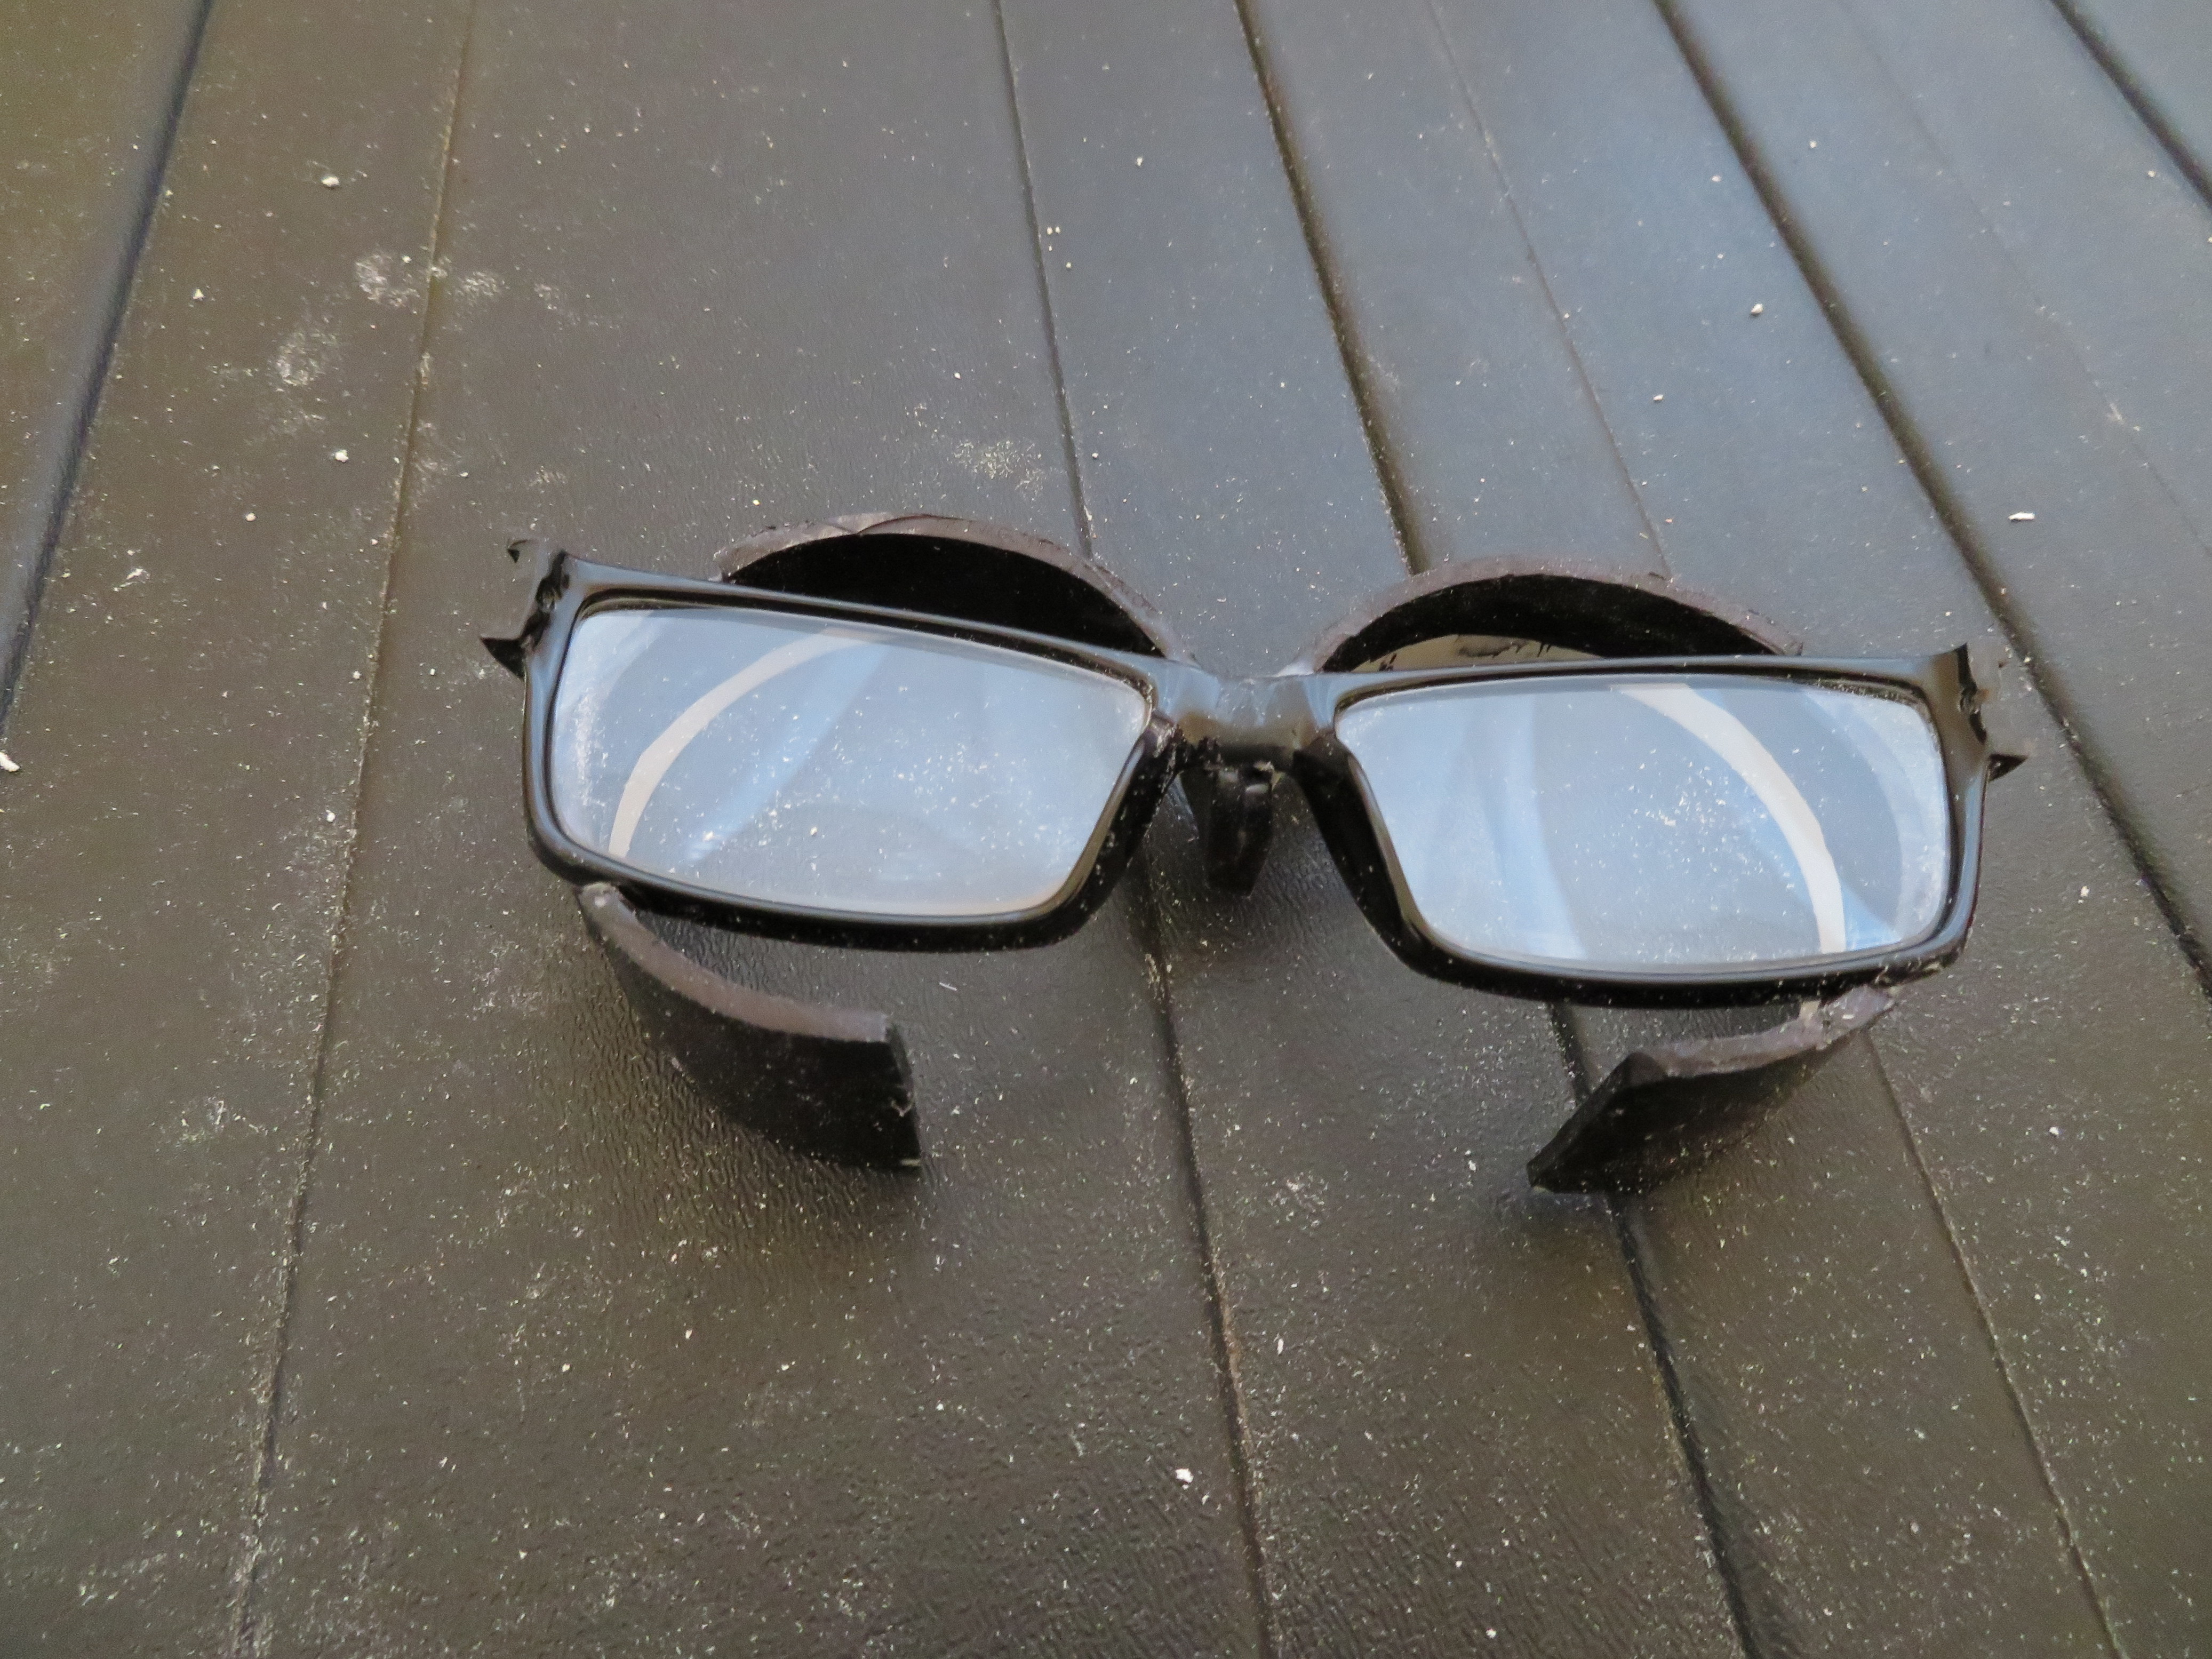
You are now ready to mount the glasses to the fitting - this can be done with glue (if you are sure that you do not have astigmatism and you are the only user) or can be done with elastic bands (a small notch on the bottom of the fitting will facilitate the rubber band over the attachment pieces for the arms (please not that the arms must be removed with a jewellers screwdriver and discarded) see photo below
I hope that you like the mod but be aware you must take the bridge cut-out close to the reference line because it will not fit if you push it up too high. Similarly the cut from the top of the glasses bridge section to the outer glasses must be cut as low as possible so that your eyebrows are not impacted.
The other by-product of this mod is that the glasses provide a pleasant and comfortable resting place for your nose and really helps with comfort of the whole device.
Original Thread
http://community.openmr.ai/t/myopia-vs-presbyopia-short-sight-vs-long-sight/2319/56?u=heliosurge