4. [MOD] Installing Vive DAS Speakers
Date: Aug 4, 2020
Based on Guides By: @Milopapa & @Fresco
Hi everyone,
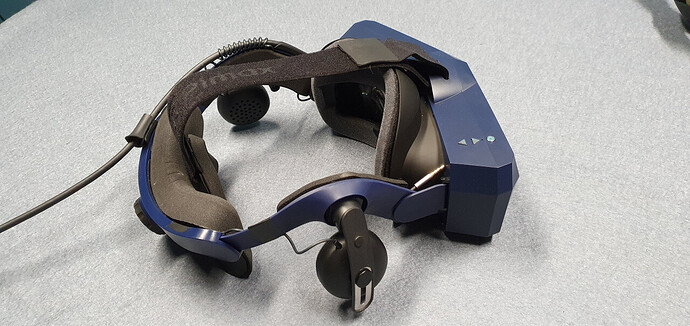
this guide is fully based on Fresco’s post, showing that the HTC DAS speakers can in fact be added to the SMAM. After finding the default SMAS speakers underwhelming, I decide to try to mod my SMAS, following his footsteps. Since a lot of people were asking for pictures, I documented the process and now sharing the results
-
After following Steps 1 to 4 in: Post #2 “Removing Audio Module”
-
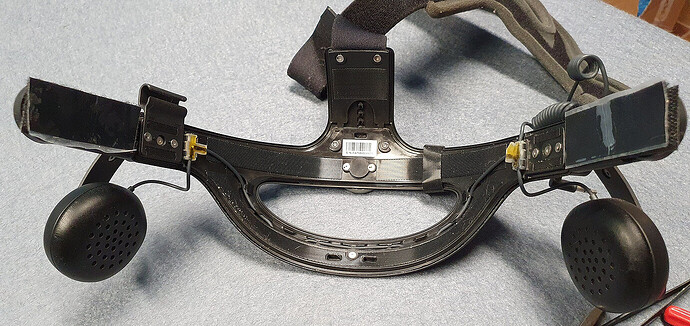
Next up: removing the DAS speakers. This also starts with removing the foam padding:
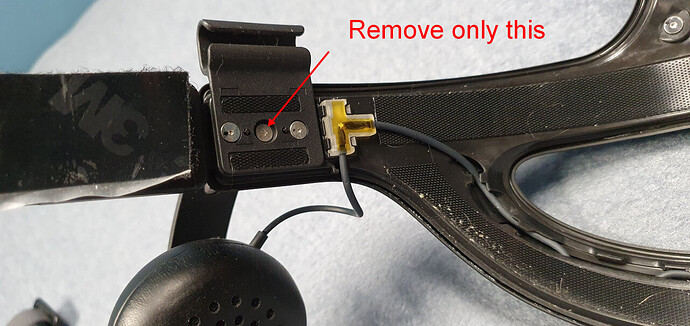
- Again, you need to remove one screw to free the speakers (leave the side screws alone):
- They come out easily - hold on to the screw, it will be important!
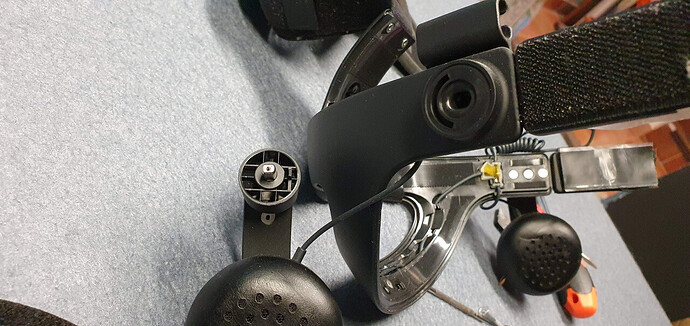
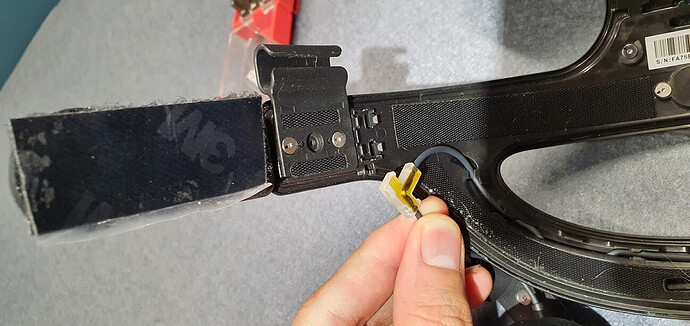
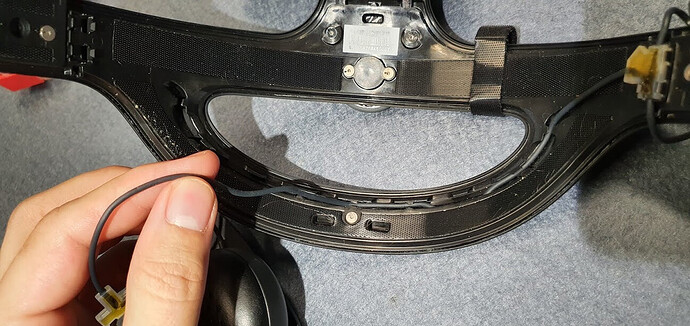
- Next, we pull out the cabling, including the little T-junction (I used a small screwdriver to pop these out):
-
Out you go:
-
Other side, same deal:
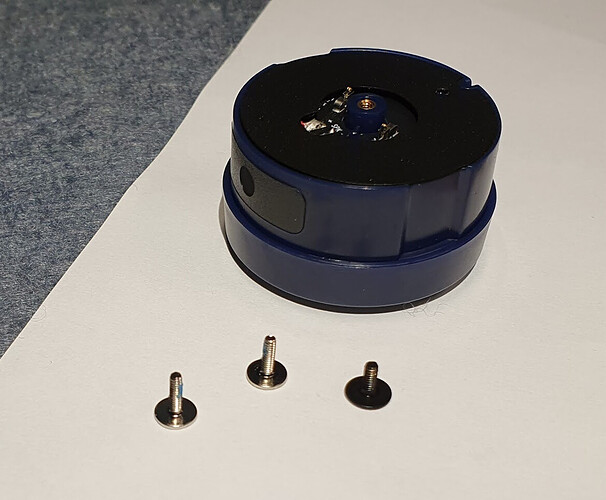
- Notice how the screw sizes differ between HTC and Pimax:
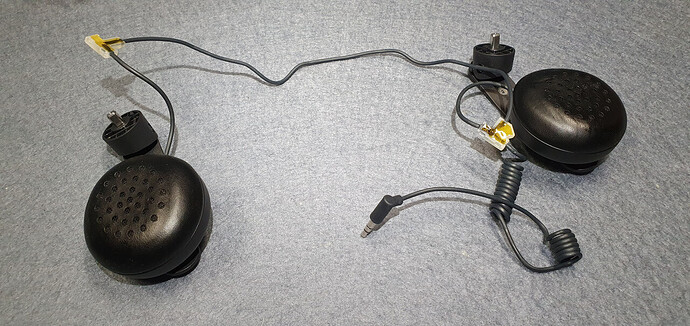
- So now we have the whole DAS assembly out:
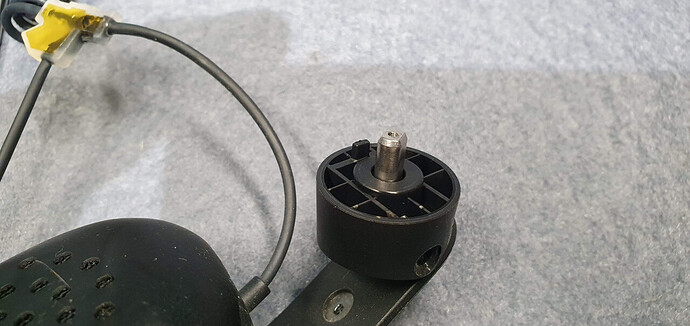
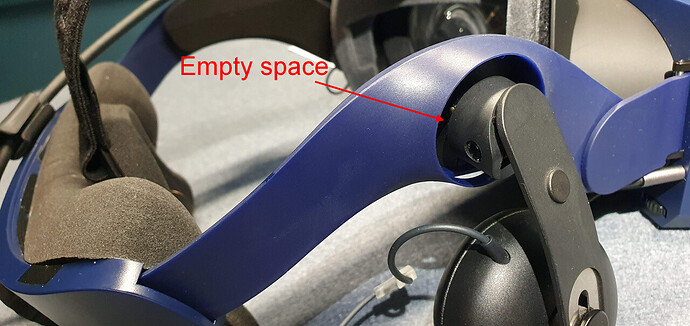
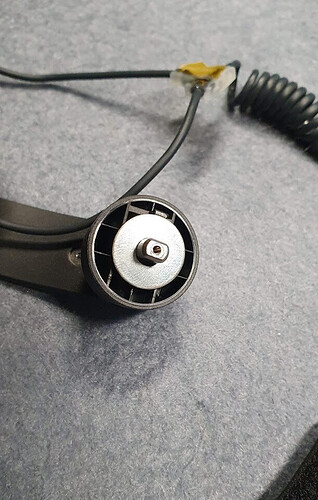
- This is where it gets complicated. The central core of the HTC solution relies on this metal thingie to go into a crevice on the speakers, which the Pimax solution completely lacks.
- You can proceed and simply screw it on with the original HTC screw, but the result will be quite wobbly - the speaker will only be held in place by this central core and lacks proper support. Also, this damn little thing can move in and out on its own, so on top of sideways wobbliness, you get later movement also:
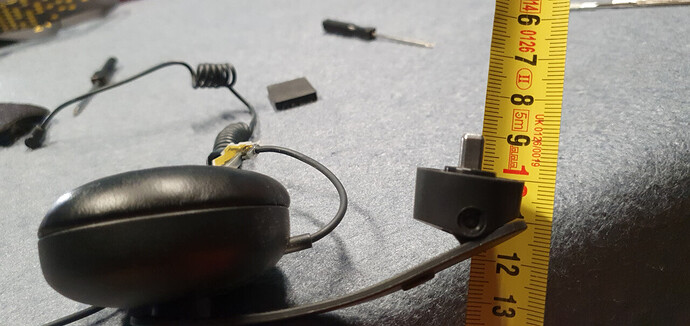
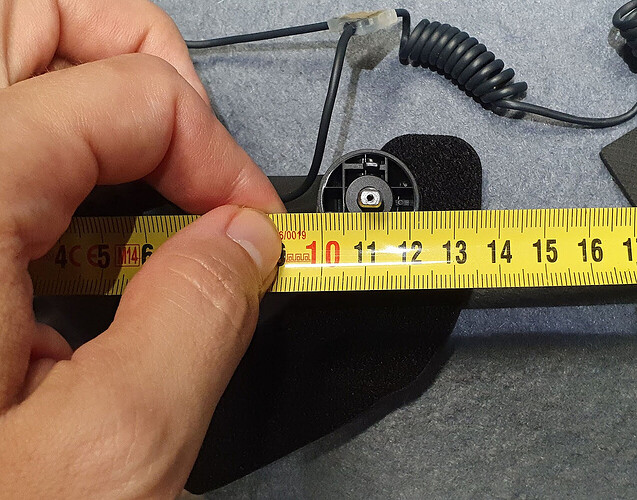
- The solution (also mentioned by Fresco) is to put some washers around the metal thingie. How big? You need 10mm of thickness:
- … and 22-23mm diameter. The core is roughly 6mm in diameter:
- Spacer Options:
A) Washers:
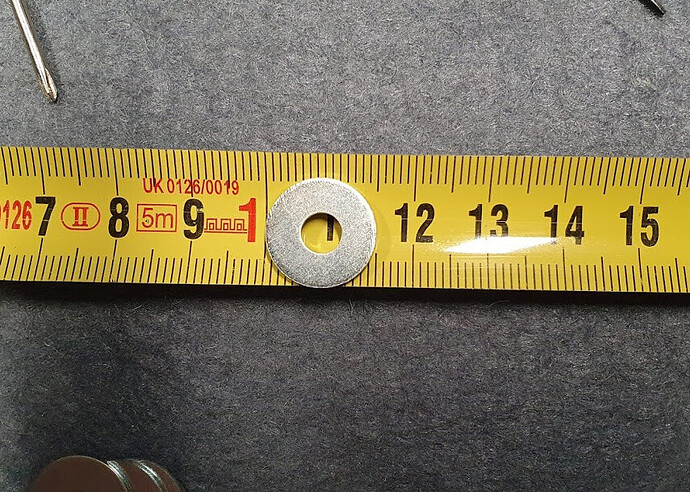
- I first tried these:
- Looks like a great fit, doesn’t it?
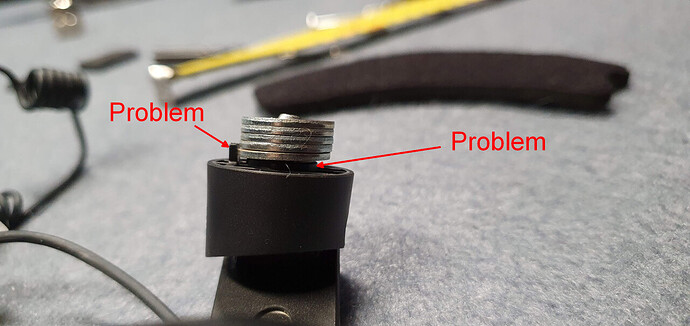
- They also stack up nicely but go over the central rise and don’t eliminate the wobbliness. Not to mention the little plastic pin which is responsible for the swivel range on the original DAS design (completely useless here):
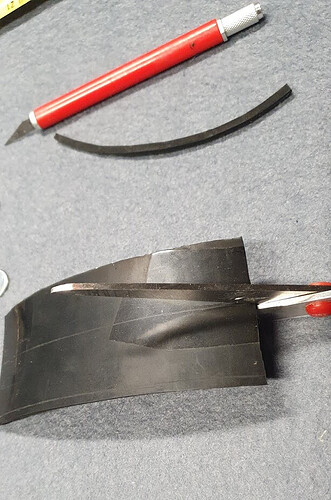
- As a normal human being, I should have gone to a hardware store to find bigger washers… but as a family man, tinkering time is when everyone’s asleep and shops are closed, so I’ve decided to create my own custom risers from this hard rubber that I had lying around from a previous project (anti-swivel mechanism for swivel chair pedal action… don’t ask):
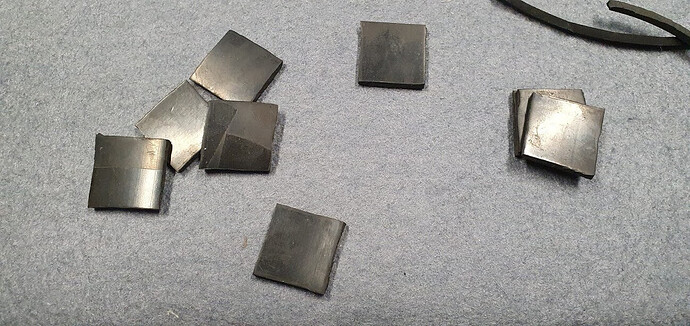
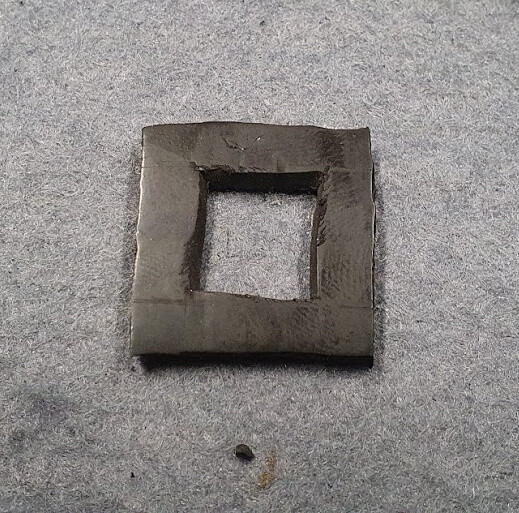
- I cut it up into nice 25x25mm squares:
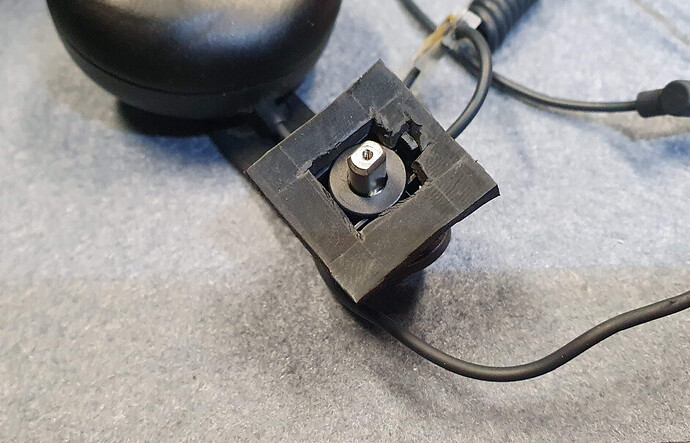
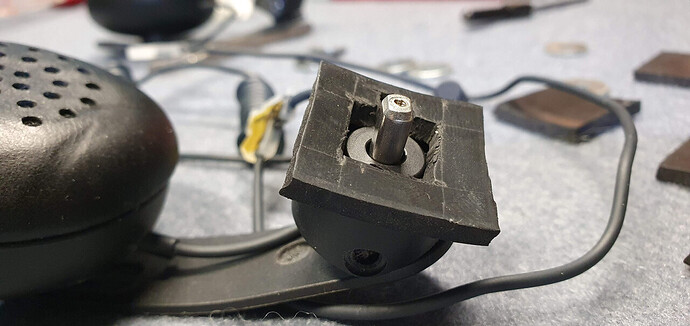
- Then came the custom made butchering. It would have made great entertainment (for you) to record this process but holding a smartphone while attacking thick rubber with an Exacto knife is recipe for an accident so I decided not to. The result was this:
- Neat, huh?
- Only took me about an hour to carve them all up. Luckily, for the second and third layer I only needed a hole in the middle:
- Now the real fun began: trying to hit the metal thingie with the small screw and remember - the metal thingie can be pushed inside very easily. The process was not unlike trying to dock a steam locomotive to the International Space Station, but I eventually succeeded:
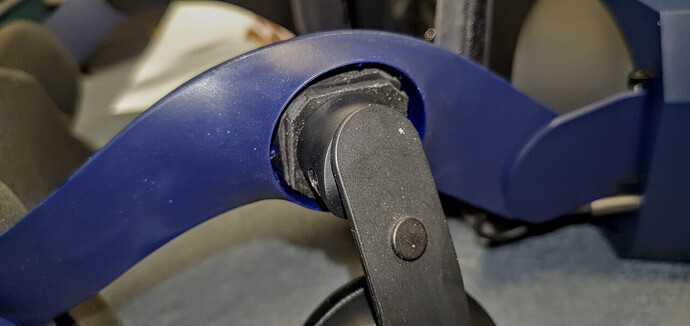
- Now repeat for the other side, and we’re almost done! Few cosmetic tweaks to secure the cables:
![]() B) Garden Hose Washers
B) Garden Hose Washers
C) 3dprinted Spacer By: @Teigue
Oct 2020
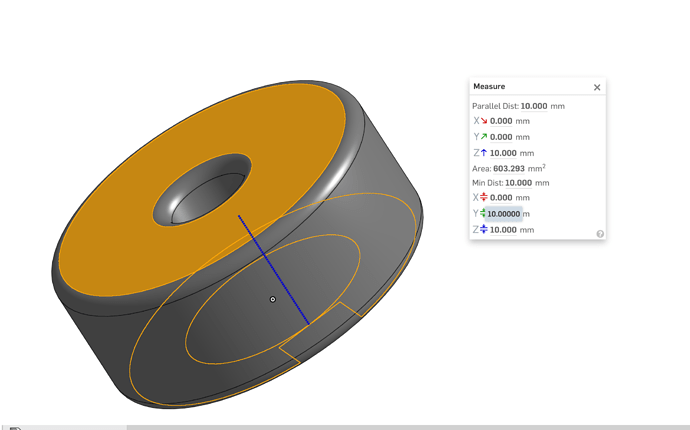
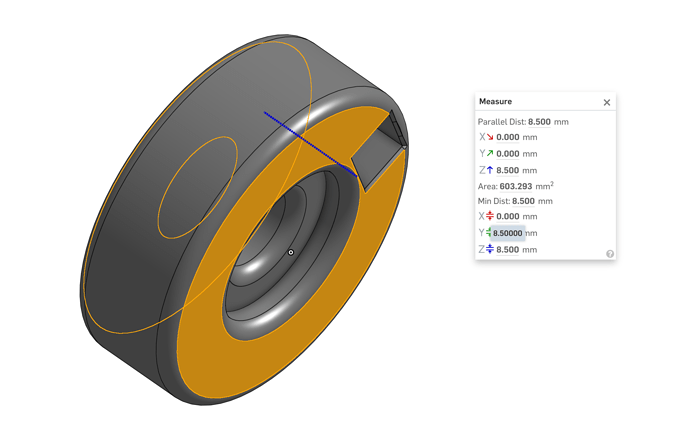
Designed a spacer thanks to OP comprehended info with all the measurements, I have no SMAS myself so couldn’t test the print, but my guess is that it should work fine.
Pimax SMAS - Vive DAS Mod (Spacer) by pruban - Thingiverse
CAD: Onshape
Pimax/Pimax SMAS - Vive DAS Mod - Spacer.stl at master · pavel-ruban/Pimax · GitHub
Updated Info & Pics!!
thanks for feedback,
So it was
10mm
I reduced it to 8.5mm
Feel free to print & share results, thanks
D) 3dprinted Improved Spacer - By Sidekick
Oct 2020
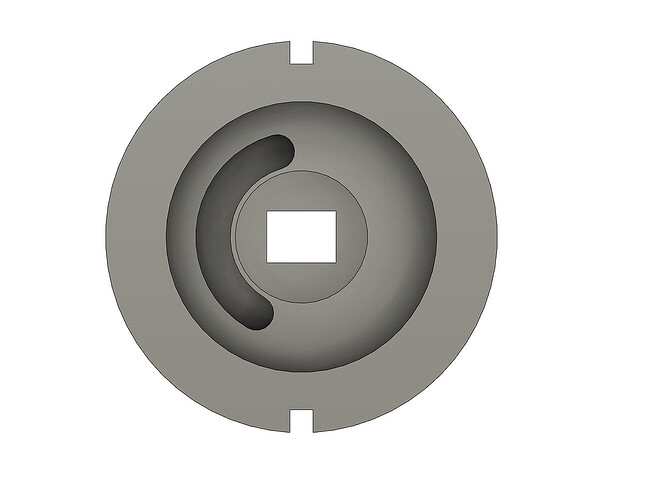
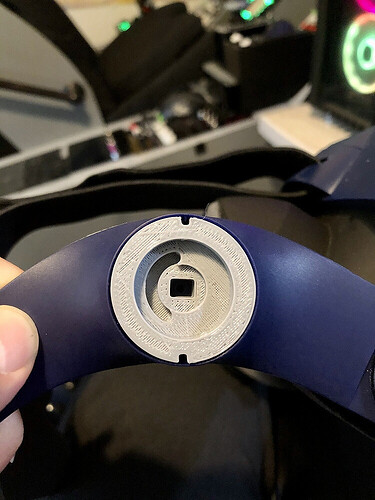
I made the spacer fill the hole and added the grove for allowing easy rotation. Also added the line-up groves with one on each end. The grove faces the back.
I printed with PETG
Pimax 8KX Speaker Spacer for DAS by SideKick - Thingiverse
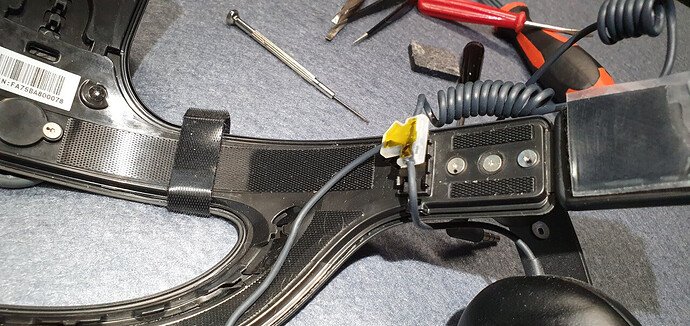
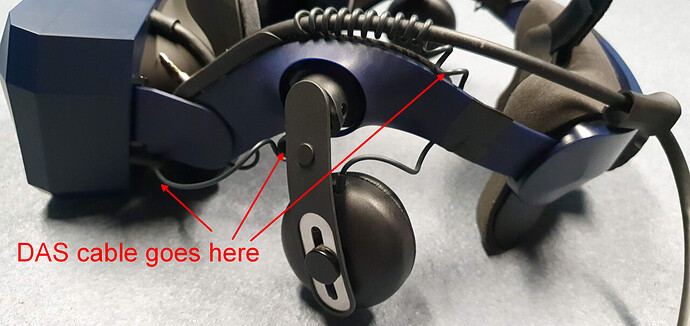
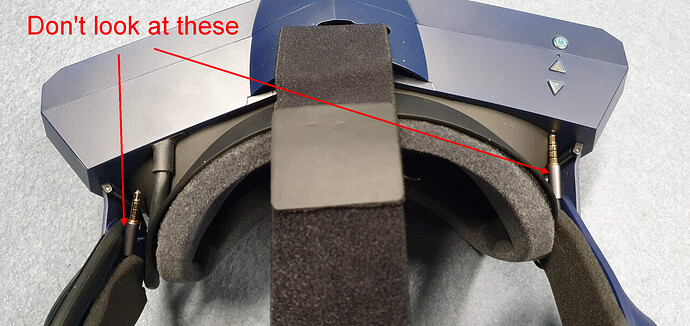
- Had to unplug the original cables and plug the DAS cable in on the left side only:
- Right side was much cleaner, no twisty cable:
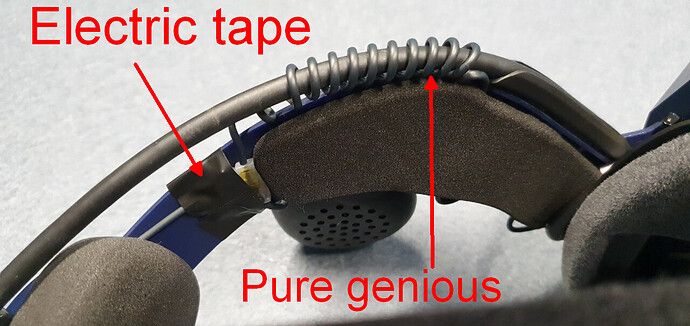
- I simply twisted the original plugs around the swivel know until I can think of something cleaner:
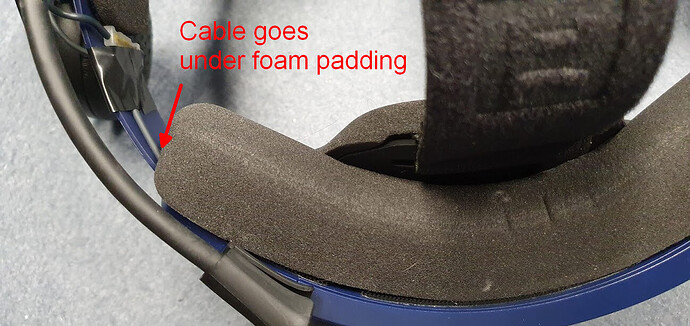
- The cable connecting the two speakers go under the back foam:
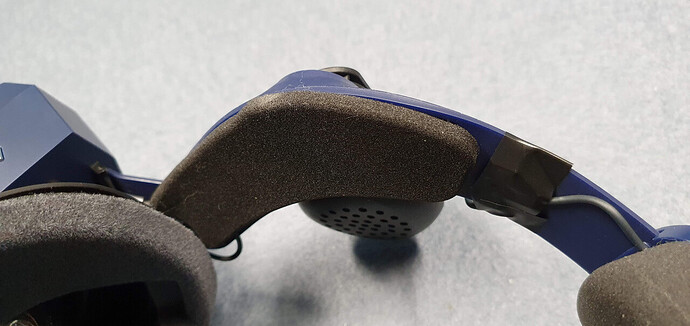
- And so after a mere 4 hours of painstaking work, I now have a fully functioning Pimax 8K-X with Vive DAS headphone:
Couple of things:
- The speaker work great, as anyone with DAS experience will tell you, it’s a night and day difference
- I no longer have volume issues, the DAS are loud enough so I could finally turn it down to about 50% (I’m on the latest 2004 version of Win 10)
- The swivel mechanism kinda works… it’s stiff but you can rotate the speakers back and forth
- I do NOT recommend making your own “washers” unless you enjoy hours of meticulous work and take pleasure in ugly solutions
Summary:
- The DAS replacement is relatively simple process, no advanced mechanical or electric skills are needed. The only catch is creating some sort of spacers to prevent the speakers from wiggling around (due to the differences in the mounting solution HTC and Pimax respectively chose).
- The audio upgrade is HUGE. I finally have my aural immersion back.
Enjoy!
